19. Security
This usage document explains how to use Hub 2.0 security features to secure WordPress sites with scans, Security Tweaks, IP lockouts, Two-Factor Authentication, Login Masking, Firewall, and other security features included in Defender Pro.
If you haven’t set up your WPMU DEV account yet, visit the Hub page, where you can explore the features and see pricing packages.
Already a member? Visit your Hub dashboard to get started.
Note that if you are a free Hub user, some of the features detailed here may not be available to you, and would require an account upgrade. See Free Hub Restrictions for details.
19.1 Getting Started
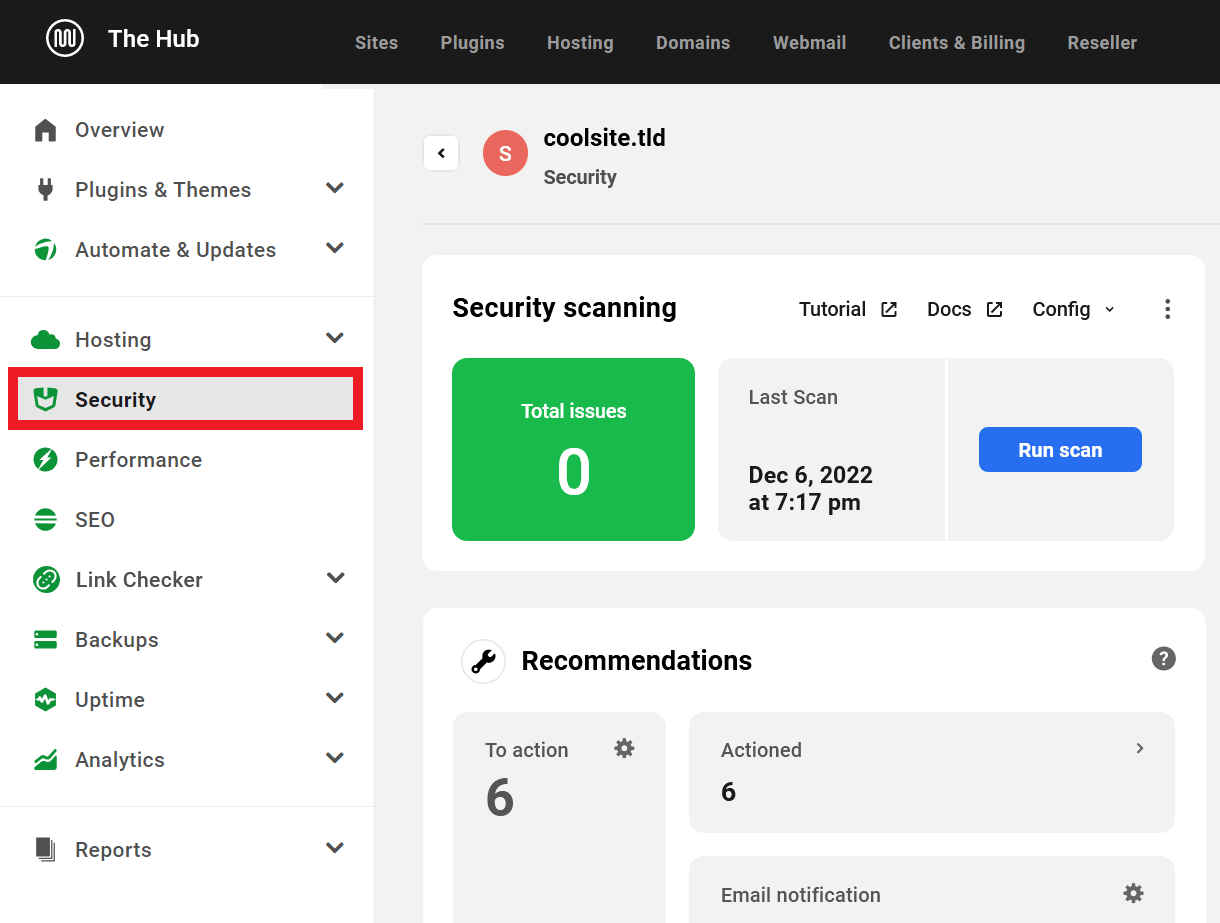
Copy chapter anchor to clipboardTo access the Security section of your site in the Hub 2.0, click the site you would like to manage and then click Security in the site manager menu.
This will open the Security settings and options available in Hub 2.0.
If you haven’t set up Defender Pro on your site, click the Activate button to start tracking and managing your security in the Hub. This will install and activate Defender Pro on your website and begin a security scan looking for areas to strengthen website security.

19.2 Security Dashboard Overview
Copy chapter anchor to clipboardThe Security Dashboard Overview provides you with an overview of the current configuration of the Defender Pro plugin on your site. You’ll find available security settings, configurations, and quick links to corresponding features in your site’s wp-admin for managing your site’s security.
Modules on the Dashboard include:
- Security (Scan)
- Your Reports
- Recommendations
- Malware Detection
- Blocklist Monitor
- Recently Quarantined Files
- Firewall
- Audit Logging
- Advanced Tools
19.2.1 Security scanning
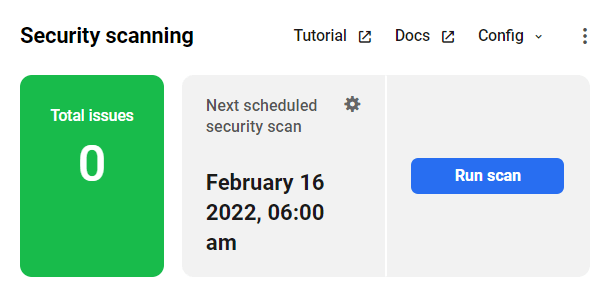
Link to chapter 2The main Security Scanning module gives you a quick overview of the number of Total issues detected by Defender on your site, including unresolved Security Tweaks and possible issues detected by the Malware Scanning feature. You’ll also see when your Next scheduled security scan is set for if that’s enabled, and includes an option to Run a scan now.
Click the Run scan button to start a malware scan right away, or click in the Next scheduled security scan box to be redirected to the corresponding screen in your site’s wp-admin to set it up to run regularly.
Click the Tutorial link to be directed to a comprehensive setup guide on our blog. Click the Documentation link there to go to the usage docs for the Defender plugin. Click the Config link to Save or Apply a Defender config to your site.
Click the ellipsis icon ( … ) for additional options where you’ll also find a Deactivate option which will deactivate Defender on your site.
Click the Security title of this module to go straight to the Malware Scanning page in your site’s wp-admin.
19.2.2 Your Reports
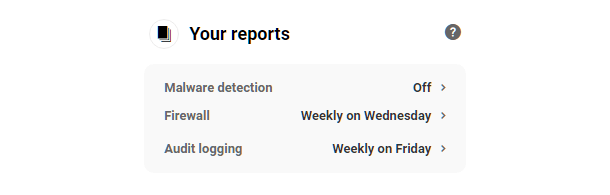
Link to chapter 2The Reports module gives you a quick overview of which reporting options you have enabled in the various modules in Defender, and shows you your schedules for each type of report.
Click the schedule of any one to go straight to the corresponding Reports screen in your site’s wp-admin to enable or configure the schedule for that feature.
19.2.3 Recommendations
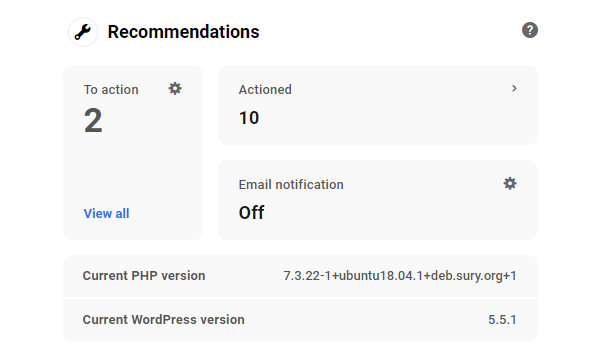
Link to chapter 2Defender’s Recommendations are a combination of layered security steps to make it harder for hackers and bots to gain access to your sites. For a complete list of Defender’s Recommendations and a guide on how to resolve them, visit the Defender documentation.
This module summarizes all the resolved and unresolved Defender items listed in the Recommendations section in your site’s wp-admin.
Click View all in the To action section to go straight to the unresolved Recommendations screen of Defender in your site admin.
Click in the Actioned section there to go to the resolved Recommendations screen in your site admin.
Click on the Email Notification section to go to the corresponding screen in your site admin to adjust your Recommendations notification settings if needed.
Click the Recommendations title of that module to go straight to the main Recommendations screen in your site’s wp-admin.
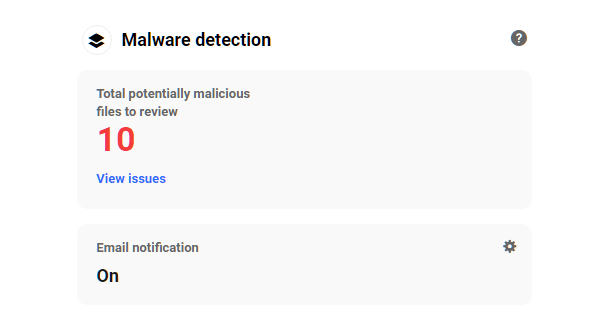
19.2.4 Malware Detection
Link to chapter 2Defender Malware Detection scans your website for file changes, vulnerabilities and injected code and notifies you of anything suspicious.
Click the Malware detection title of that module to go straight to the main Malware Scanning screen in your site’s wp-admin.
Click View Issues in the module to go straight to the Issues screen of Defender Malware Scanning in your site admin.
Click in the Email Notification section to go to the corresponding screen in your site admin to adjust your Malware Scanning notification settings if needed.
For information on Deleting, Ignoring, and configuring Malware Detection settings, visit Defender’s Malware Scanning usage docs.
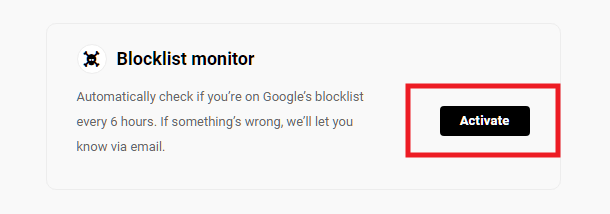
19.2.5 Blocklist Monitor
Link to chapter 2Blocklist Monitor automatically checks if you’re on Google’s blocklist every 6 hours. If something’s wrong, Defender sends an email notification so you can limit downtime.
Activate the Blocklist Monitor either by clicking the Activate link in this module, or visit Defender > Dashboard in your site’s wp-admin.
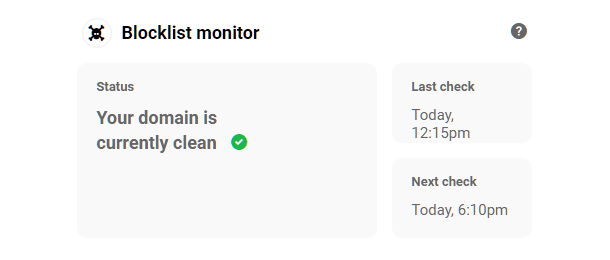
Once activated, you can click the Blocklist Monitor title of that module to go straight to the Defender Dashboard screen in your site’s wp-admin.
For more information about Google’s blocklist, see this blog article.
19.2.6 Recently Quarantined Files
Link to chapter 2The Quarantine module in the hub will give you an overview of the last 5 quarantined files with their file names and quarantined dates.
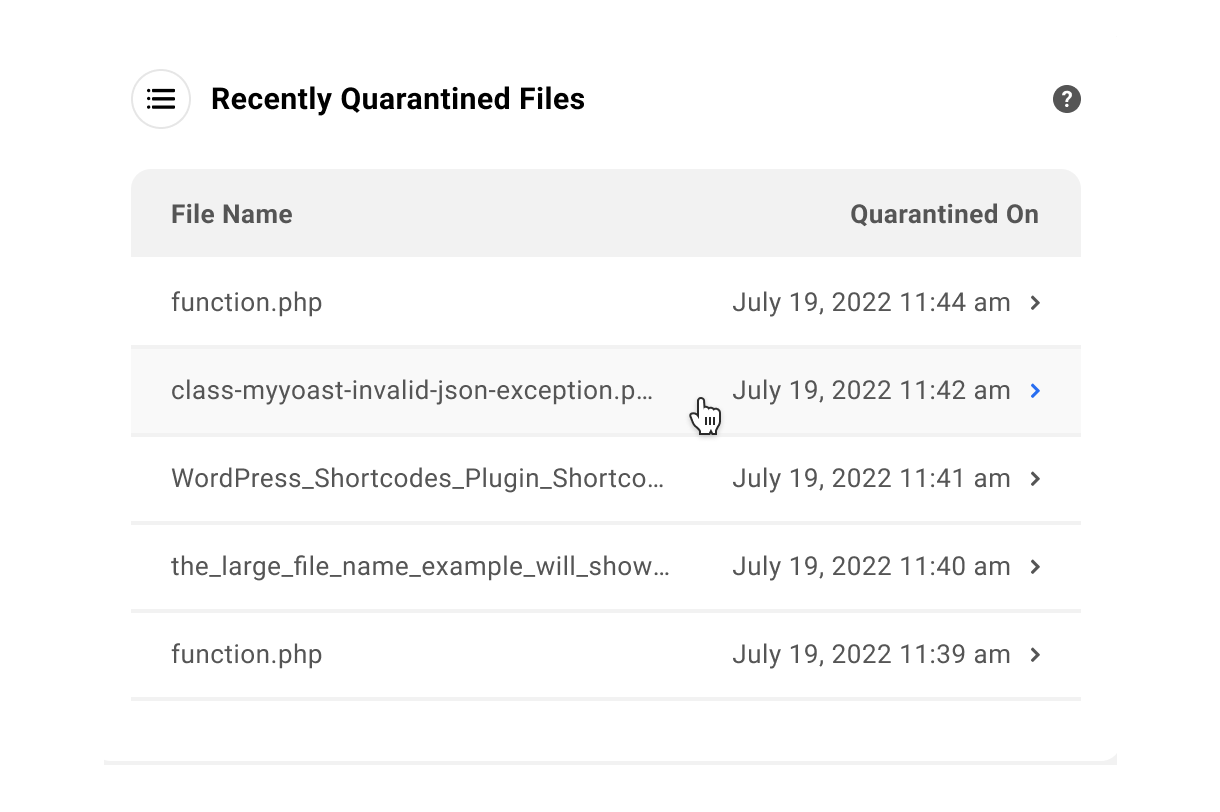
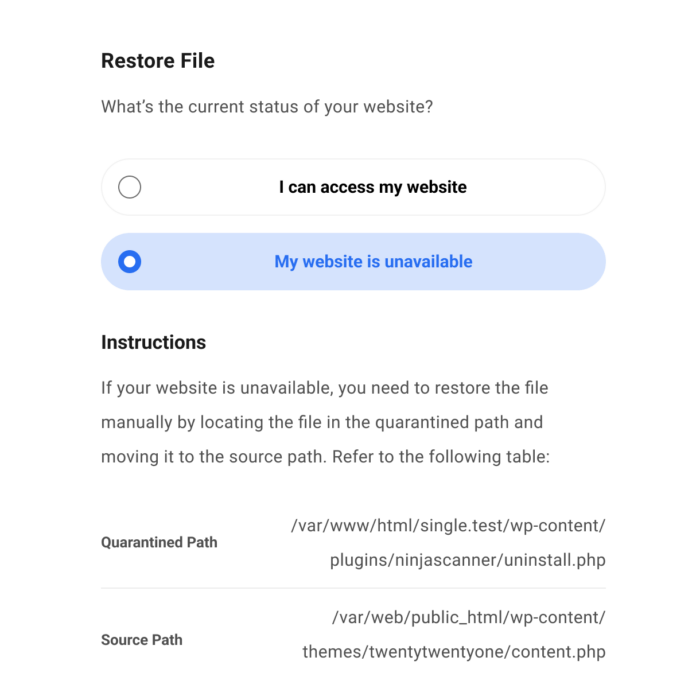
Expand any item to reveal additional information including the file’s source path and quarantined path. To restore the quarantined file, Click Restore.
If you have access to your site, select “I can access my website” and click Restore. However, if your site is currently unavailable, you need to restore the file manually from the quarantine directory to its corresponding source directory or wait until your site becomes available.
Note: Refer to our documentation on file transfer using FTP, SFTP & SSH. If you do need further assistance feel free to contact our support heroes.
19.2.7 Firewall
Link to chapter 2Defender can automatically lock out any users who display suspicious behavior. The Defender Firewall uses IP Lockouts and Blocklisting to stop users accessing your site.
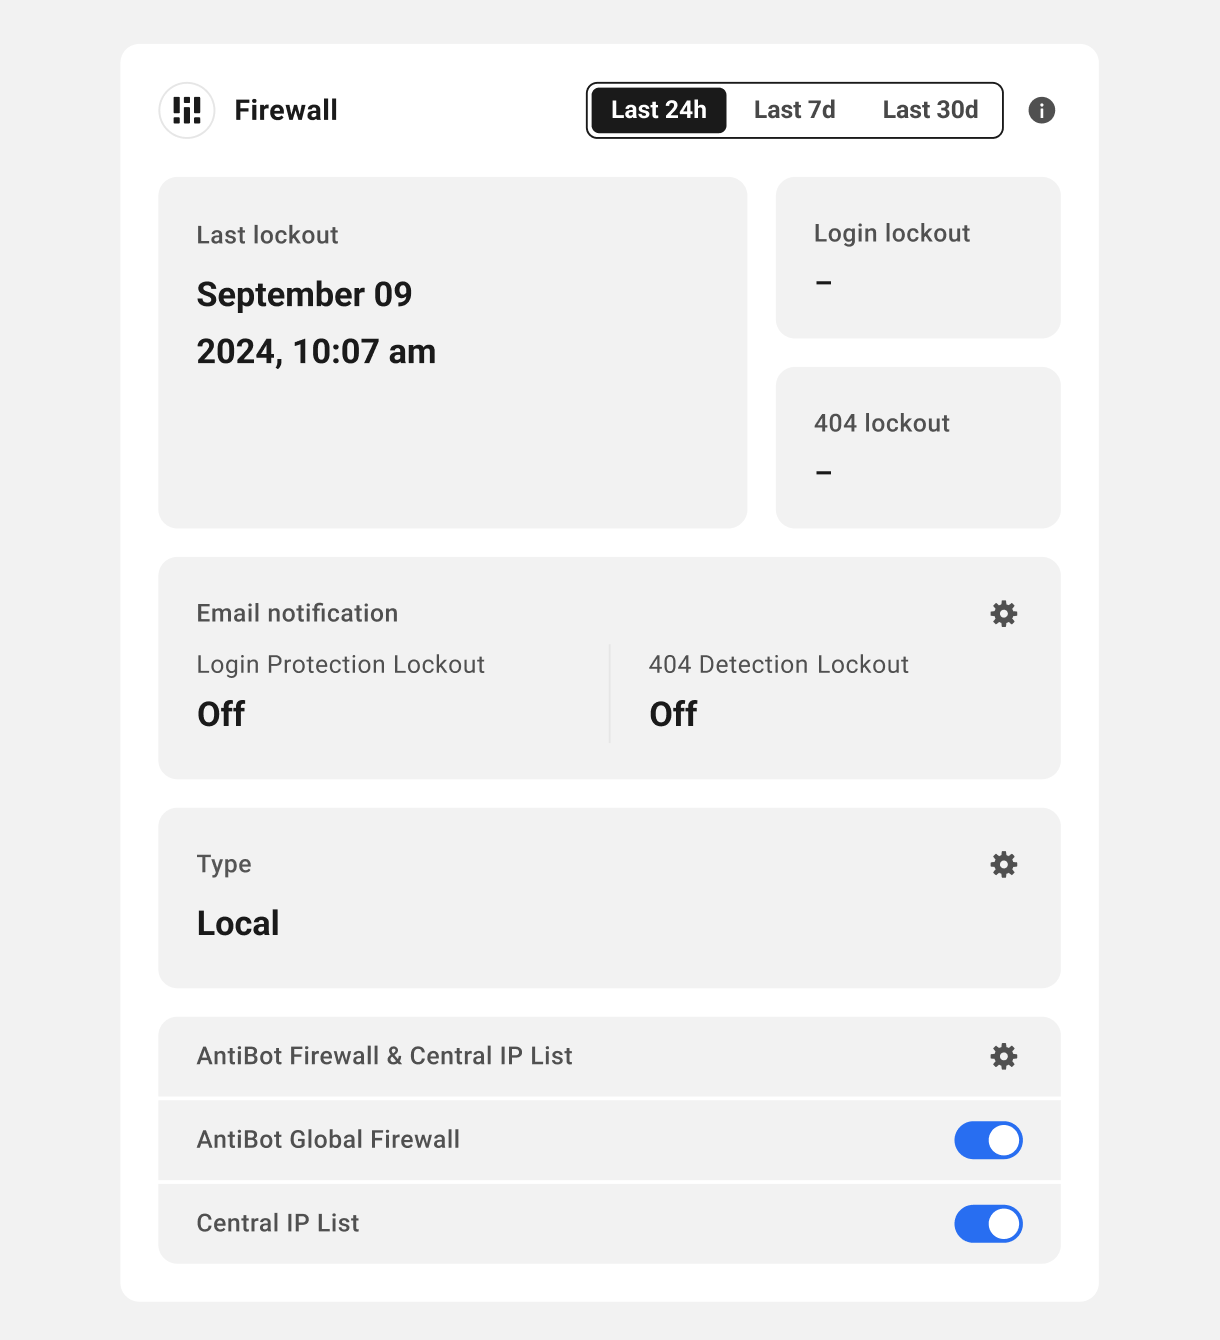
Click any of the date range selectors at the top of the module to view quick info for the last 24 hours, last 7 days or last 30 days.
Click the Firewall title or any gear icon to go straight to the Firewall screen in your site’s wp-admin.
Click the toggle in the AntiBot Global Firewall section to enable/disable synchronization of our curated IP blocklist on your site.
Click the toggle in the Central IP List section to enable or disable synchronization of your custom allowlist & blocklist in your Hub with the site.
Click in the Email Notification section to go to the corresponding screen in your site admin to adjust your Firewall notification settings if needed.
In the Type section, Local denotes that you have Defender firewall activated and the Web Application Firewall (WAF) disabled on a WPMU DEV hosted site. This also appears for 3rd-party hosted sites where Defender Firewall is active.
When you activate the Web Application Firewall (WAF) on a WPMU DEV hosted site, you won’t see the lockout stats or the Defender’s email notification settings. Instead, you will see Hosted WAF in the Type section.
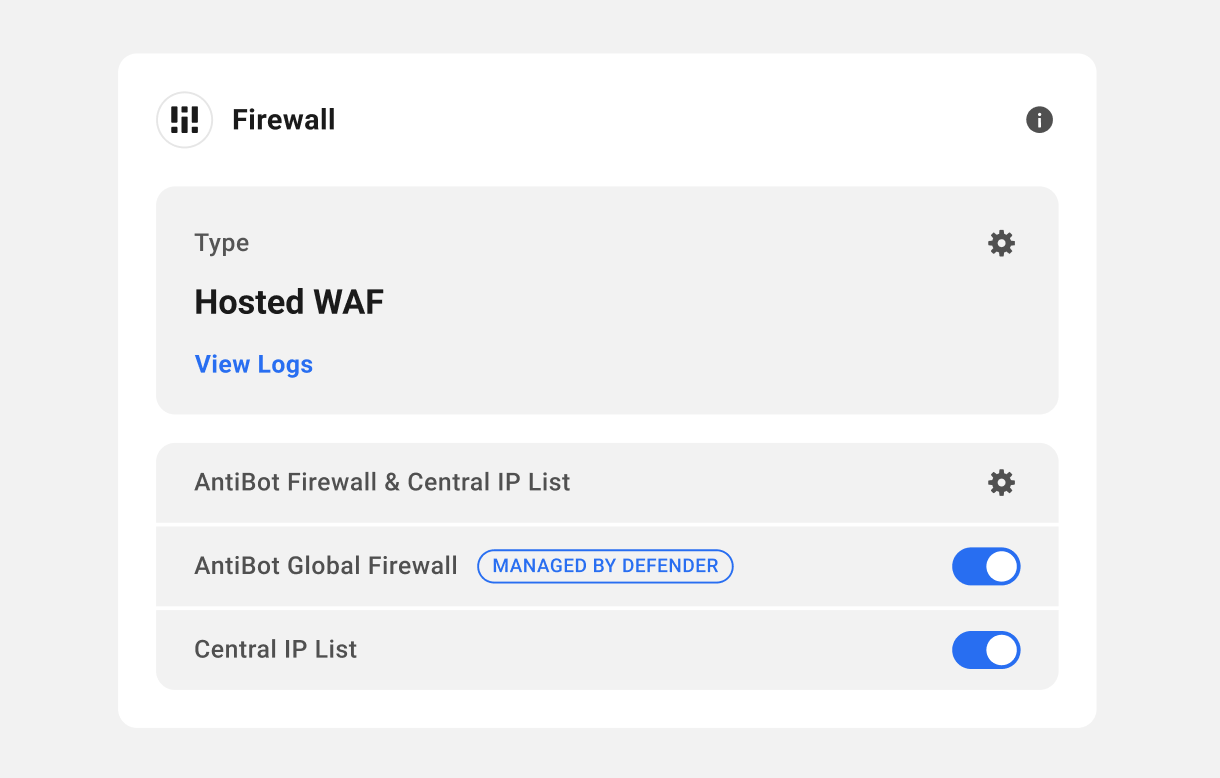
You can see the lockout stats on the Defender’s Firewall page in your site admin by clicking the Firewall title of that module. Click the gear icon to open the WAF configuration panel. You can also click the View Logs link to see the WAF Logs.
19.2.8 Audit Logging
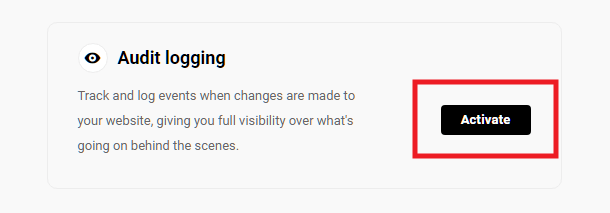
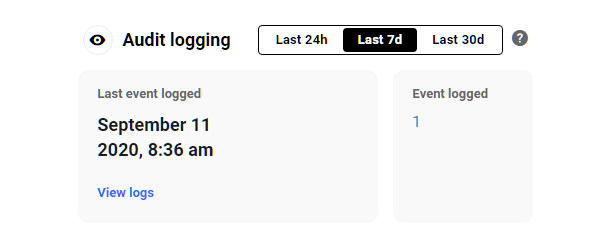
Link to chapter 2Defender has Audit Logs for tracking events and changes made to your website. This gives you full visibility over what’s going on behind the scenes. The Audit Logging module lists how many events were added during a selected period, and when the last event took place. This information can be valuable when fixing a hacked site or managing sites with multiple users making changes.
Activate Audit Logging either by clicking the Activate link in this module, or by visiting Defender > Audit Logging in your site’s wp-admin.
Once activated, click the Audit Logging title of that module to go straight to the Audit Logging > Settings screen in your site’s wp-admin.
Click View Logs in the Last Event Logged section to go straight to the Audit Logging > Event Logs screen in your site’s wp-admin.
Click any of the date range selectors at the top of the module to view quick info for the last 24 hours, last 7 days or last 30 days.
For more information about Audit Logging and settings visit the Defender Audit Logging documentation.
19.2.9 Advanced Tools
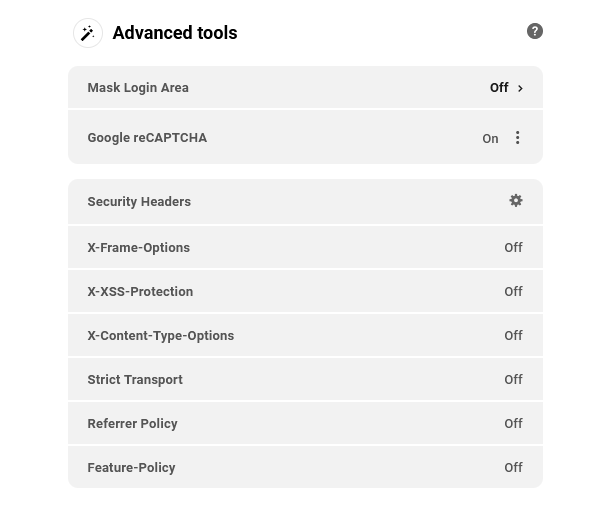
Link to chapter 2Defender’s Advanced Tools give you full control over which security headers are enabled on your site, as well as the options to mask your login area and enable Google reCAPTCHA on your login, registration & comments forms, so it’s harder for hackers & bots to make a mess of things.
This module gives you a quick overview of the security headers that are active, and shows whether the Mask Login & reCAPTCHA features are enabled or not.
Click the Advanced Tools title of that module, or the gear icon next to Security Headers, to go straight to the Advanced Tools > Security Headers screen in your site’s wp-admin.
Click the On/Off toggle next to Mask Login Area in that module to go straight to the corresponding screen in your site’s wp-admin.
If Google reCAPTCHA is already active on the site, and you need to disable it remotely, click the ellipsis icon to reveal a Deactivate option.
19.2.10 Two-Factor Authentication
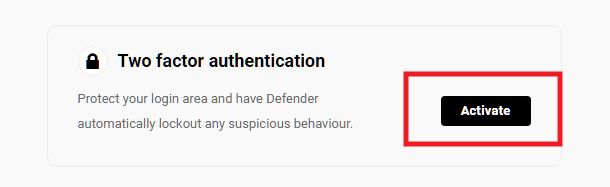
Link to chapter 2This feature provides an additional layer of site security by enabling you to require users to authenticate their login to your site using Google’s Two-Factor Authentication. Activate the feature either by clicking the Activate button in the module, or visit Defender > 2FA in your site’s wp-admin.
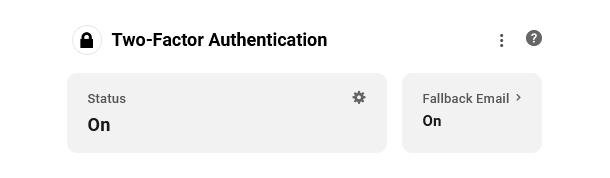
Once activated, the module will provide you with a quick overview of the feature’s Status, and will indicate if the Lost phone authentication option is active or not.
Click the module title or either section to go straight to the corresponding settings screen in your site’s wp-admin.
If Two-Factor Authentication is already active on the site, and you need to disable it remotely, click the ellipsis icon to reveal a Deactivate option.
19.3 Get Support
Copy chapter anchor to clipboardIf you still have questions or need assistance after reading this document, please don’t hesitate to contact our support superheroes using the available options under the Support tab in your Hub or via the Support tab in your WPMU DEV Dashboard.
