2. Managing a Site in the Hub
This document provides an overview of features available for managing an individual site along with a detailed guide of the site Overview tab for checking, testing, and managing site health.
If you haven’t set up your WPMU DEV account yet, visit the Hub page, where you can explore the features and see pricing packages.
Already a member? Visit your Hub dashboard to get started.
2.1 Getting Started
Copy chapter anchor to clipboardTo access the Overview section of any of your sites from the Hub > My Sites page, click on the site you would like to manage and the Overview tab for that site will be opened by default. To get to it again from any other section in the site manager, click Overview in the site manager menu
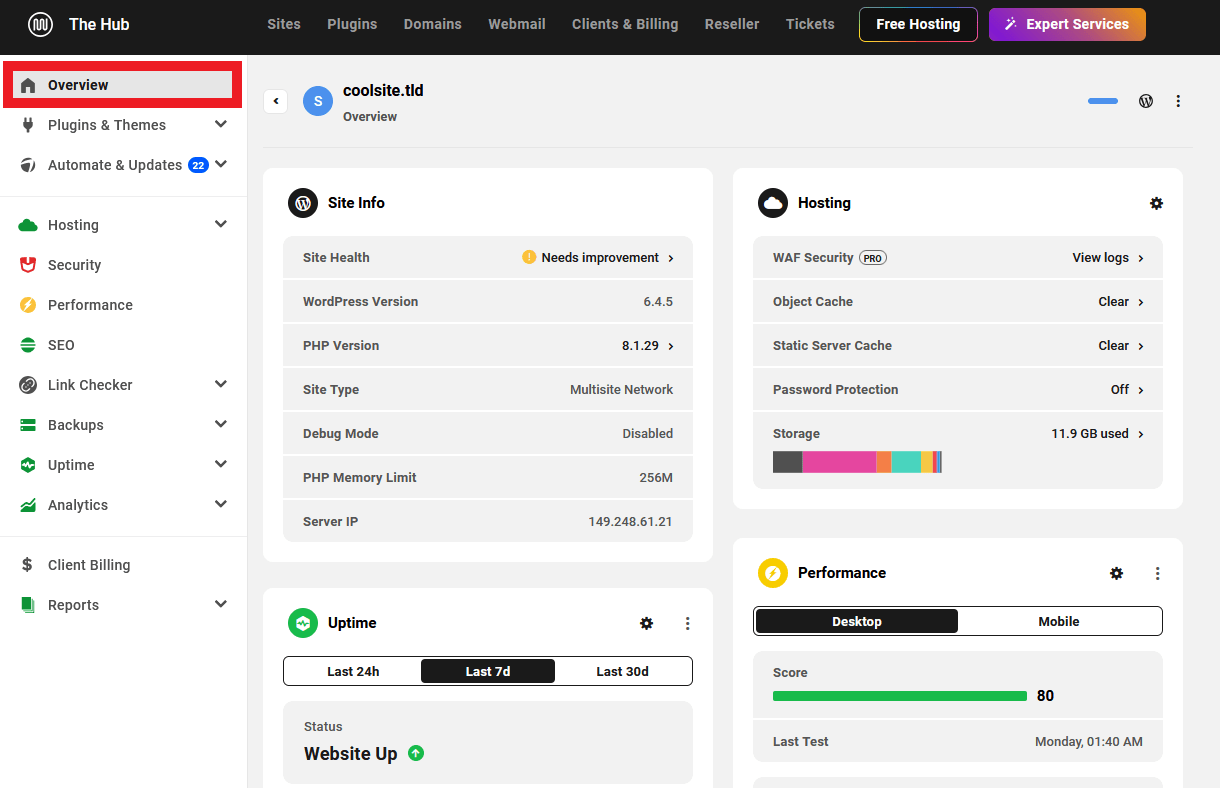
2.2 Site Dashboard Overview
Copy chapter anchor to clipboardThe site dashboard Overview screen is an overview of available options & configurations for your site’s hosting, performance, plugin & theme updates, SEO, security, backups & reports according to plugins & features that you have enabled.
Widgets on the Dashboard include:
- Site Info
- Automate & Updates
- Hosting
- Security
- Performance
- SEO
- Backups
- Uptime
- Analytics
- Client Billing
- Reports
- Link Checker
With The Hub, you can easily manage and monitor each of your sites – all from one place. To learn more about what The Hub has to offer, read our blog on how to Get the Most Out of The Hub.
2.2.1 Site Info
Link to chapter 2The Site Info widget displays basic information about your WordPress site:

- Site Health – The current health status of your site. Click to be redirected to the Site Health screen in your site’s wp-admin to update the status in the widget.
- WordPress Version – The current version of WordPress installed on your site.
- PHP version – The current version of PHP running on your site’s server. If your site is hosted by WPMU DEV, click to be redirected to the Hosting > Tools screen in your Hub where you can adjust the version if needed.
- Site Type – This will indicate if the site is a multisite network (does not appear on single site installs).
- Debug Mode – This indicates whether wp_debug is enabled or not in the site’s wp-config.php file.
- PHP Memory Limit – The WordPress memory limit detected on your site.
- Server IP – The IP address of your site’s server.
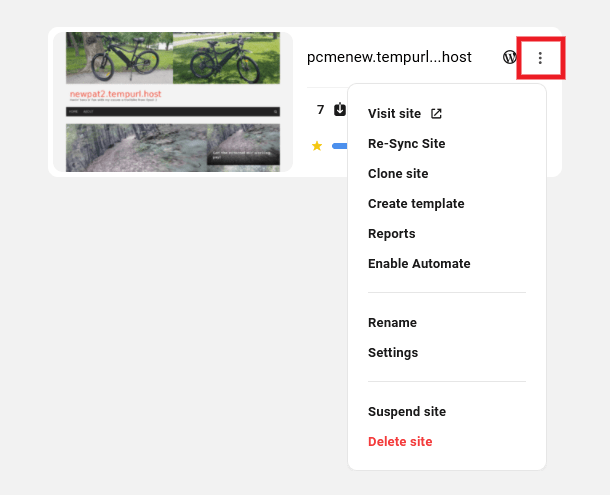
Note that if you do not see the Site Info widget for an existing site in your Hub, simply click Re-Sync Site in the Site Options menu for that site, then refresh the Hub page in your browser.
2.2.2 Automate & Updates
Link to chapter 2The Automate & Updates widget displays quick info about the number of updates available for your site, including plugins, themes and core WordPress.
If any updates are available, you can click Update all button to update everything right from the Overview screen.
You’ll also see which options of the Automate feature are enabled for your site, and when the next scheduled Automate Check is to take place.
Click Automate & Updates or any displayed Automate option to go straight to the corresponding screen in your Hub.
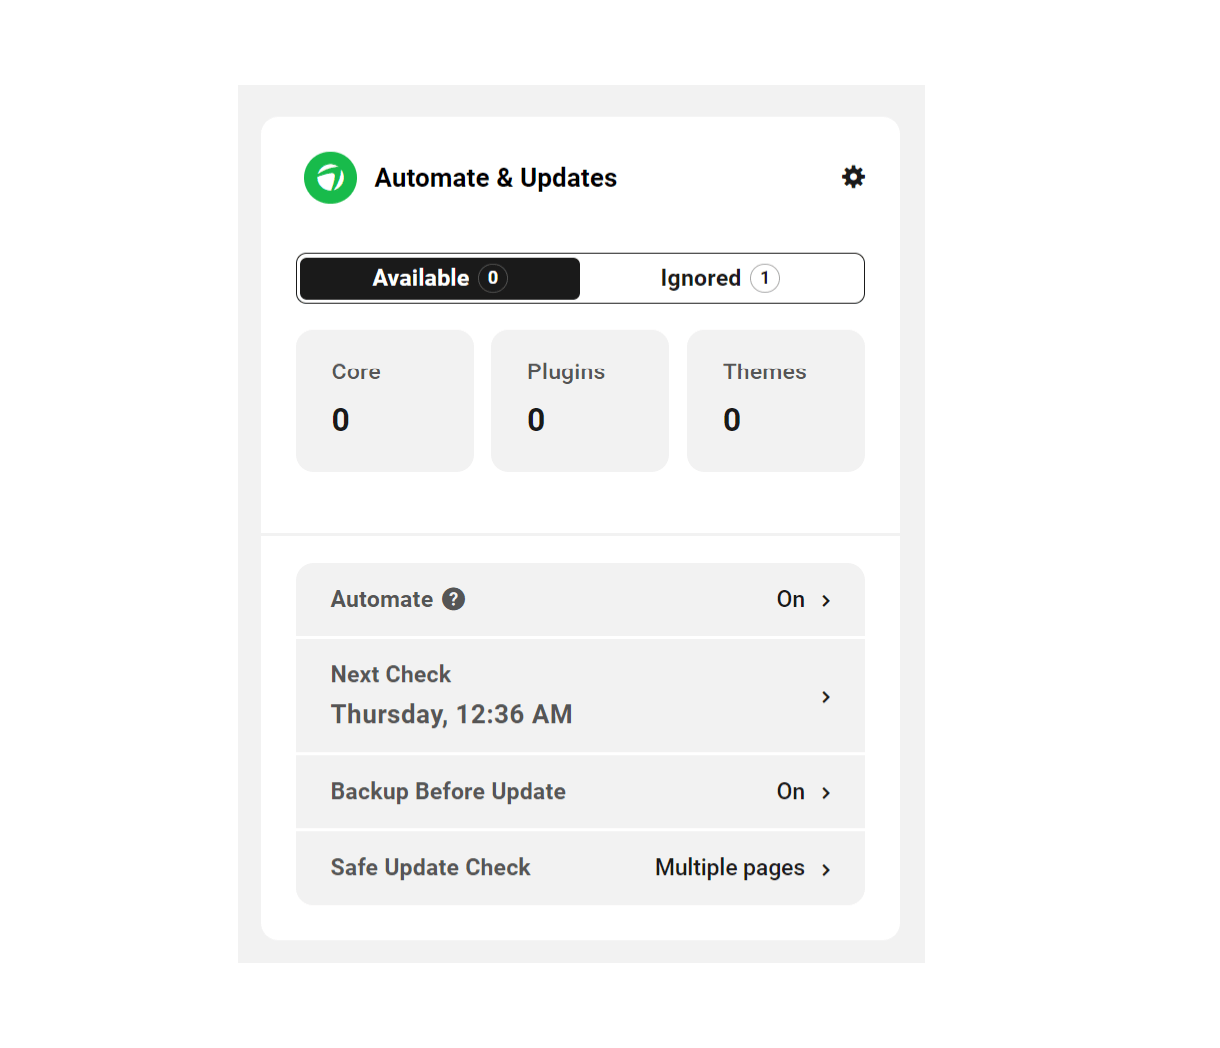
Note that if the Automate feature is not enabled for this site, this widget will not appear on the Overview screen.
For more info on the Automate features that you can manage from your Hub, see the Automate & Updates documentation.
2.2.3 Hosting
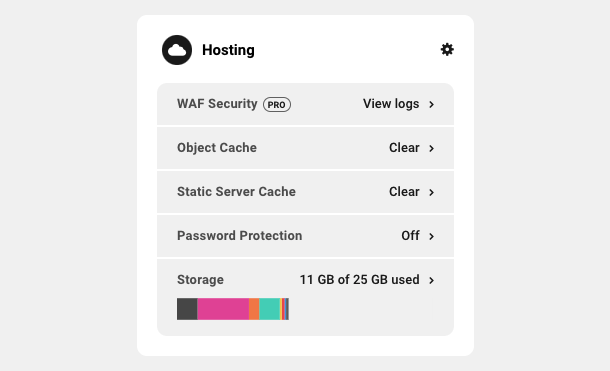
Link to chapter 2The Hosting widget appears at the very top of this section. If your site is currently hosted with WPMU DEV, you’ll see some basic info about your site including:
- Quick access to the WAF Security logs. Not available for sites hosted on the Quantum plan. See Quantum Plan Restrictions for details.
- Quick access to clear the Object Cache. Not available for sites hosted on the Quantum plan. See Quantum Plan Restrictions for details.
- Quick access to clear the Static Server Cache
- An indication of whether Password Protection is enabled
- The usage level of your WPMU DEV account storage
Click Hosting to go straight to the main Hosting tab for that site in your Hub.
If your site is not hosted with us, you’ll see a friendly prompt there to migrate the site to our hosting. Click Migrate if you wish to proceed with migrating your site to WPMU DEV hosting. If you don’t want to do that just yet, click No, not right now to dismiss that widget.
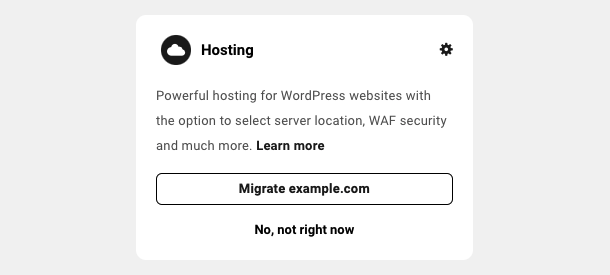
Not sure if you want to migrate your site to WPMU DEV hosting? Check out our hosting info here.
2.2.4 Security
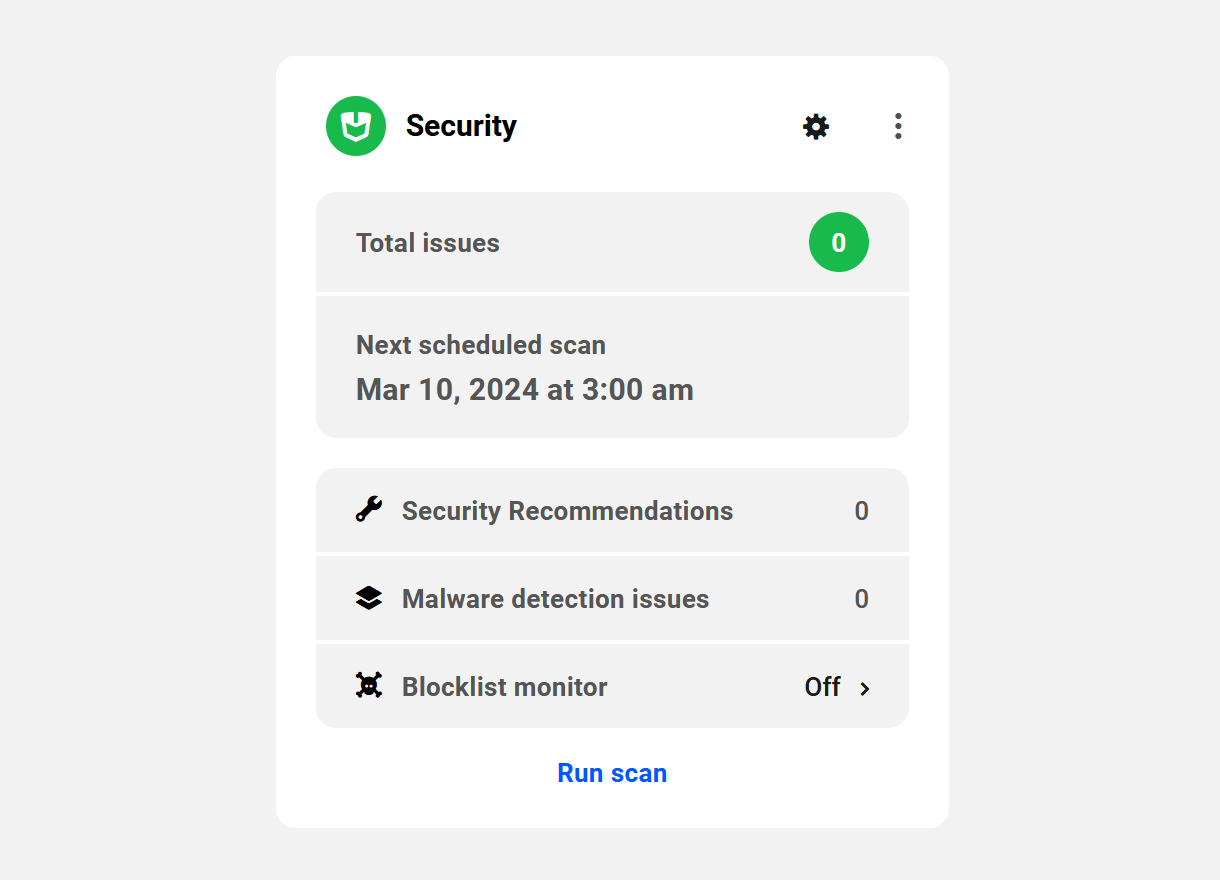
Link to chapter 2The Security tab appears if the WPMU DEV Defender plugin is active on the site. You’ll see the number of Total issues discovered in the last scan, the date and time of the Next scheduled scan if that has been set up, and which of the main plugin features are enabled or not. You can also run a security scan right from there by clicking Run scan.
Click Security, the gear icon, or any displayed feature to go straight to the main Security tab for that site in your Hub.
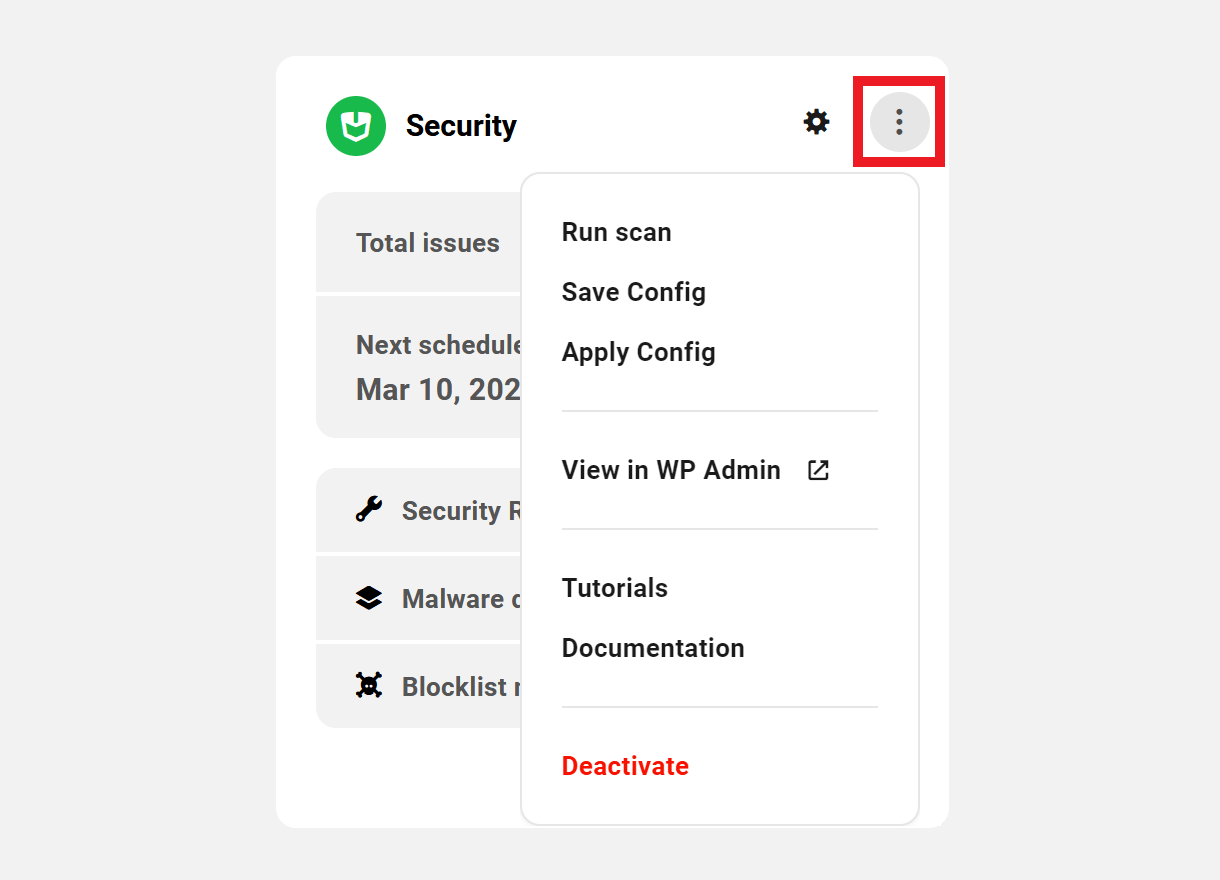
Click the ellipsis icon ( … ) to pop open a dropdown with additional options to manage the Security feature right from your Hub. Options include:
- Run scan – Click to start a full security scan of your site.
- Save Config – Click to save the current Defender configuration of your site as a preset that you can apply to any other site in your Hub.
- Apply Config – Click to select and apply any saved preset Defender configuration to this site.
- View in WP Admin – Click to be redirected to the Defender Dashboard screen in your site’s wp-admin.
- Tutorials – Click to be redirected to Defender & security tutorials on our blog.
- Documentation – Click to be redirected to Defender documentation.
- Deactivate – Click to deactivate Defender on your site.
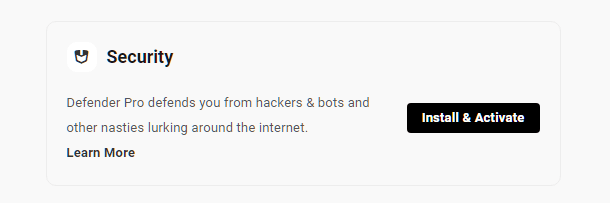
If Defender Pro is not yet active on that site, this widget will not appear and instead, you’ll see a prompt at the bottom of the screen to activate the feature. Click Install & Activate if you wish to do so now, or click Learn More to review the plugin documentation.
For more info on the security features that you can manage from your Hub, see the Security documentation.
2.2.5 Performance
Link to chapter 2The Performance widget appears if the WPMU DEV Hummingbird plugin is active on the site. You’ll see your latest performance test score for the site in that widget, and you can run a performance test right from there by clicking Run test.
Click Performance or the gear icon to go straight to the main Performance tab for that site in your Hub.
Click Desktop or Mobile to view the latest performance test score for the corresponding mode.
If Smush Pro is active on your site, click either Image optimization or Super-Smush savings to be redirected to the corresponding Smush Pro screen in your site’s wp-admin.
Click Asset Optimization to be redirected to the Hummingbird Asset Optimization screen in your site’s wp-admin.
Click Run test at the bottom to start a new performance test right from your Hub.

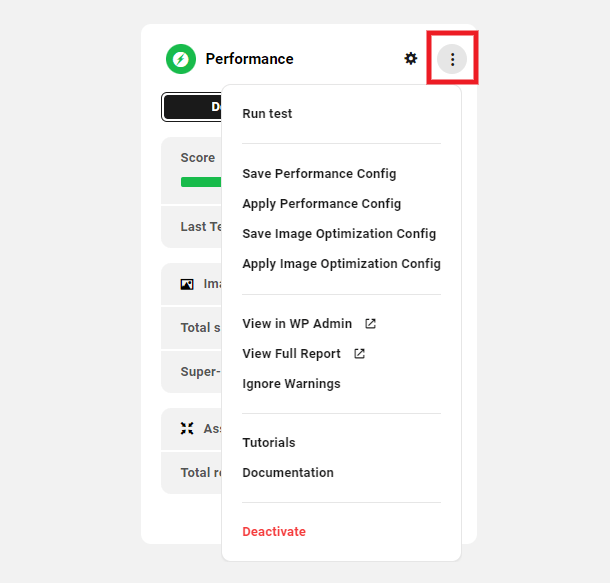
Click the ellipsis icon ( … ) to pop open a dropdown with additional options to manage the Performance of your site right from your Hub. Options include:
- Run test – Click to start a full performance test of your site.
- Save Performance Config – Save your current Hummingbird Pro setup as a custom configuration. See the Configs documentation for details on this feature.
- Apply Performance Config – Apply any custom Hummingbird Pro config to this site.
- Save Image Optimization Config – Save your current Smush Pro setup as a custom configuration. See the Configs documentation for details on this feature.
- Apply Image Optimization Config – Apply any custom Smush Pro config to this site.
- View in WP Admin – Click to be redirected to the Hummingbird Dashboard screen in your site’s wp-admin.
- View Full Report – Click to be redirected to the Hummingbird Performance Test screen in your site’s wp-admin to view the latest test results.
- Ignore Warnings – Run a performance scan but ignore any recommendations.
- Tutorials – Click to be redirected to Hummingbird tutorials on our blog.
- Documentation – Click to be redirected to Hummingbird documentation.
- Deactivate – Click to deactivate Hummingbird on your site.
If Hummingbird Pro is not yet active on that site, this widget will not appear and instead, you’ll see a prompt at the bottom of the screen to Install & Activate that plugin. Click that button if you wish to do so now, or click the Learn More link to review the plugin documentation.
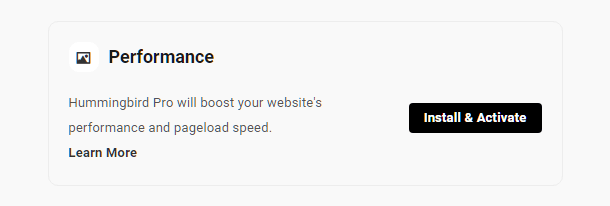
For more info on the performance features that you can manage from your Hub, see the Performance documentation.
2.2.6 SEO
Link to chapter 2The SEO widget appears if WPMU DEV’s SmartCrawl plugin is active on the site. The widget displays the score from your site’s latest SEO scan, the date of your next scheduled scan, and additional scan details.
Click Run test to run a full Lighthouse Audit directly from The Hub.
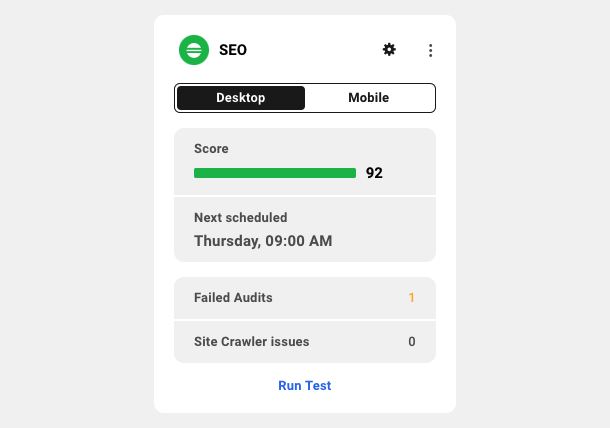
Click the widget title or the gear icon to view additional SEO details in The Hub’s SEO tab.
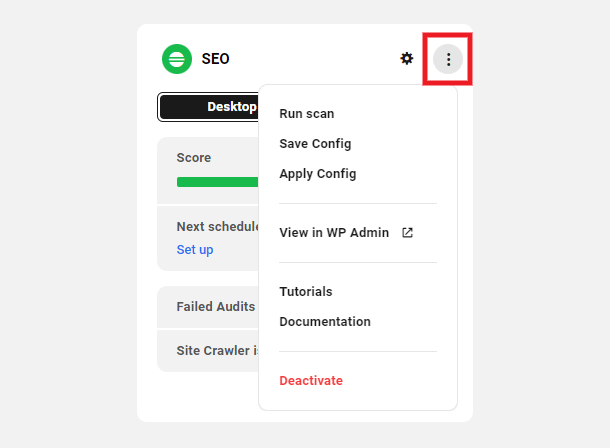
Click the menu button (three dots) for additional options, including:
- Run scan – Click to run a full SEO scan of your site directly from The Hub.
- Save/Apply Config – Click to Save or Apply a SmartCrawl config to the site.
- View in WP Admin – Click to be redirected to the SmartCrawl Dashboard screen in your site’s wp-admin.
- Tutorials – Click to be redirected to SEO tutorials on our blog.
- Documentation – Click to be redirected to SmartCrawl documentation.
- Deactivate – Click to deactivate SmartCrawl on your site.
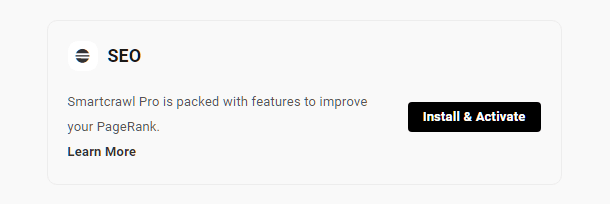
If SmartCrawl Pro is not yet active on that site, this widget will not appear, and instead you’ll see a prompt at the bottom of the screen to activate the feature. Click Install & Activate if you wish to do so now, or click Learn More to review the plugin documentation.
2.2.7 Link Checker
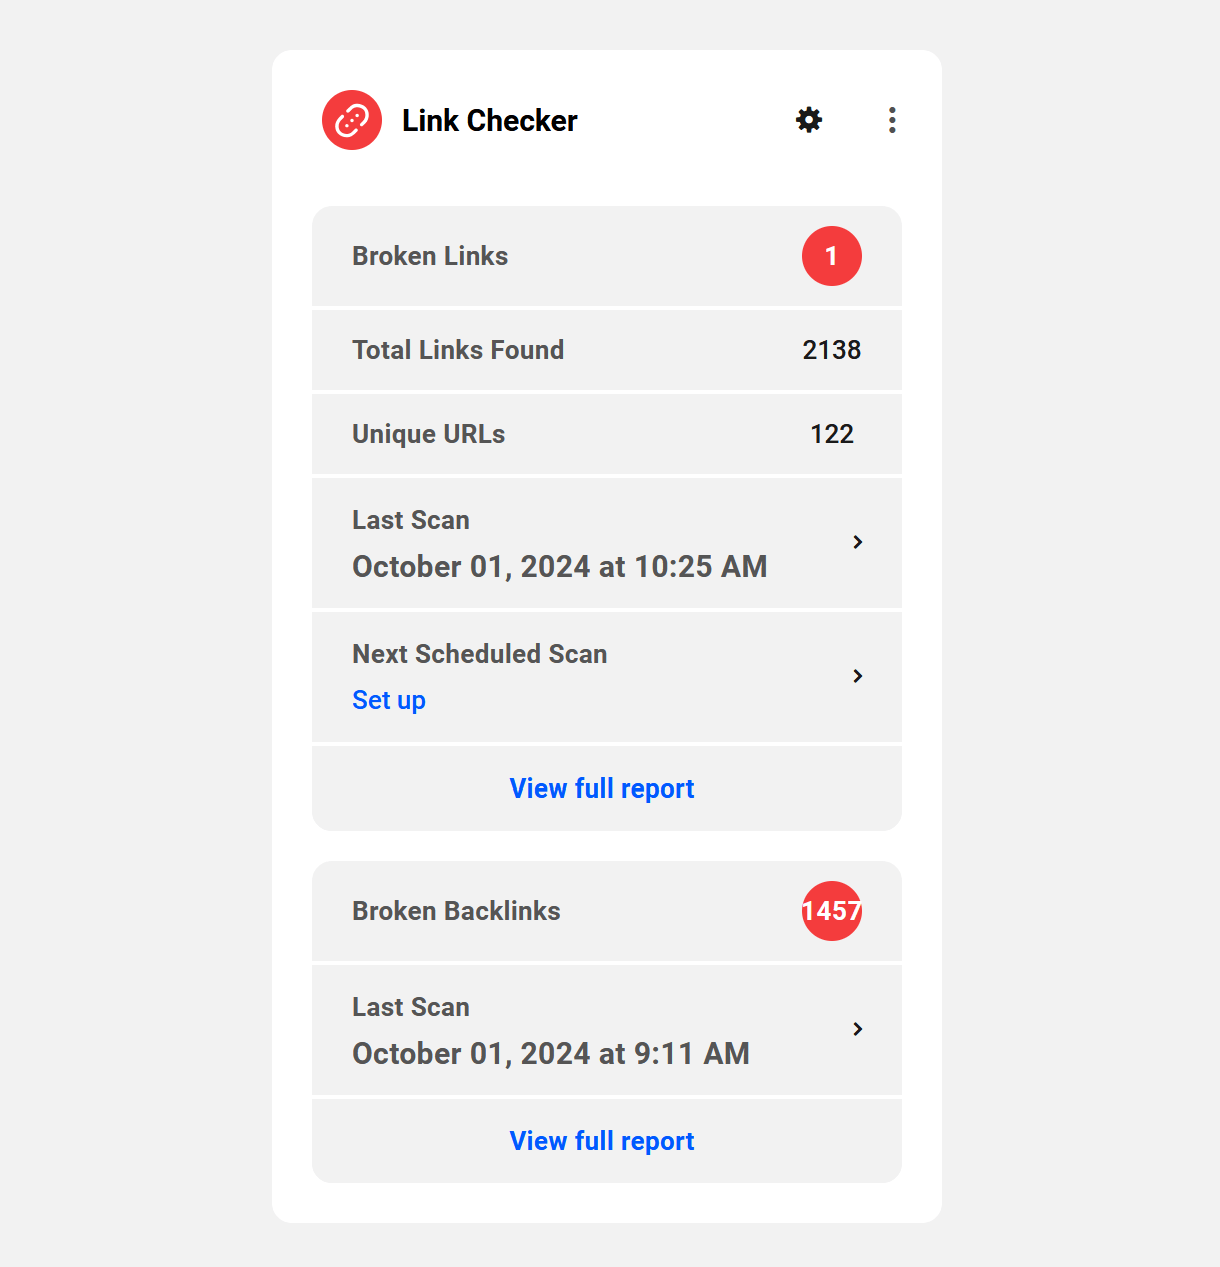
Link to chapter 2The Link Checker widget appears if either the Broken Links checker or Backlinks checker is active.
The widget displays a summary of the most recent scan results from the active link checker(s). Click the View full report link in either section to be redirected to the corresponding screen of the Link Checker feature in your Hub.
For more info on the link checker features that you can manage from your Hub, see the Link Checker documentation.
2.2.8 Backups
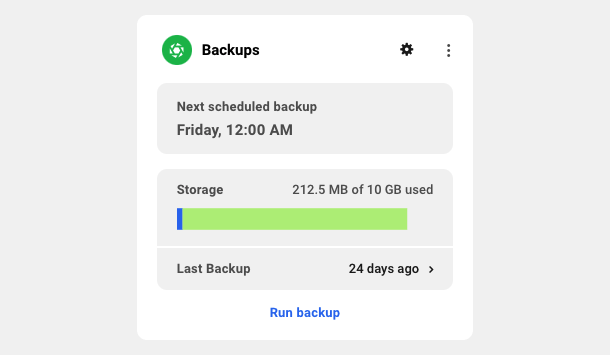
Link to chapter 2The Backups widget displays quick info about when the last backup was made and the backup schedule that is currently set for the site. For 3rd-party hosted sites, it will also display the total backup storage used by the Snapshot plugin.
Click Backups or the gear icon to go straight to the Backups tab for that site in your Hub.
Click Run backup to run a manual backup of the site right from the Overview screen.
WPMU DEV
For a site hosted by WPMU DEV, the storage space used is not indicated in this widget as it is a negligible amount and is included with your hosting plan. See also the Storage tab under Hosting > Analytics for a detailed breakdown of space used.

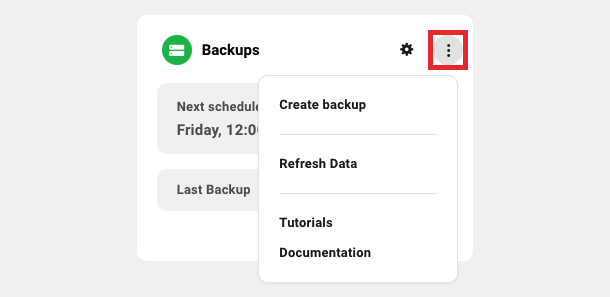
Click the ellipsis icon ( … ) to pop open a dropdown with additional options to manage the Backups feature in your Hub. Options include:
- Create backup – Click to start a new manual backup of your site.
- Refresh Data – Click to refresh and ensure the most recent data displays.
- Tutorials – Click to be redirected to backup tutorials on our blog.
- Documentation – Click to be redirected to backup documentation.
Please note that manual backups are not available for sites hosted on the Quantum plan. See Quantum Plan Restrictions for details.
Snapshot
For a 3rd-party hosted site using our Snapshot plugin for backups, the storage indicated is the space used according to the total available in your current Snapshot backup storage plan.
Click the ellipsis icon ( … ) to pop open a dropdown with additional options to manage Snapshot Backups right from your Hub. Options include:
- Create backup – Click to start a new manual Snapshot backup of your site.
- View in WP Admin – Click to be redirected to the Snapshot Settings screen in your site’s wp-admin.
- Save Config – Click to save the current Snapshot configuration of your site as a preset that you can apply to any other site in your Hub.
- Apply Config – Click to select and apply any saved preset Snapshot configuration to this site.
- Refresh Data – Click to refresh and ensure the most recent data displays.
- Tutorials – Click to be redirected to backup tutorials on our blog.
- Documentation – Click to be redirected to backup documentation.
- Deactivate – Click to deactivate Snapshot on your site.

Note that this widget will appear by default for sites hosted by WPMU DEV. But it will only appear for 3rd-party-hosted sites if the Snapshot Pro plugin is installed & activated there.
If Snapshot Pro is not yet active on a 3rd-party-hosted site, you’ll see a prompt at the bottom of the screen to activate the feature. Click Install & Activate if you wish to do so now, or click Learn More to review the plugin documentation.
For more info on the backup features that you can manage from your Hub, see the Backups documentation.
2.2.9 Uptime
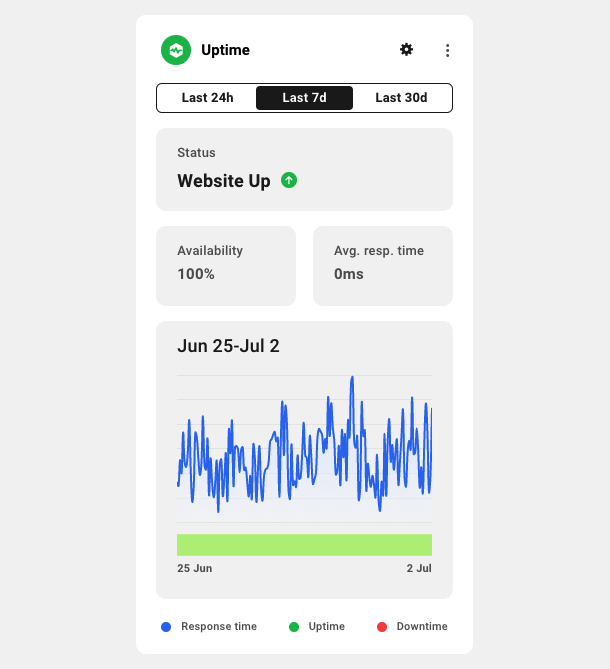
Link to chapter 2The Uptime widget displays data from the Uptime feature that can be enabled either in the Hummingbird Pro plugin, or from the Uptime screen in your Hub.
You can view site data for the last 24 hours, or the last 7 or 30 days, by clicking the date range filters at the top.
Click Uptime or the gear icon to go straight to the Uptime screen in your Hub for more info.
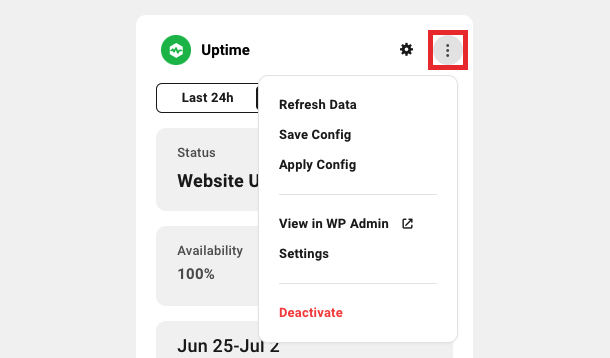
Click the ellipsis icon ( … ) to pop open a dropdown with additional options to manage the Uptime feature right from your Hub. Options include:
- Refresh Data – Click to refresh and ensure the most recent data displays.
- Save Config – Save your current Uptime setup as a custom configuration. See the Configs documentation for details on this feature.
- Apply Config – Apply any custom Uptime config to this site.
- View in WP Admin – Click to be redirected to the Hummingbird Uptime screen in your site’s wp-admin.
- Settings – Click to be redirected to the Uptime Settings screen in your Hub.
- Deactivate – Click to deactivate the Uptime Monitoring feature on your site.
If Uptime is not yet active on that site, this widget will not appear and instead, you’ll see a prompt at the bottom of the screen to activate the feature. Click Activate if you wish to do so now, or click Learn More to review the feature’s documentation.
For more info on Uptime features that you can manage from your Hub, see the Uptime documentation.
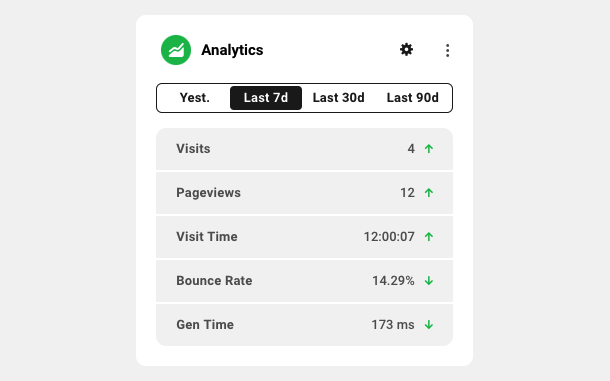
2.2.10 Analytics
Link to chapter 2The Analytics widget displays data from the Hub2 Analytics feature that can be enabled either in the WPMU DEV Dashboard plugin installed on your site, or from the Analytics screen in your Hub.
You can view site data for the last 24 hours, or the last 7, 30 or 90 days, by clicking the date range filters at the top.
Click Analytics, the gear icon, or any metric to go straight to the Analytics screen in your Hub for more info.
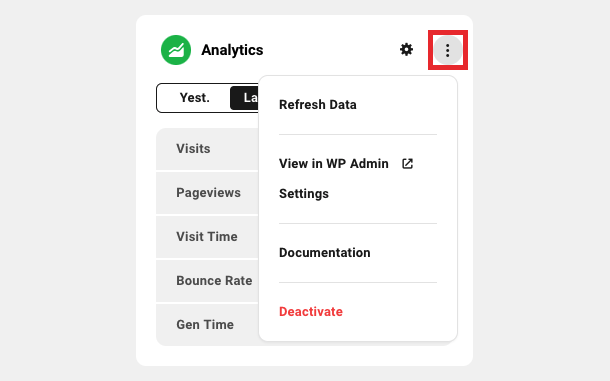
Click the ellipsis icon ( … ) to pop open a dropdown with additional options to manage the Uptime feature right from your Hub. Options include:
- Refresh Data – Click to refresh and ensure the most recent data displays.
- View in WP Admin – Click to be redirected to the WordPress Dashboard screen in your site’s wp-admin.
- Settings – Click to be redirected to the Analytics Settings screen in your Hub.
- Documentation – Click to be redirected to Analytics documentation.
- Deactivate – Click to deactivate the Analytics feature in your Hub and on your site.
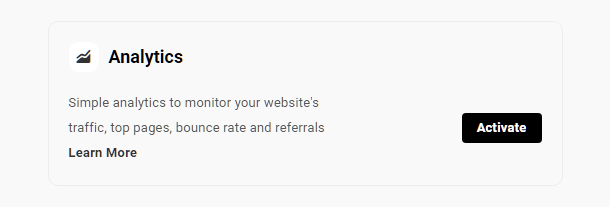
If Analytics is not yet active on that site, this widget will not appear and instead, you’ll see a prompt at the bottom of the screen to activate the feature. Click Activate if you wish to do so now, or click Learn More to review the feature’s documentation.
For more info on Analytics features that you can manage in your Hub, see the Analytics documentation.
2.2.11 Client Billing
Link to chapter 2The Client Billing widget appears if there is a client attached to the site you’re viewing. It displays summary information about the billing activity associated with the site.
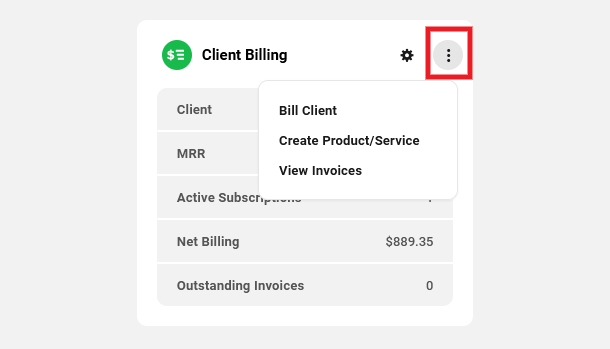
The icon in the widget will appear green if the client has no outstanding invoices, or if the client has just been added and there are no invoices created yet.
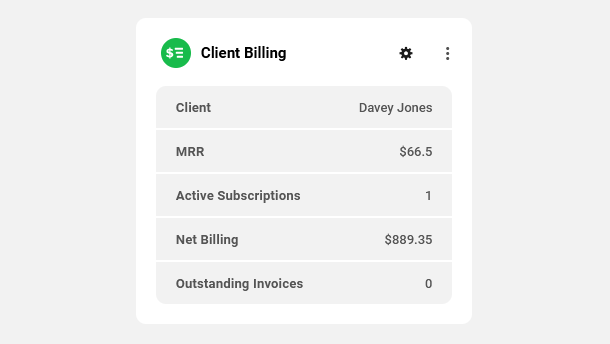
If the client has any outstanding invoices, the widget icon will appear red.
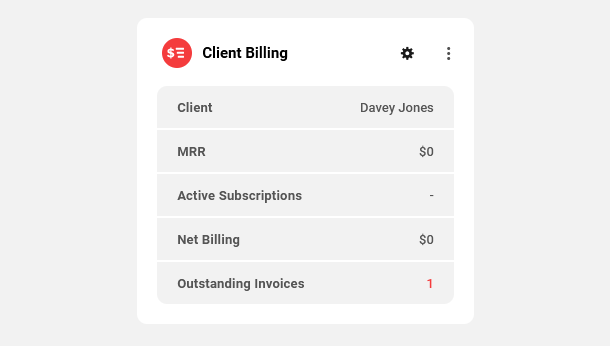
Click the widget title, the gear icon, or any metric displayed to go straight to the Client Billing overview screen for that site in your Hub.
Click the ellipsis icon ( … ) to pop open a dropdown with additional options for frequently used site billing activities. Options include:
- Bill Client – Click this option to be directed to the Client Billing section of that site where the Bill Client modal will be opened automatically so you can create and send a new invoice to the client.
- Create Product / Service – Click this option to be directed to the Client Billing section of that site where the Create Product or Service modal will be opened automatically so you can create a new product to bill the client for.
- View Invoices – Click this to be directed to the main Invoices page of your Clients & Billing portal where the list will be filtered automatically to display only invoices associated with the site you’re viewing.
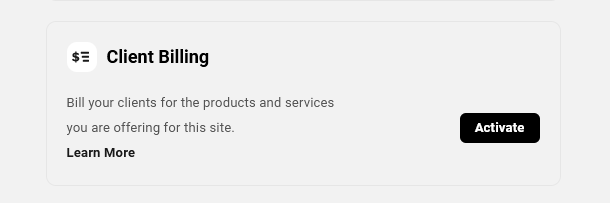
If there is no client yet attached to the site you’re viewing, this widget will not appear and instead, you’ll see a prompt at the bottom of the screen to activate the feature. Click Activate if you wish to add a client to the site now, or click Learn More to review the feature’s documentation.
For more information about Client Billing in your sites, see the Site Billing chapter in our Clients & Billing documentation.
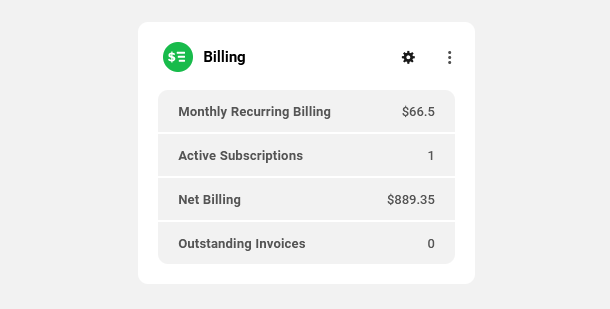
Note that the widget your clients see is slightly different, and there is only one option under the ellipsis icon to View Invoices.
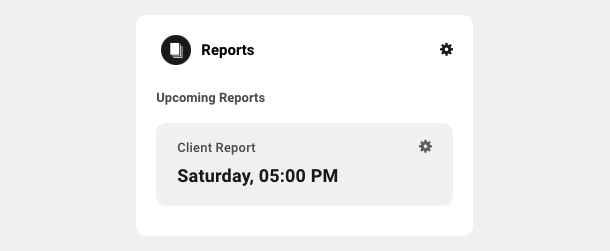
2.2.12 Reports
Link to chapter 2The Reports widget displays a summary of all reports you have scheduled for this site.
Click Reports to go straight to the Reports tab for that site in your Hub.
Click the gear icon for any displayed report to go straight to the Settings screen for that specific report in your Hub.
2.3 Get Support
Copy chapter anchor to clipboardIf you still have questions or need assistance after reading this document, please don’t hesitate to contact our support superheroes using the available options under the Support tab in your Hub or via the Support tab in your WPMU DEV Dashboard.
