20. Performance
This usage document provides an overview of how to use the Hub 2.0 to monitor, optimize, and improve WordPress speed with scans, recommendations, caching, Gzip compression, Asset Optimization, and other performance features included in Hummingbird Pro.
The Performance tab in the Hub is an extremely useful tool to make the integration of Hummigbird and Smush seamless. For more information on how you can utilize this world-class software to improve your site’s performance, read Optimizing Your Performance with Smush, Hummingbird, and The Hub.
If you haven’t set up your WPMU DEV account yet, visit the Hub page, where you can explore the features and see pricing packages.
Already a member? Visit your Hub dashboard to get started.
Note that if you are a free Hub user, some of the features detailed here may not be available to you, and would require an account upgrade. See Free Hub Restrictions for details.
20.1 Getting Started
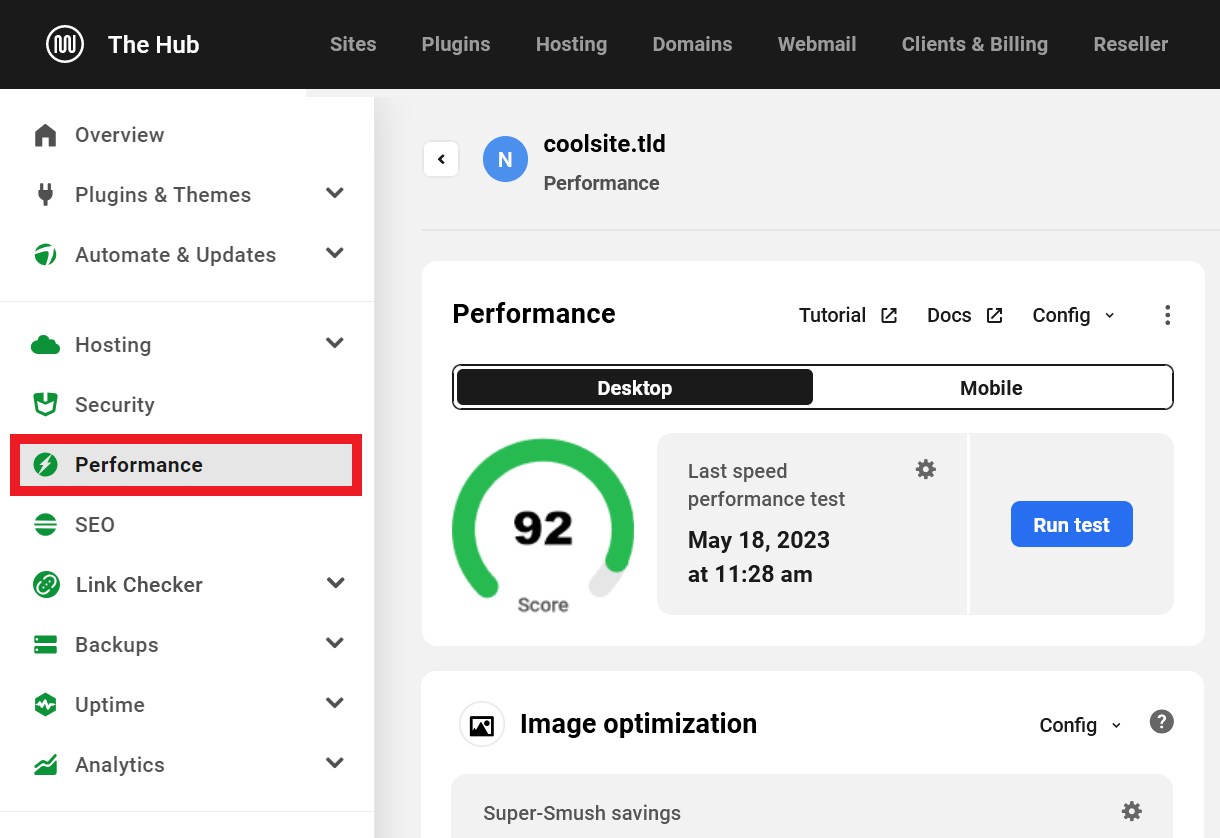
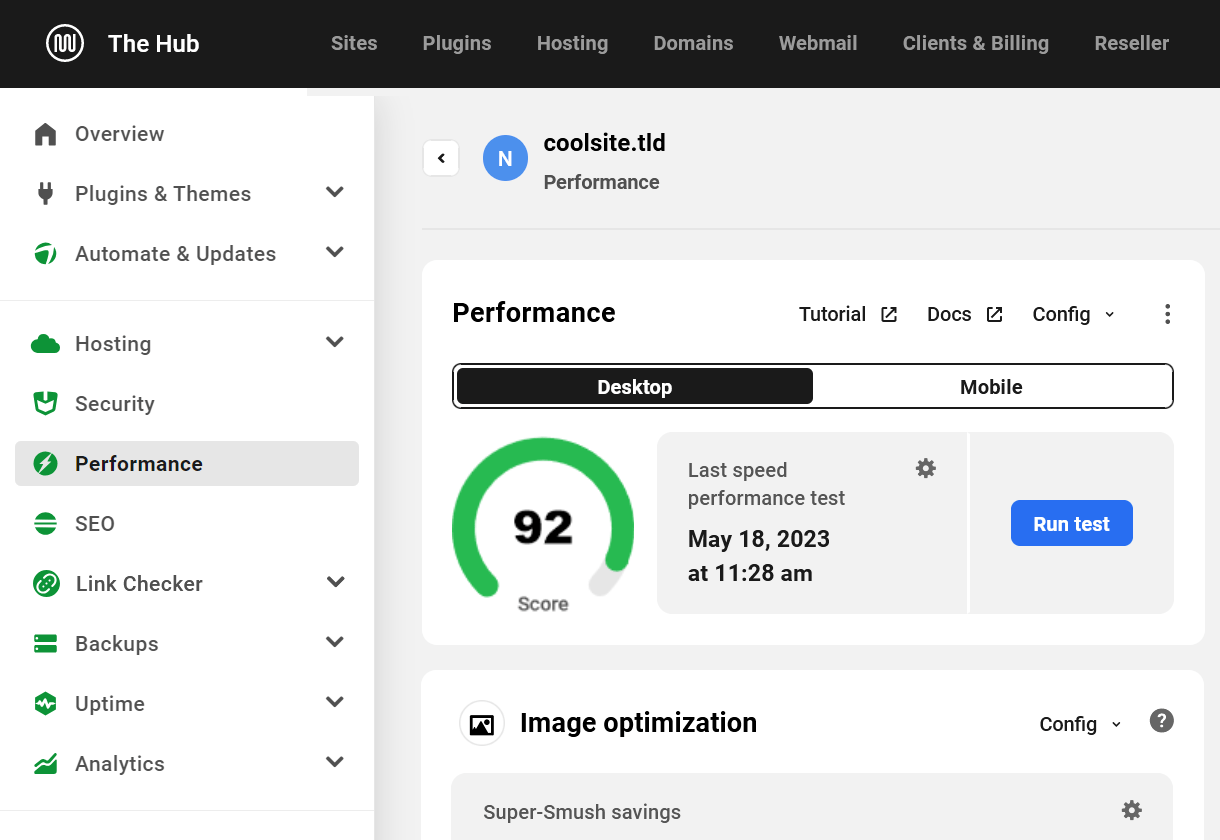
Copy chapter anchor to clipboardTo access the Performance section of your site from the Hub 2.0 My Sites page, click on the site you would like to manage and click the Performance tab in the site manager menu.
This will open the Performance settings and options available in Hub 2.0.
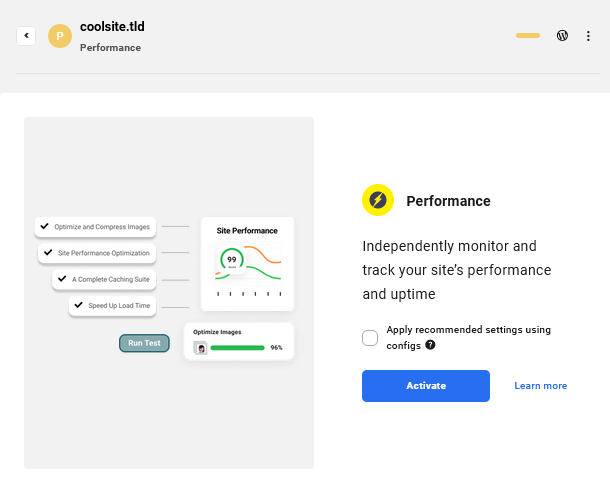
If you have not yet set up Hummingbird Pro on your site, click the Activate button to start tracking and managing your site’s Performance in the Hub. This will install and activate Hummingbird Pro and Smush Pro on your website and begin a Performance scan looking for areas to improve your site’s performance.
You can also choose to activate this module with any of your custom configurations already pre-applied. Check the Apply recommended settings using configs checkbox and select the custom configs you want to apply. See our Custom Configs documentation for more on this feature.
20.2 Performance Dashboard Overview
Copy chapter anchor to clipboardThe Performance Dashboard Overview is an overview of available Performance settings, configurations, and quick links for managing and improving website speed and efficiency.
Modules on the Dashboard include:
- Performance (Test)
- Your Reports
- Response Time
- Image Optimization
- Speed Test
- GZIP Compression
- Asset Optimization
- Caching
- Advanced Tools
20.2.1 Performance (Test)
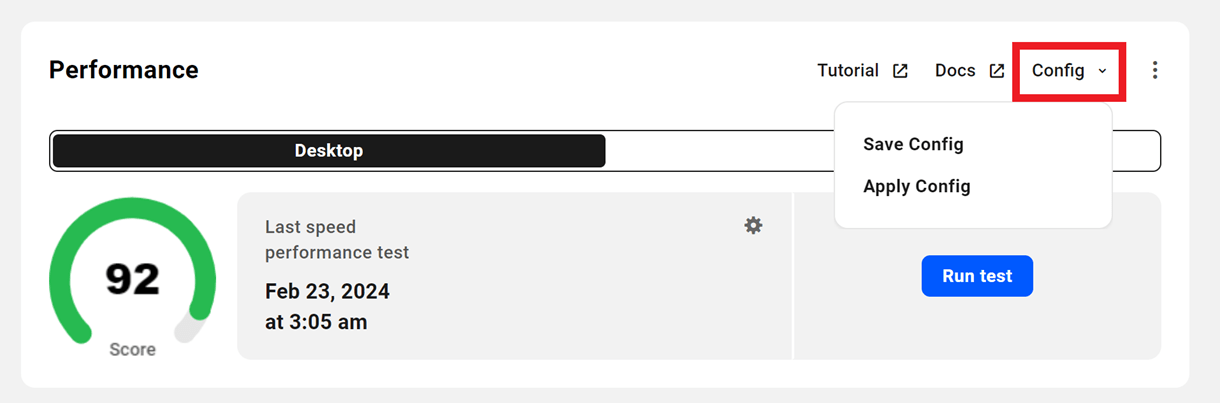
Link to chapter 2The main Performance module gives you a quick overview of your site’s desktop and mobile scores from the most recent performance test you ran on your site.
Click the Run test button to run a new performance test of your site right from your Hub.
Click the ellipsis icon to reveal additional options where you can find the Deactivate option to deactivate Hummingbird on your site.
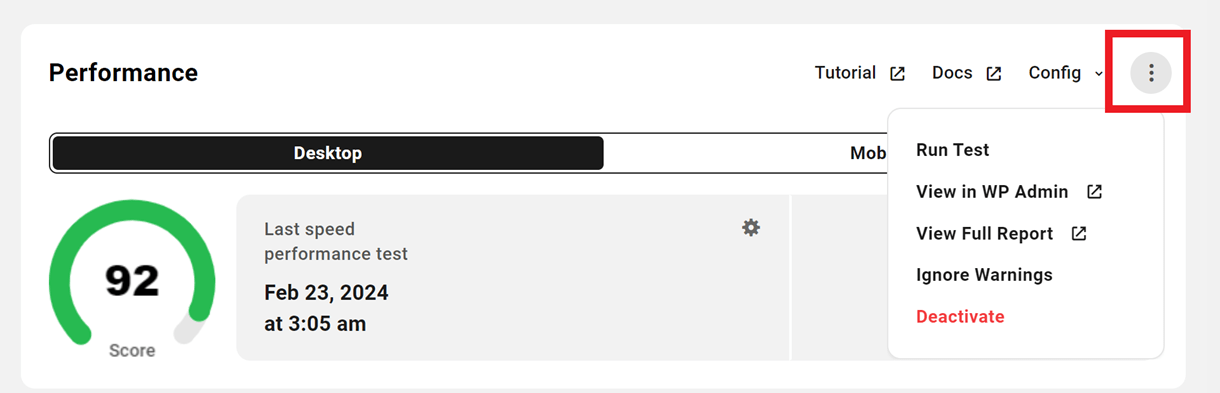
The View Full Report will take you to the performance report screen and View in WP Admin will take you to the Hummingbird dashboard screen on your site. Clicking the Ignore Warnings option will cause all warnings to be greyed out in your site’s admin dashboard to help prevent other admin users from taking unwanted action on your site.
You can save the current Performance configuration of any site in your Hub, or apply any saved
config to the site.
To save the current configuration, click on the Config drop-down and click Save Config. Enter a name for the config and click Save.
To apply any saved config to the current site, click the Apply Config option and select the config you want to apply.
20.2.2 Your Reports
Link to chapter 2The Your Reports module gives you a quick overview of which reporting options you have enabled in Hummingbird, and shows you your schedules for each type of report.
Click the schedule of any one to go straight to the corresponding Reports screen in your site’s wp-admin to enable or configure the schedule for that feature.

20.2.3 Response Time
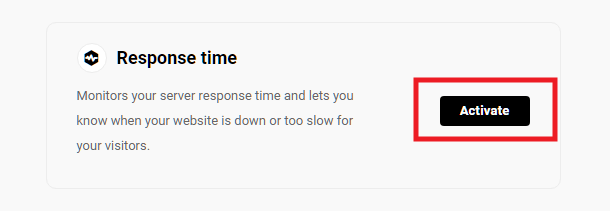
Link to chapter 2The Response Time module displays data from the Uptime monitoring feature. You can enable Uptime either in the Hummingbird plugin in your site’s wp-admin, or in yoursite > Uptime in your Hub, or by clicking the Activate button here in this module.
Once activated, you can view site data for the last 24 hours, or the last 7 or 30 days, by clicking the date range filters at the top.
The response time module displays the response time of your site in the chosen date range in a graphical format.
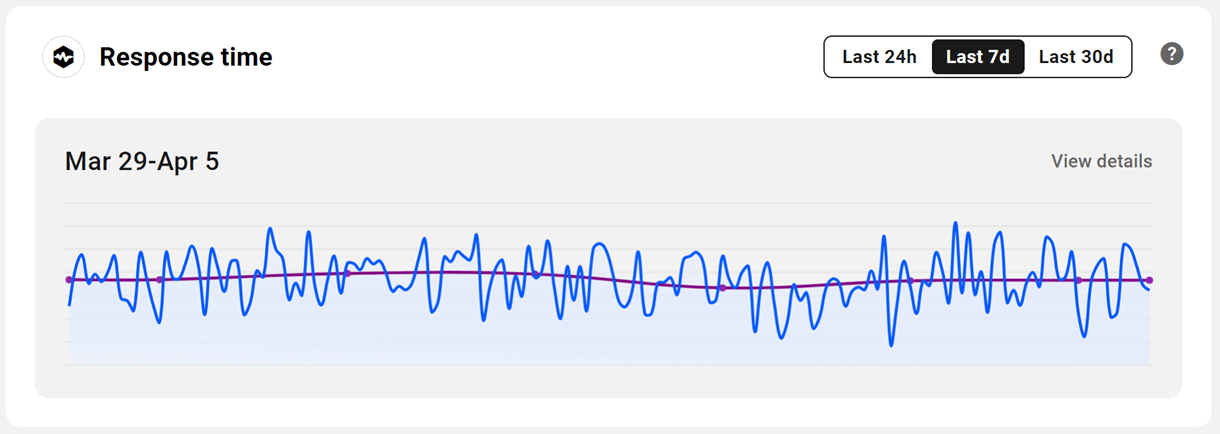
Clicking on either the module’s title or the View details link will open up the Uptime dashboard screen in the Hub, where you can view detailed information on the response time of your site.

20.2.4 Image Optimization
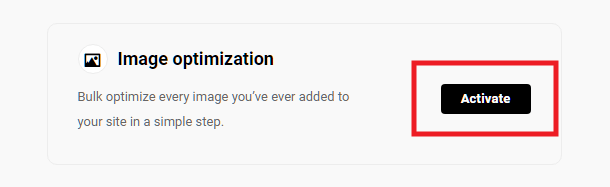
Link to chapter 2The Image Optimization module gives you a quick overview of the features enabled in the Smush Pro plugin on your site, and the results of your image optimization efforts.
Enable the module by clicking the Activate button, or activate Smush Pro on your site.
Once Smush Pro is activated on your site, the module will display the current Compression Mode, Total Savings (in Mb), number of Images smushed and resized, and the status of the Smush CDN and Lazy-Load options.
Image resize savings and Directory smush savings will also be displayed if you have activated these features on the plugin.
Clicking on the titles of certain sections will redirect you to the corresponding screens in the plugin.
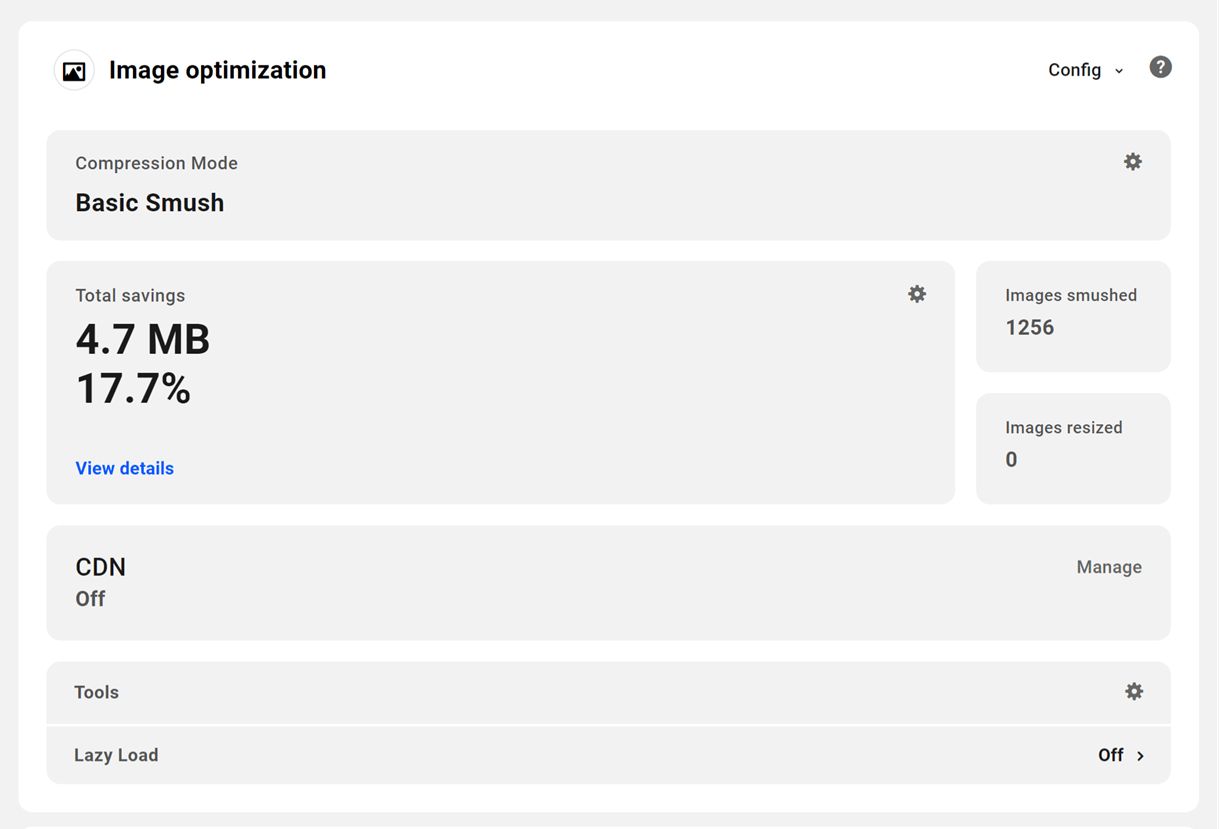
Click the Config drop-down at the top right corner of the module and select Save Config to save the current Image Optimization configuration or Apply Config to apply any of the saved configs to the site.
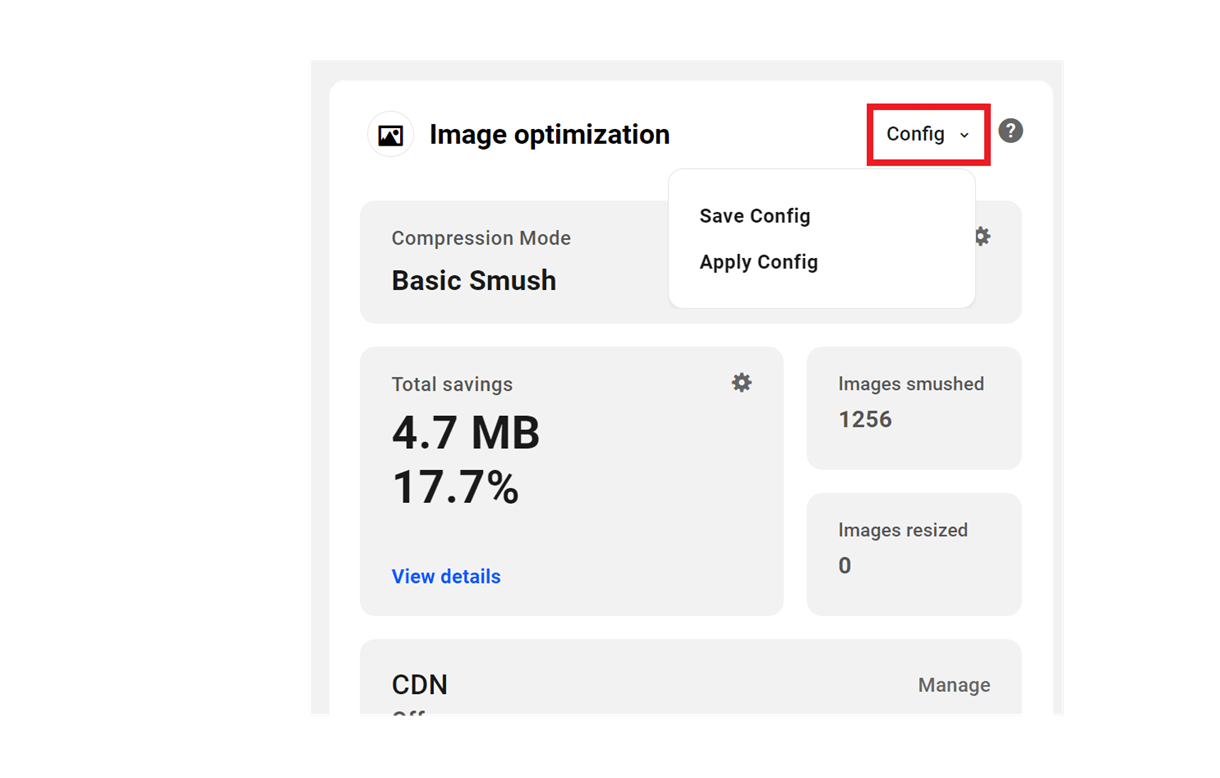
Refer to Custom Configs documentation for more on this feature.
20.2.5 Speed Test
Link to chapter 2This module displays a quick overview of the results of the most recent Performance Test that you ran in the Hummingbird plugin on your site. Click the options in the filters at the top for specifics on your Score Metrics, Audits and Historic Field Data (if applicable).
![]()
Click the caret next to any result to go straight to the corresponding test result in your site’s wp-admin to view details on the metric itself and what you can do to improve its score.
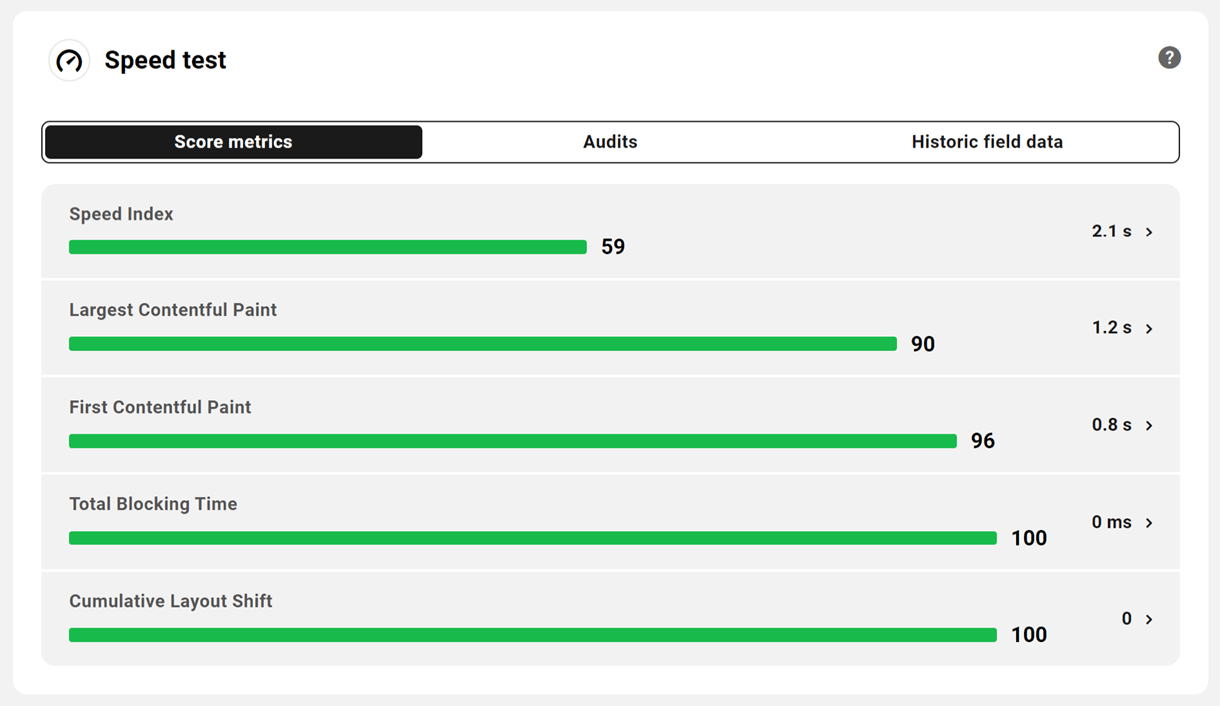
The performance score is calculated based on the following metrics:
- Speed Index – An index measured in milliseconds which represents the average time it takes for the above the fold content to become visible. The index also takes into account the progressive loading of your content, which means the sooner the content starts to render, the better your speed index. Note that this metric is highly dependent on the device and screen size being used to view the site. Learn more
- First Contentful Paint – The period between clicking a link from another site (like a search engine) until the browser renders the first bit of content (text, an image, a canvas element or anything visual) from your website. This is an important milestone for visitors because it provides feedback that the page has started loading. If your FCP is perceived as ‘slow’ to new visitors, they may not wait long enough for the page to load and will bounce. Learn more
- First Meaningful Paint – Identifies the time required for the primary content — the content you want your visitors to engage with first — to become visible. The sooner the primary content is visible, the sooner your visitors perceive your page as useful. Primary content differs from page to page. For example, on Twitter, the primary content is the first tweet, while on a news site it’s likely the title and featured image. Learn more
- First CPU Idle – The time when ‘most’ elements on your page can respond to user interactions such as clicking a button or typing text into an input field. This provides feedback to your visitors that they can start interacting with your page. Learn more
- Interaction to Next Paint – An index measured in milliseconds that measures how quickly a site responds to users’ interactions like click, tap, or keyword interactions, by calculating the total amount of delay that happens throughout the lifespan of a user’s visit to a page. It is an indicator of the overall responsiveness of a site. The lower the value of INP, the greater the responsiveness of your site. Learn More
Site performance and efficiency are covered extensively on the WPMU DEV blog. Click the learn more links to read relevant posts or for more technical information, visit Hummingbird Pro documents.
Audits
Under the Audits tab, you’ll find a summary of the Opportunities and Diagnostics as reported by Hummingbird’s Performance Test, as well as the total of Passed audits.
Click the View details link to go straight to the Audits screen in Hummingbird > Performance Test in your site’s wp-admin for details on what you can do to improve performance in these areas.
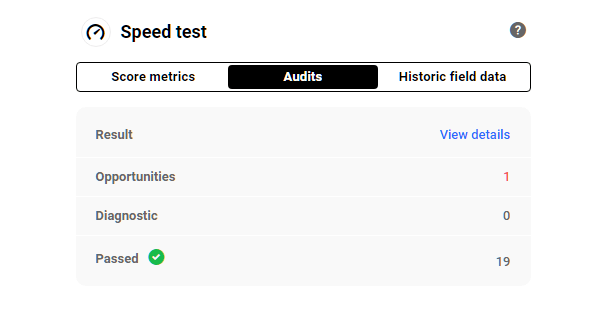
- Opportunities – Areas for improvement with suggestions on how to improve the page’s performance
- Diagnostic – Information about how a page follows web development best practices
- Passed – Audits that your page performed well with
Historic Field Data
This report compiles information about how a particular URL has performed over time and represents anonymized performance data from users in the real-world on a variety of devices and network conditions.

Hummingbird Pro pulls historic data from the Chrome User Experience Report, which collects data over time. Depending on a site’s activity, it can take months to accumulate sufficient data to generate a report.
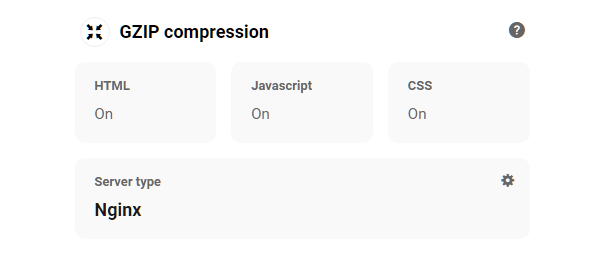
20.2.6 Gzip Compression
Link to chapter 2Gzip compresses webpages and stylesheets before sending them to your visitors’ browsers. This module gives you a quick overview of which content types are currently optimized with Gzip in Hummingbird, as well as the server type your site is running on.
Click the gear icon in the Server Type section to go straight to the corresponding Hummingbird settings screen in your site’s wp-admin.
For more information about Gzip configuration options, visit the Gzip Compression section in the Hummingbird usage docs.
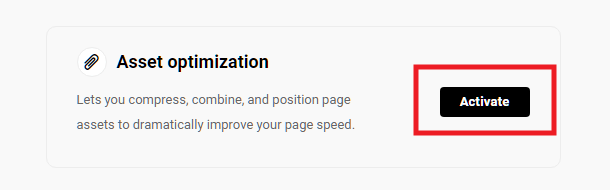
20.2.7 Asset Optimization
Link to chapter 2The Asset Optimization module provides you with a quick overview of your optimization efforts when using that feature in the Hummingbird plugin on your site.
Enable the module by clicking the Activate button, or activate the Hummingbird Pro plugin in your site’s wp-admin.
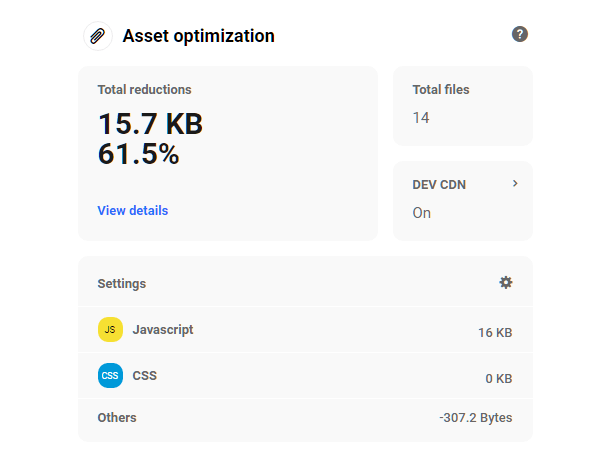
Once activated, you can see the Total reductions in file size achieved, the Total files that have been optimized, whether your optimized assets are being served from the DEV CDN, as well as how many of each type of file are optimized as seen in the Settings section of the module.
Click either the module Title, the View details link in the Total reductions section, or the gear icon in the Settings section to go straight to the corresponding Hummingbird screens in your site’s wp-admin.
For more information about Asset Optimization settings, visit the Asset Optimization section in the Hummingbird usage docs.
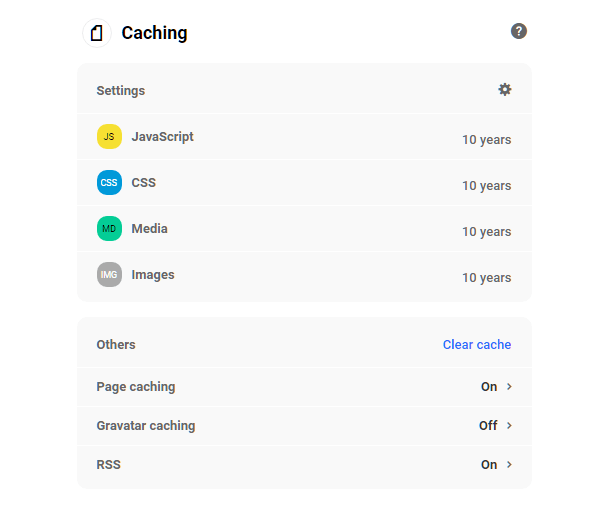
20.2.8 Caching
Link to chapter 2The Cache module gives you a quick overview of which cache options are configured in the Hummingbird plugin on your site.
The first section, Settings, indicates the current expiry time set for each File Type in the Browser Caching section of Hummingbird > Caching on your site.
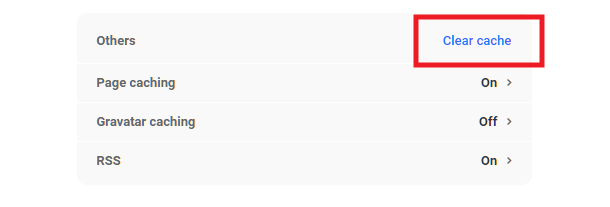
The following section, Others, indicates which other types of caching you may have enabled in Hummingbird on your site.
Click on the module Title or the gear icon in the Settings section to go straight to the Hummingbird cache settings screen in your site’s wp-admin.
For more information about configuring Browser Cache, see the Browser Cache section in the Hummingbird usage docs.
See the Page Cache section Hummingbird docs for more about page caching.
See the Gravatar Cache section for more on that.
Or see the RSS Cache section for more on that.
Clear cache
You can clear any of the caches active in Hummingbird on your site directly from your Hub. To do that, click the Clear cache link in the Others section.
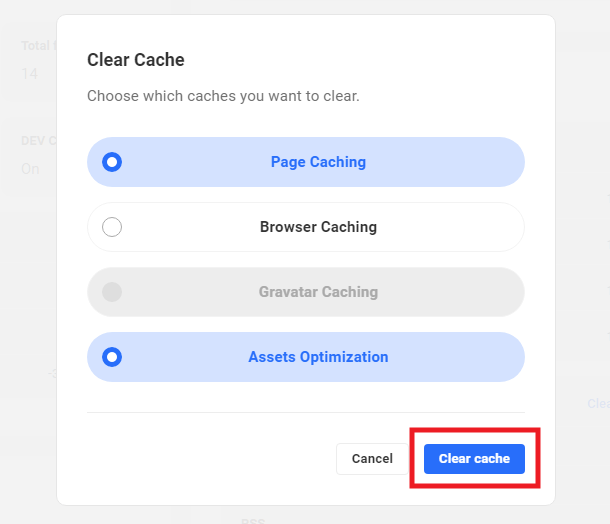
In the little modal window that pops up, select which active cache(s) you want to clear. Then click the Clear cache button to confirm the action.
20.2.9 Advanced Tools
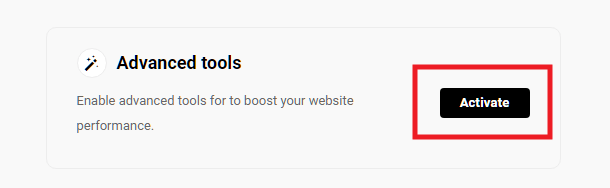
Link to chapter 2This module gives you a quick overview of which of the Advanced Tools you may have configured in Hummingbird on your site. If none of them are yet active, you can activate this module by clicking the Activate button.
Once activated, you’ll see a list of all the tools available, and which of them are currently active. Click the module Title or any gear icon in the module to go straight to the main settings screen in Hummingbird > Advanced Tools in your site’s wp-admin.

For more information about the available tools and their configuration options, see the Advanced Tools section in the Hummingbird usage docs.
20.3 Get Support
Copy chapter anchor to clipboardIf you still have questions or need assistance after reading this document, please don’t hesitate to contact our support superheroes using the available options under the Support tab in your Hub or via the Support tab in your WPMU DEV Dashboard.
