16. Plugins & Themes
This document provides a walkthrough of the Plugins & Themes module available in each site in The Hub.
It is not to be confused with the Plugins manager which enables you to manage all plugins across all your sites from one location.
If you haven’t set up your WPMU DEV account yet, visit the Hub page, where you can explore the features and see pricing packages.
Already a member? Visit your Hub dashboard to get started.
16.1 Getting Started
Copy chapter anchor to clipboardTo access the Plugins & Themes section of your site from the Hub > My Sites page, click on the site you would like to manage and click on the Plugins & Themes option in the site manager menu.
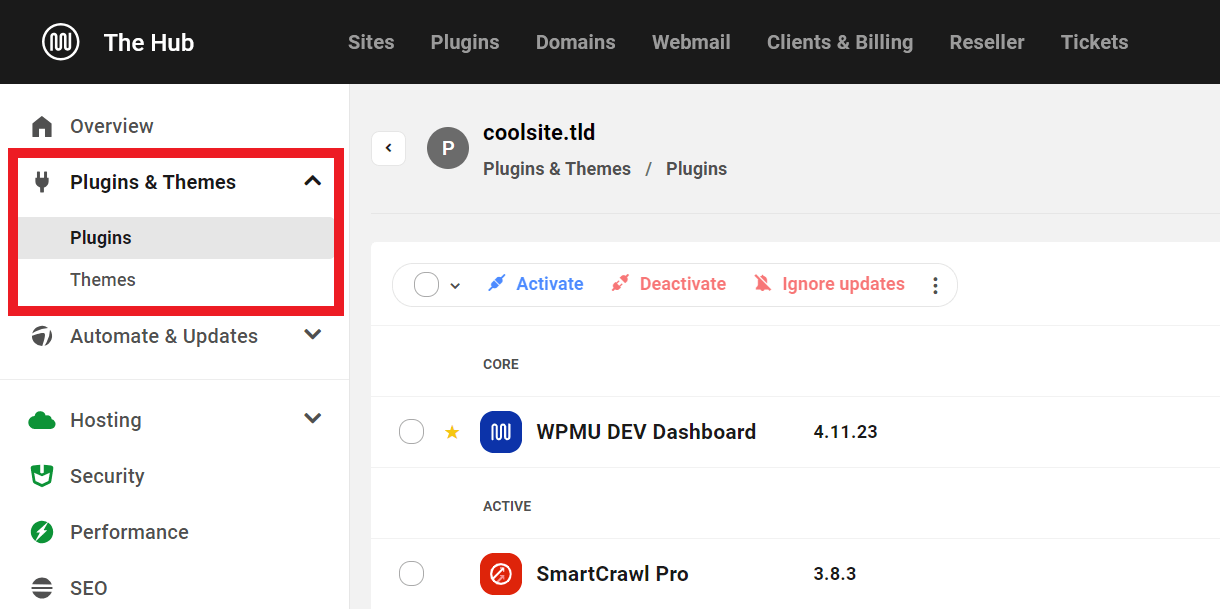
The Plugins & Themes update manager is organized into two tabbed modules:
- Plugins
- Themes
Click on the tabs to navigate settings and sort available updates and actions available for your website.
16.2 Plugins
Copy chapter anchor to clipboardThe Plugins tab lists all installed plugins sorted into three categories:
- Core – The WPMU DEV Dashboard plugin.
- Active – Plugins that are installed and activated on your website.
- Inactive – Installed plugins that are not currently active on your website.
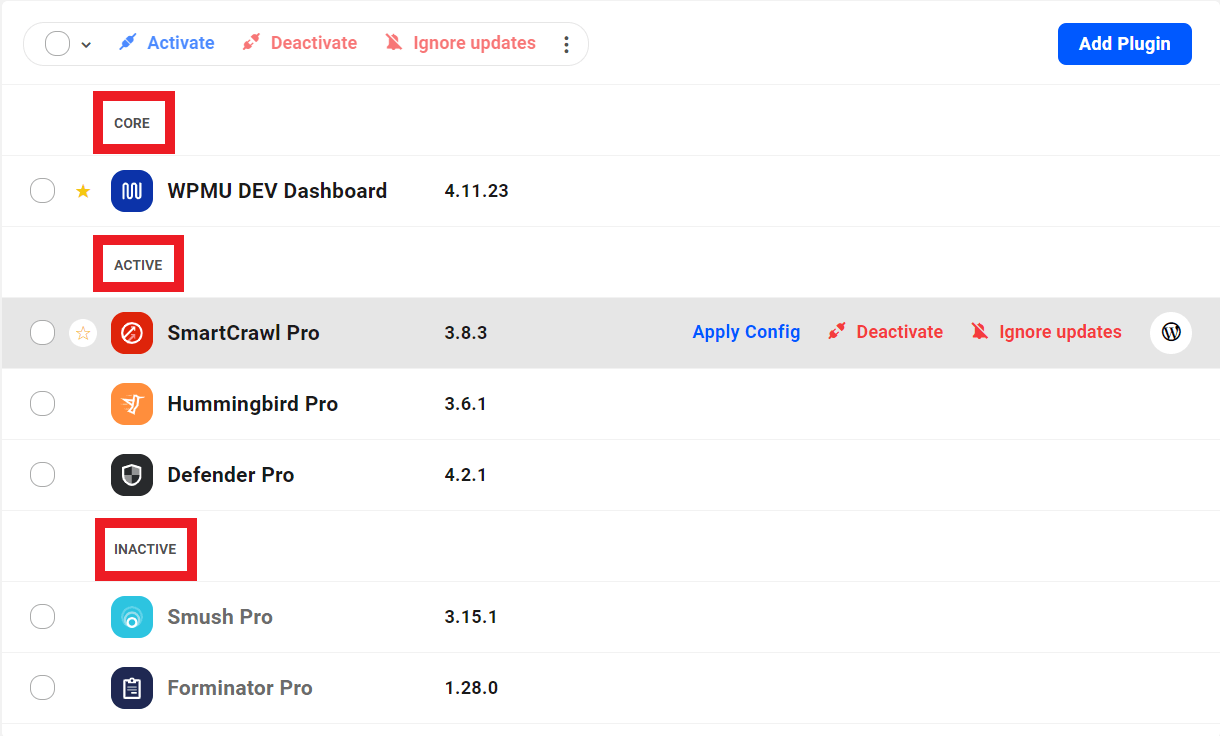
Hover your mouse over any plugin’s row to reveal management options for that specific plugin on your site. Available options vary depending on the active or inactive state of the plugin.
Plugin Options
Core
- Favorite/Unfavorite – Click the star icon at the far-left of the row to add or remove the plugin to/from your list of Favorite plugins found in the main Plugins manager in your Hub.
Note that the WPMU DEV Dashboard plugin cannot be deactivated from here as that is what connects your site to your Hub.
Active
- Favorite/Unfavorite – Same as in Core category above.
- Apply Config – WPMU DEV plugins with Configs available will have this option where you can apply a preset configuration of the plugin settings directly from this screen.
- Deactivate – Click the option to deactivate the plugin on your site.
- Ignore updates – Clicking this option will add the plugin to the Ignored Updates section of the Automate & Updates module of this site in your Hub.
- WordPress icon – Appears for WPMU DEV plugins only. Clicking this icon will direct you to the main dashboard screen of the plugin in your site’s wp-admin.
Inactive
- Favorite/Unfavorite – Same as in Core category above.
- Activate – Click the option to activate the plugin on your site.
- Ignore updates – Clicking this option will add the plugin to the Ignored Updates section of the Automate & Updates module of this site in your Hub.
- Trash icon – Click this icon at the far-right of the plugin’s row to remove the inactive plugin from your site.
Bulk Manage Plugins
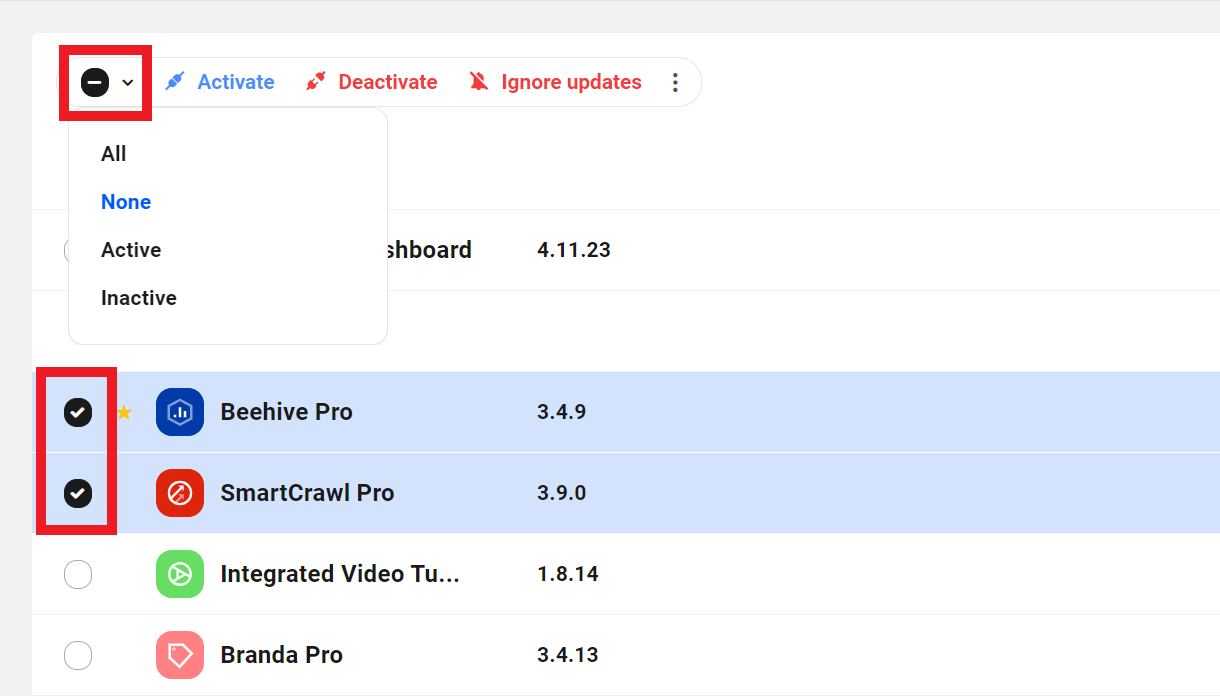
You can apply many of the options as detailed above to multiple plugins if you wish.
Select the specific plugins you want to manage by checking the box at the far left of each plugin’s row. Or click the caret icon at top-right of the list and select All, only Active or only Inactive plugins (selecting None will clear your selected plugins).
Then click the option you wish to apply to all selected plugins: Activate, Deactivate or Ignore updates.
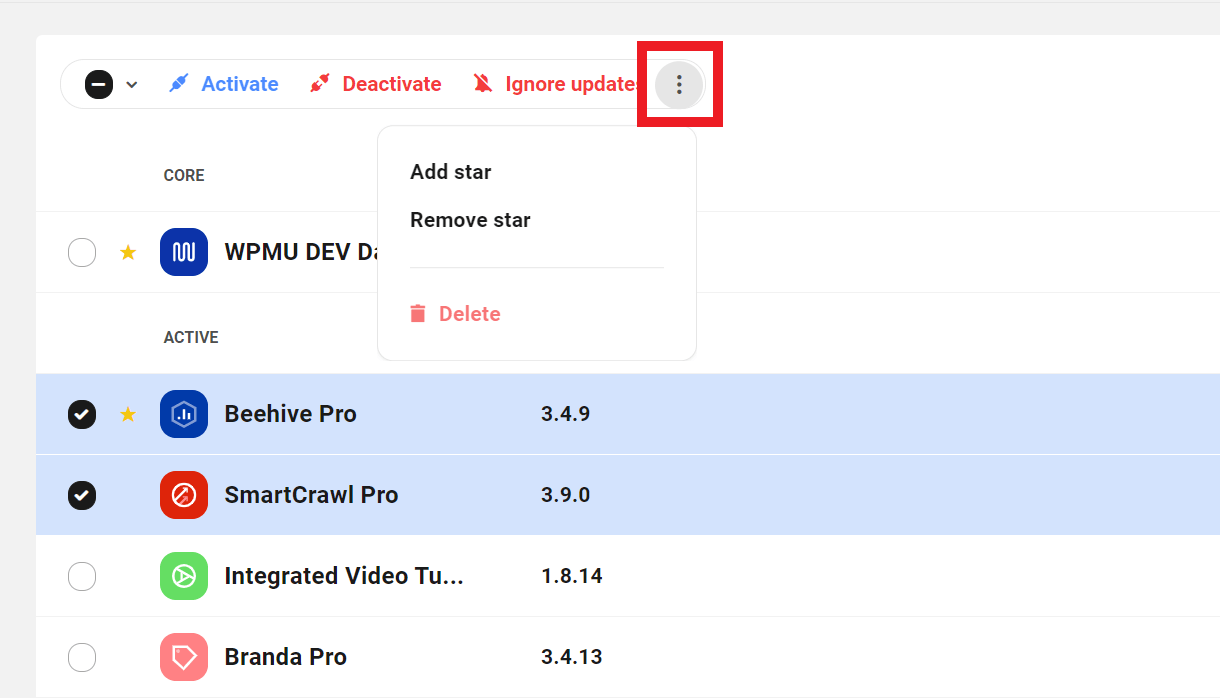
Click the vertical ellipsis icon to reveal additional options where you can Add or Remove to/from your Favorites list (star icon), or Delete plugins in bulk.
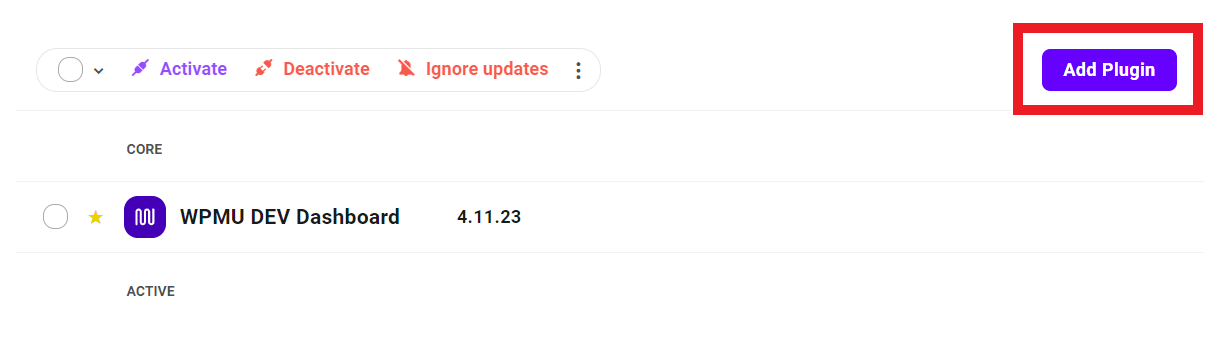
Add New Plugins
You can add new plugins to your site directly in your Hub by clicking the Add Plugin button at the top-right of the screen. This will redirect you to the Add New screen in the Plugins manager of your Hub.
16.3 Themes
Copy chapter anchor to clipboardThe Themes tab functions in much the same way as the Plugins tab. It lists all installed themes and sorts them into two categories:
- Active – The theme that is installed and activated on your website. If the site is a multisite, this category displays all themes that are network-enabled.
- Inactive – Themes that are installed but not currently active on your website, or network-enabled on your multisite.
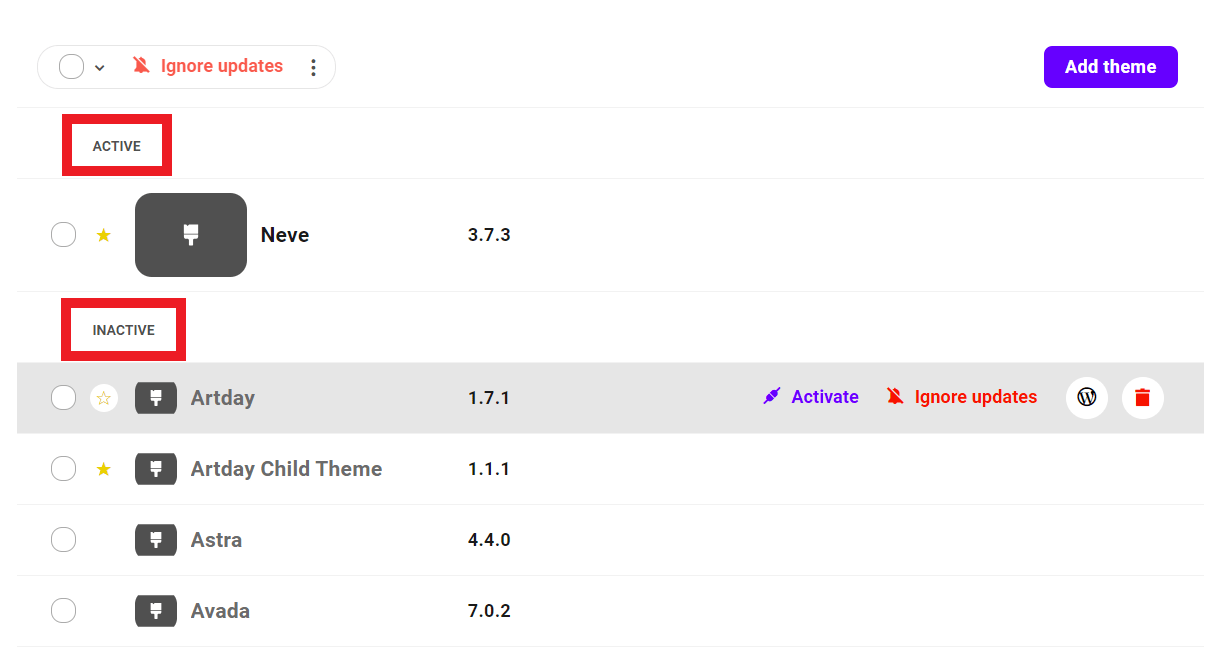
Hover your mouse over any theme’s row to reveal management options for that specific theme on your site. Available options vary depending on the active or inactive state of the theme.
Theme Options
Active
- Favorite/Unfavorite – Same as in Plugins > Core category above.
- Customize – Click this option to be redirected to the Customizer page in the site’s wp-admin.
- Ignore updates – Clicking this option will add the theme to the Ignored Updates section of the Automate & Updates module of this site in your Hub.
Inactive
- Favorite/Unfavorite – Same as in Plugins > Core category above.
- Activate / Network Enable – Click the option to activate the theme on your site. If the site is a multisite, this will network-enable the theme
- Ignore updates – Clicking this option will add the theme to the Ignored Updates section of the Automate & Updates module of this site in your Hub.
- Trash icon – Click this icon at the far-right of the theme’s row to remove the inactive theme from your site.
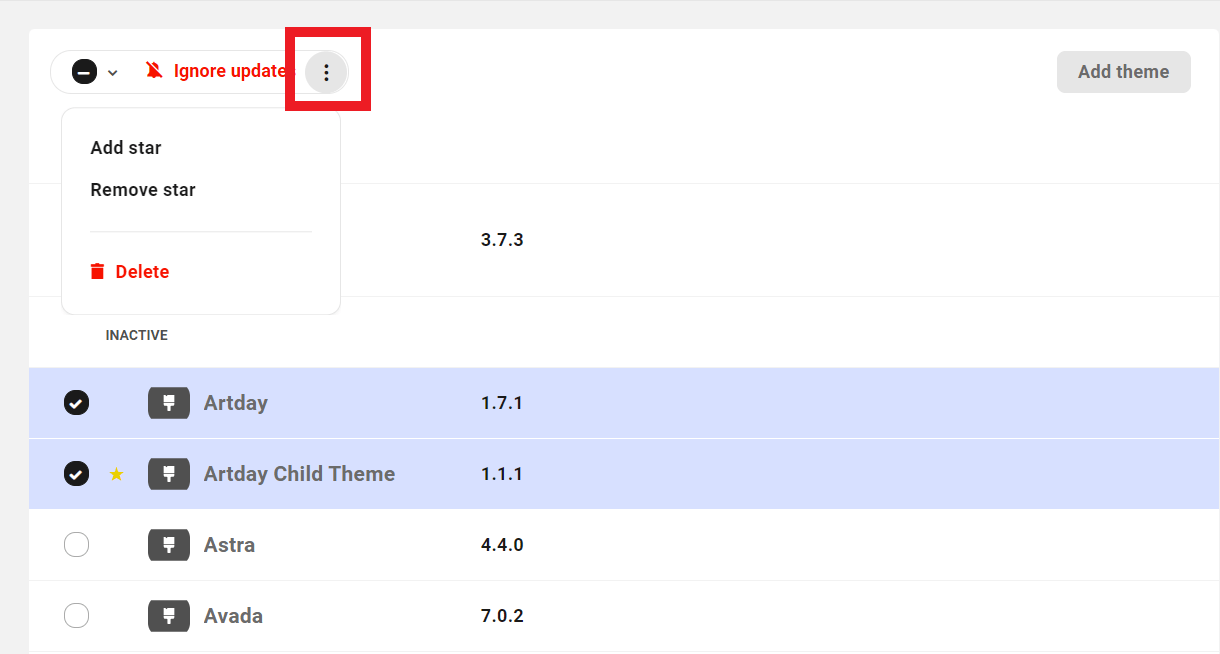
Bulk Manage Themes
You can apply many of the same options as detailed above to multiple themes if you wish.
Select the specific themes you want to manage by checking the box at the far left of each theme’s row. Or click the caret icon at top-right of the list and select All, only Active or only Inactive themes (selecting None will clear your selected themes).
Then click the option you wish to apply to all selected themes: Network Enable/Disable (appears for multisite installations only) or Ignore updates.

Click the vertical ellipsis icon to reveal additional options where you can Add or Remove to/from your Favorites list (star icon), or Delete themes in bulk.
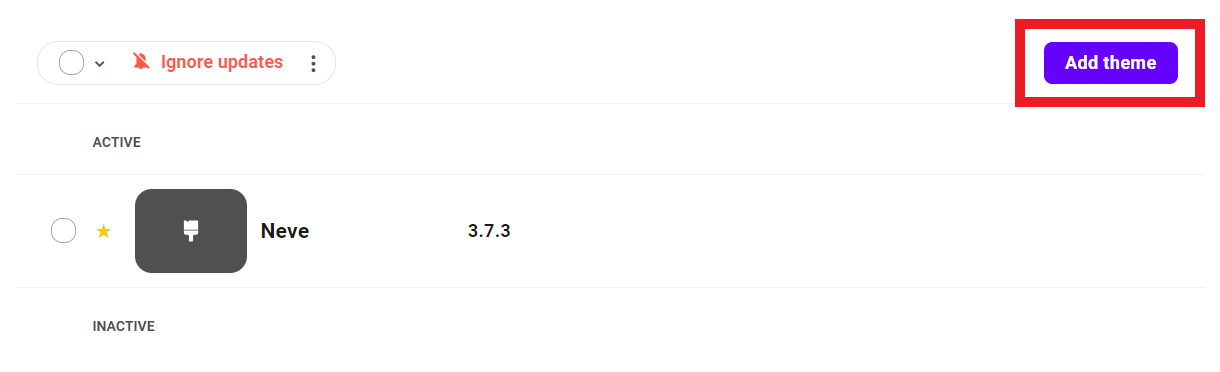
Add New Themes
Clicking the Add Theme button at the top-right of the screen will simply redirect you to the Appearance > Themes screen in your site’s wp-admin where you can add new themes to your site.
16.4 Get Support
Copy chapter anchor to clipboardIf you still have questions or need assistance after reading this document, please don’t hesitate to contact our support superheroes using the available options under the Support tab in your Hub or via the Support tab in your WPMU DEV Dashboard.
