1. Add a Site to The Hub
This document covers how to connect a website to the Hub 2.0, where you can manage all your WordPress sites from one place with features like:
- One-click theme and plugin updates
- Site health and performance monitoring
- WordPress security
- SEO tools
- Cloud backups
- White label reporting
- Analytics
If you haven’t set up your WPMU DEV account yet, visit the Hub page, where you can explore the features and see pricing packages.
Already a member? Visit your Hub dashboard to get started.
If you add a site with a non-standard port specified in its domain name, it will be added as a unique site in your Hub. This can be useful for development sites for example, where you could have domain.com as well as domain.com:8001, domain.com:8002, domain.com:8003, etc.
However, if they are all the same WordPress install and you don’t want all of them to appear in your Hub, you can add the following constants to your wp-config.php file to force the domain that should be used by your Hub and its API (the domain you specify must match the public URL of the site):
define( 'WPMUDEV_HUB_SITE_URL', 'https://domain.com' );
define( 'WPMUDEV_HUB_HOME_URL', 'https://domain.com' );
1.1 Getting Started
Copy chapter anchor to clipboardThere are two ways to connect your site to the Hub:
- Automatically from the Hub
- Remotely with the WPMU DEV Dashboard plugin
In this chapter, we will cover how to connect a site to the Hub using both methods.
It’s important to note that you cannot connect subsites in a multisite install to the Hub; only the main site of a multisite can be connected.
1.2 Connect from the Hub
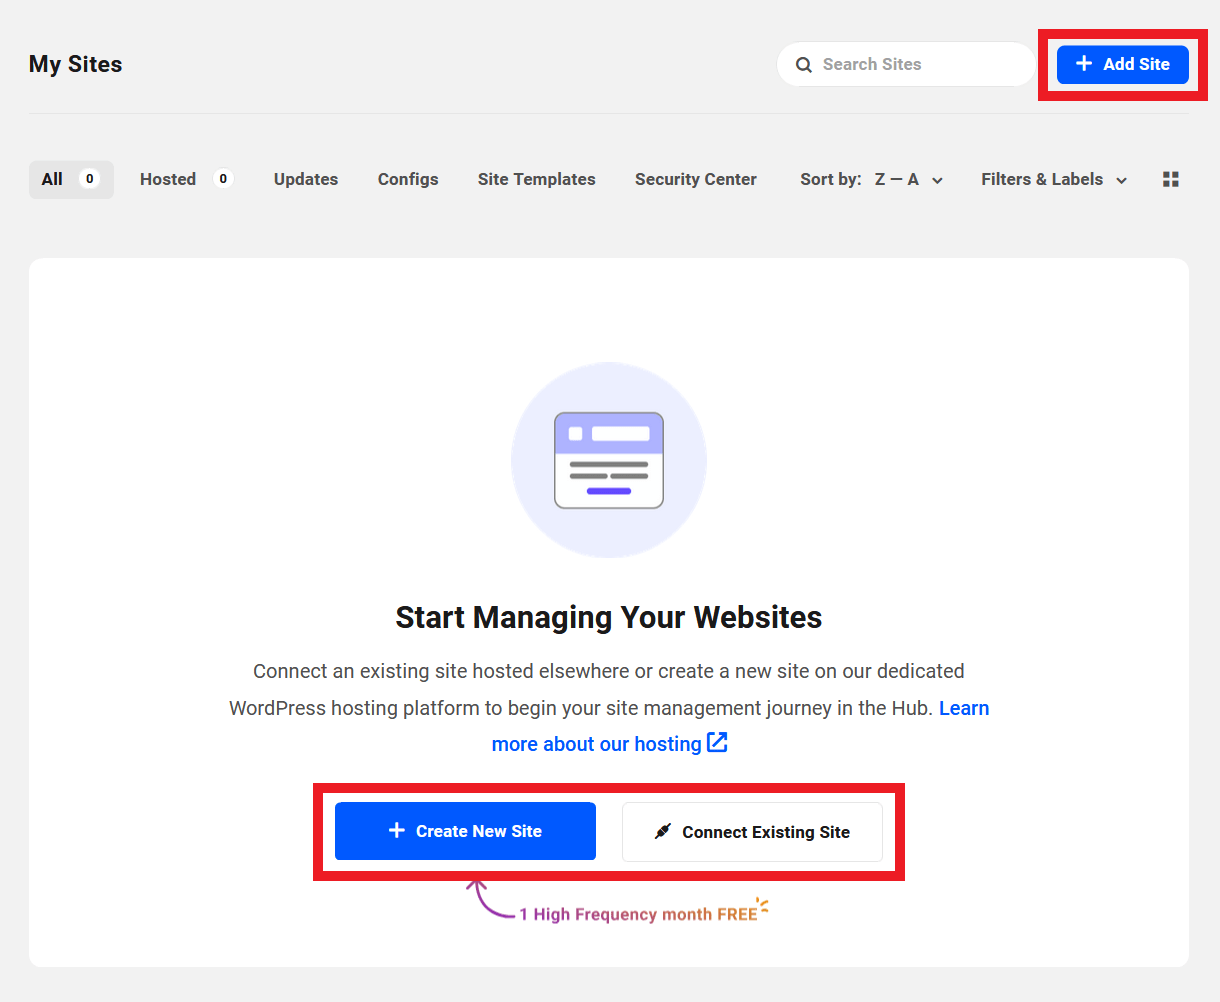
Copy chapter anchor to clipboardIf you’ve never connected a site to the Hub, you’ll be given a prompt to Start Managing Your Websites when visiting the Hub dashboard. Click the + Add Site button at top-right, or the Connect Existing Site button in the middle of the screen to get started. Alternatively, click + Create New Site if you wish to create a site hosted by us.
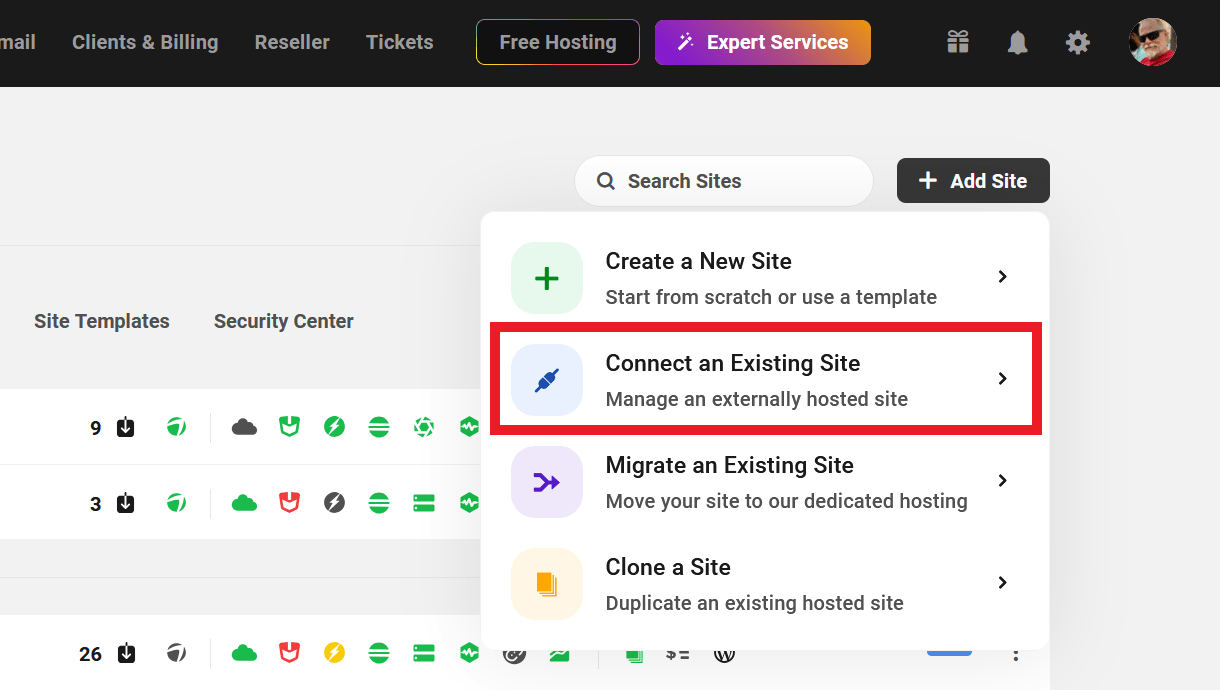
When you click the + Add Site button, you’ll be prompted to select the connection option that best suits your current needs.
- Connect – Connect an externally hosted site to The Hub. Note that this is the only option available here if you are a free Hub user. See Free Hub Restrictions for details.
- Migrate – Move your site to a dedicated environment hosted by us. For more on migrating a site, see our Migrating an Existing Site doc.
- Create New – Create a brand new site hosted with us. See Creating a New Site for more.
- Clone – Create an exact duplicate of a WPMU DEV hosted site. See Cloning a Site for more.
For the purposes of this guide, we’ll select the first option to connect a 3rd-party-hosted site.
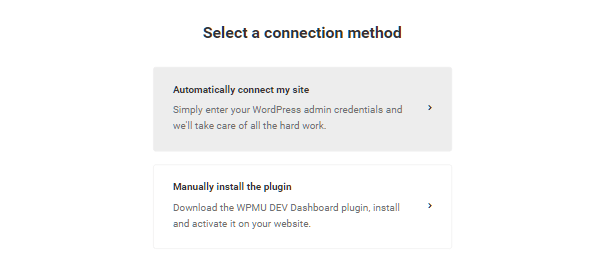
You’ll then be prompted to select either the Automatic or Manual Connection method. This is also where you’ll land if you click the Connect Existing Site button instead.
The manual method involves installing the WPMU DEV Dashboard plugin, as detailed in the following chapter of this document. Select the Automatic method to connect your site automatically to your Hub.
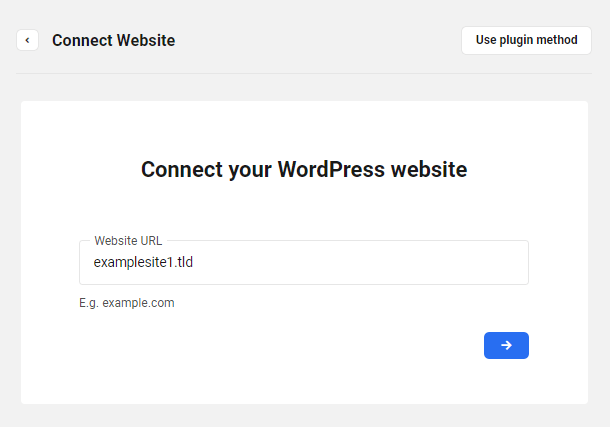
Enter the website URL of the WordPress site you would like to connect to the Hub into the Website URL field and click the forward arrow to continue.
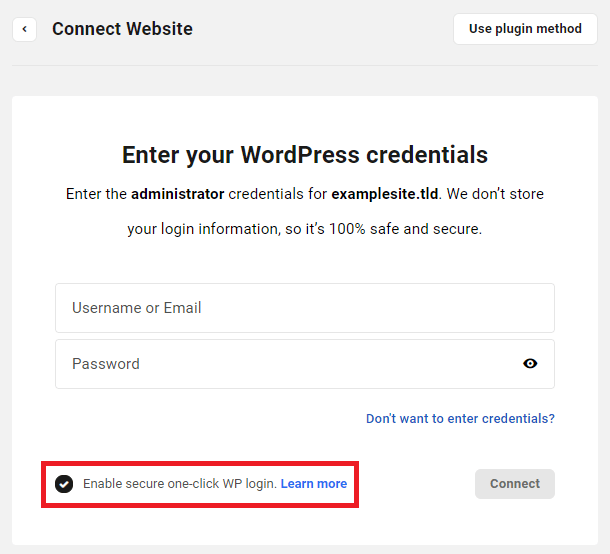
You’ll then be prompted to enter your WordPress administrator username and password for the website you are connecting. Note that we don’t store your login information as it is only used to connect your site to the Hub.
You will also be given the option to enable Secure one-click WP Login, also known as Single Sign-On (SSO). SSO allows you to access connected sites securely from the Hub without having to sign in separately to each site. SSO is enabled by default, and can be disabled by de-selecting the checkbox. Learn more about SSO.
Click the Connect button to connect your site.
This will automatically install and connect the WPMU DEV Dashboard plugin to the Hub. The WPMU DEV dashboard is a lightweight utility plugin for easily connecting with the WPMU DEV API. Read more about available tools and features in the WPMU DEV Dashboard documentation.
Once your site is connected, you’ll be presented with the Quick Setup wizard where you can install, configure and activate the Hub services you need with just a few clicks.
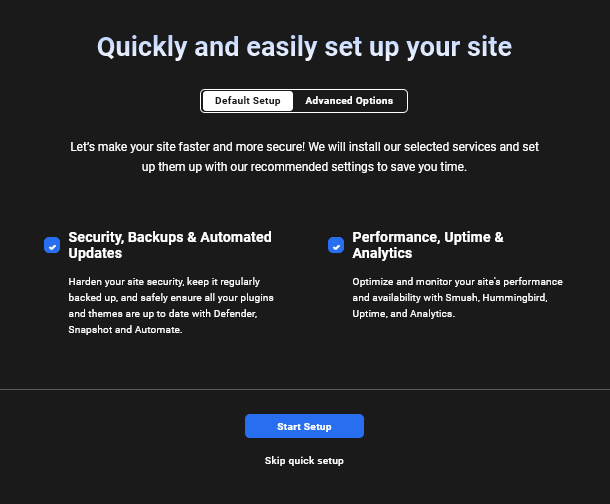
Click Skip quick setup at the bottom if you don’t want to set things up right away. You can always get the wizard back again later from your Site Settings if needed.
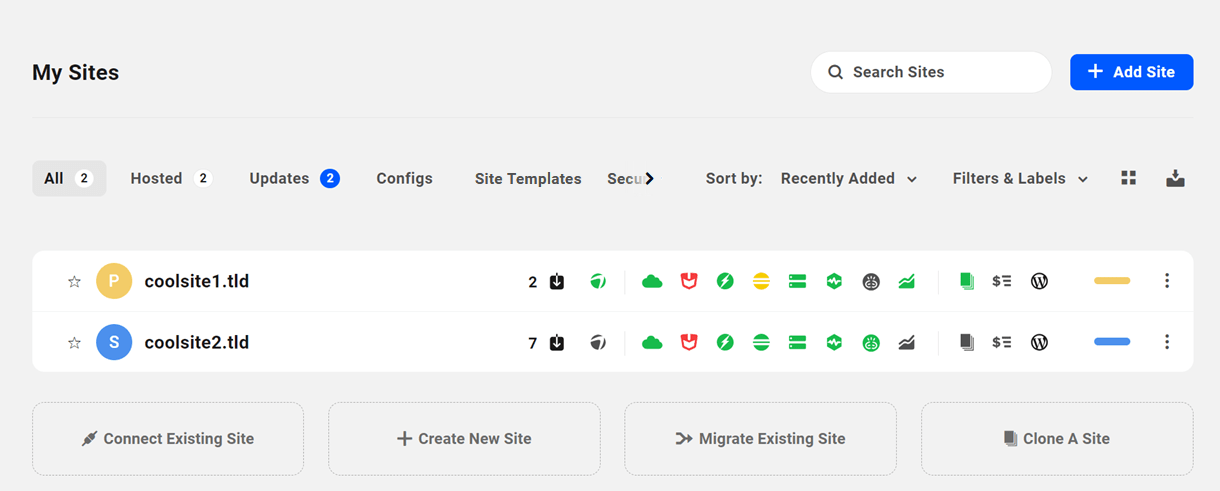
Your connected site will appear in your Hub overview screen where you can click the + Add Site button in the upper right-hand corner or any of the options at the bottom to add more sites as needed.
If you encounter any issues connecting a site remotely from the Hub, click the Use plugin method from the Connect WordPress website screen to manually download and install the WPMU DEV Dashboard plugin following the instructions below.
1.3 Connect from WPMU DEV Dashboard Plugin
Copy chapter anchor to clipboardWPMU DEV hosted sites are automatically added to the Hub associated with the account that created the site. See Connecting WPMU DEV Hosted Sites below for more information on that.
If your site is not hosted with us, you can still connect remotely via the WPMU DEV Dashboard Plugin. Firstly, ensure that the plugin is installed and active on the site that you want to connect to the Hub.
When you navigate to the WPMU DEV Dashboard plugin tab, you will be prompted to enter your WPMU DEV account credentials to connect the site. Enter your credentials and tick the Enable SSO box if you would like to enable Single Sign-On, which allows you to access your site from the Hub without needing to log in each time. Click Connect when you’re ready.
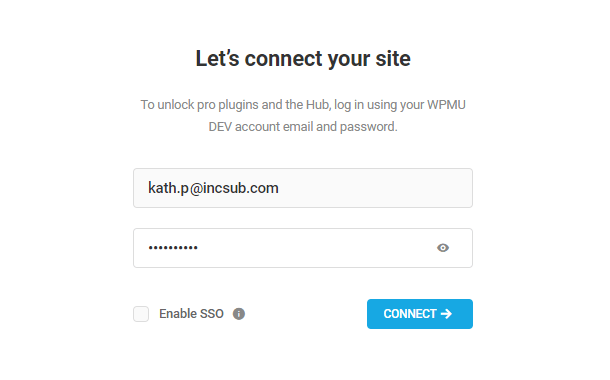
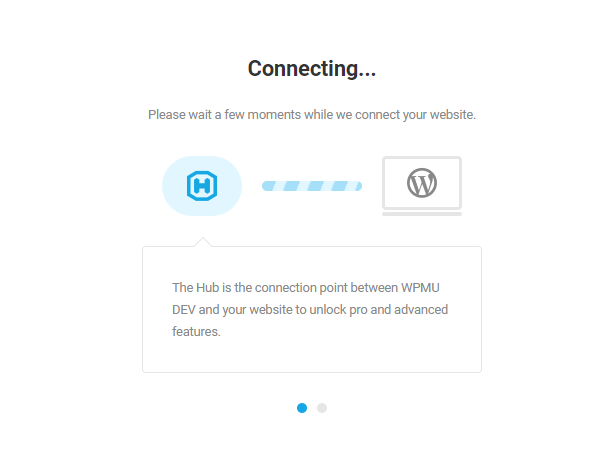
Your site will then start connecting to the Hub. This is generally very fast but may take a few moments.
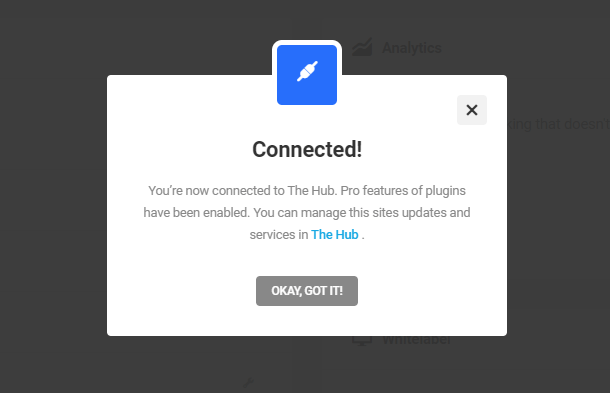
Once your site has finished connecting, you will receive a success message and can now use the WPMU DEV Dashboard plugin to its full extent.
That’s all that’s needed to connect your site to the Hub and now when you revisit your Hub and refresh the page, the new site will appear under the My Sites tab.
Error uploading the Dashboard plugin
If you encounter an issue while uploading the dashboard plugin due to the upload limit of your WordPress multisite, you can resolve it by navigating to Network Settings and increasing the Site upload space limit.
1.4 Connecting WPMU DEV Hosted Sites
Copy chapter anchor to clipboardWPMU DEV hosted sites are automatically added to the Hub associated with the account that creates the site. Learn more about setting up a site with WPMU DEV hosting in the Getting Started guide in the WPMU DEV Hosting section.
1.4.1 Moving a WPMU DEV Hosted Site to a Different Account
Link to chapter 4Changing site ownership is not directly possible in your Hub, or in the other account owner’s Hub.
It is a manual migration process that first requires consent and authorization from both the current and new account holders.
So if you do need to transfer ownership, and billing, of a WPMU DEV hosted site, please contact our support superheroes who will be happy to assist you.
1.5 Get Support
Copy chapter anchor to clipboardIf you still have questions or need assistance after reading this document, please don’t hesitate to contact our support superheroes using the available options under the Support tab in your Hub or via the Support tab in your WPMU DEV Dashboard.
