9. Tickets
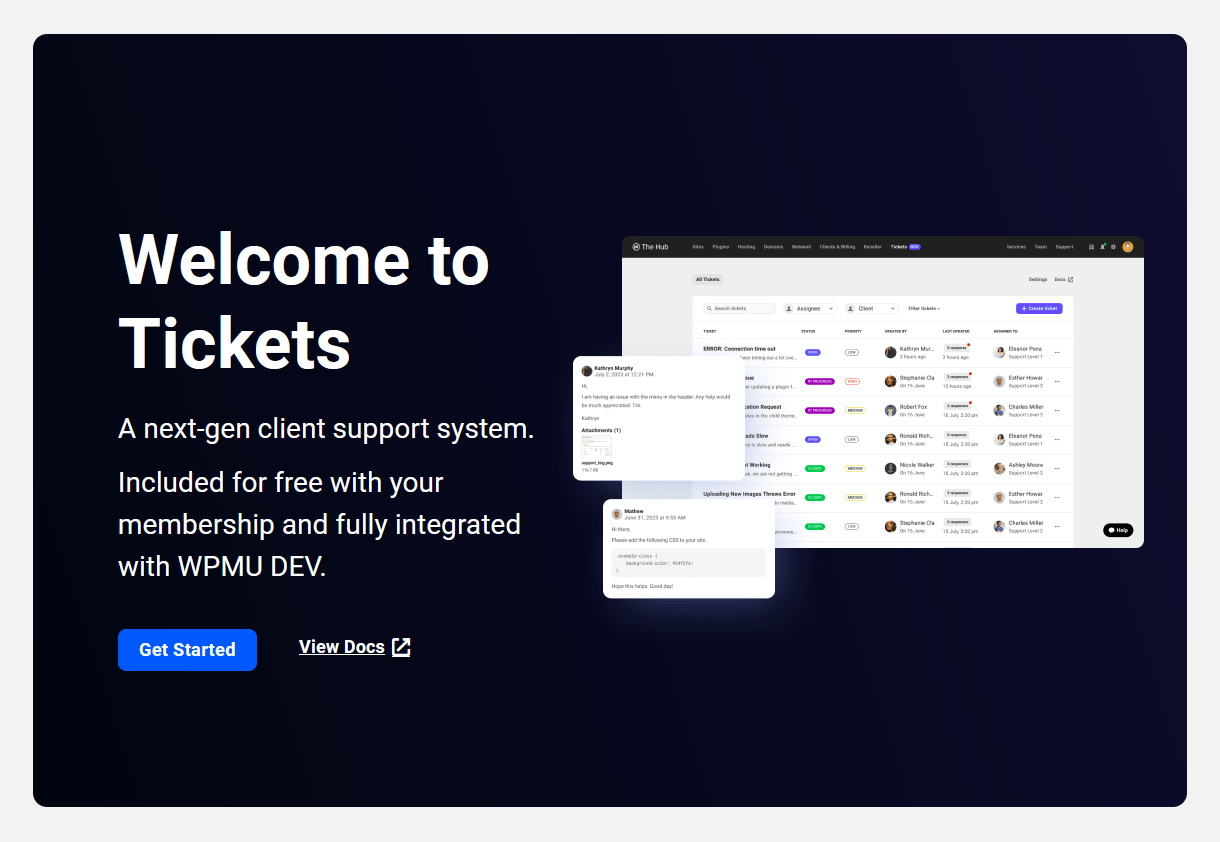
Available exclusively to our Premium members, the Tickets area in your Hub is where your clients can submit support tickets that you and/or your team members can collaborate on to swiftly resolve their issues.
Tickets can be managed in both your Hub and any branded client portal installed on your own websites using the Hub Client plugin.
To maintain brand consistency for your WordPress business, we strongly recommend that you use the Hub Client plugin installed on your own site and domain for client access. This will ensure that your clients never see the WPMU DEV brand and won’t be confused by unneeded & irrelevant options in the Hub interface. See How to Whitelabel the Client Experience in our Clients & Billing documentation for details.
9.1 Getting Started
Copy chapter anchor to clipboardAccess the Tickets feature in your Hub by clicking the Tickets tab in the main navigation menu.
![]()
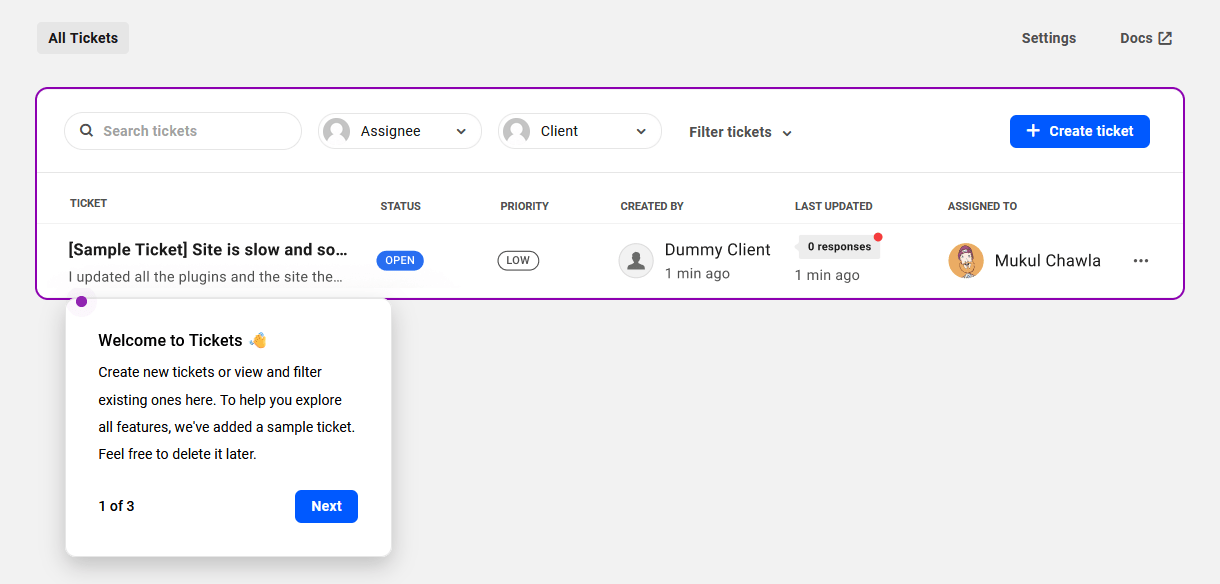
When you first visit the Tickets section in the Hub, you’ll land on the Welcome page where you’ll want to click the Get Started button to begin a tour of the feature.
Note that if Clients & Billing hasn’t yet been set up in your Hub, you’ll be prompted to do that first. If you are not yet an Premium member, you’ll see a prompt to upgrade your account first.
Once the tour starts, simply click the Next button at each step to get a detailed overview of how the feature works.
In addition to the tour that you can access in your Hub, here are some setup steps that you may find helpful:
Step 1 – Activate Clients & Billing
- If you haven’t already done so, go to the Clients & Billing page in your Hub and connect your Stripe account to activate it.
- Configure Clients & Billing as per your requirements, such as billing currency, business profile, branding, and customization of emails and invoices.
Step 2 – Give access to your team members
If you have team members in your Hub, they need access to help you with support. To grant access to your team members, follow these steps:
- Go to the Team page and click on the Roles tab.
- Create a new custom role or edit existing one(s).
- Enable access to Client Tickets and specify permissions based on your needs.
- Assign the custom role(s) to your team members to grant them access to Tickets.
Step 3 – Customize the Ticketing System
- Go to the Tickets settings to set a default assignee and customize ticket status options as per your support workflow.
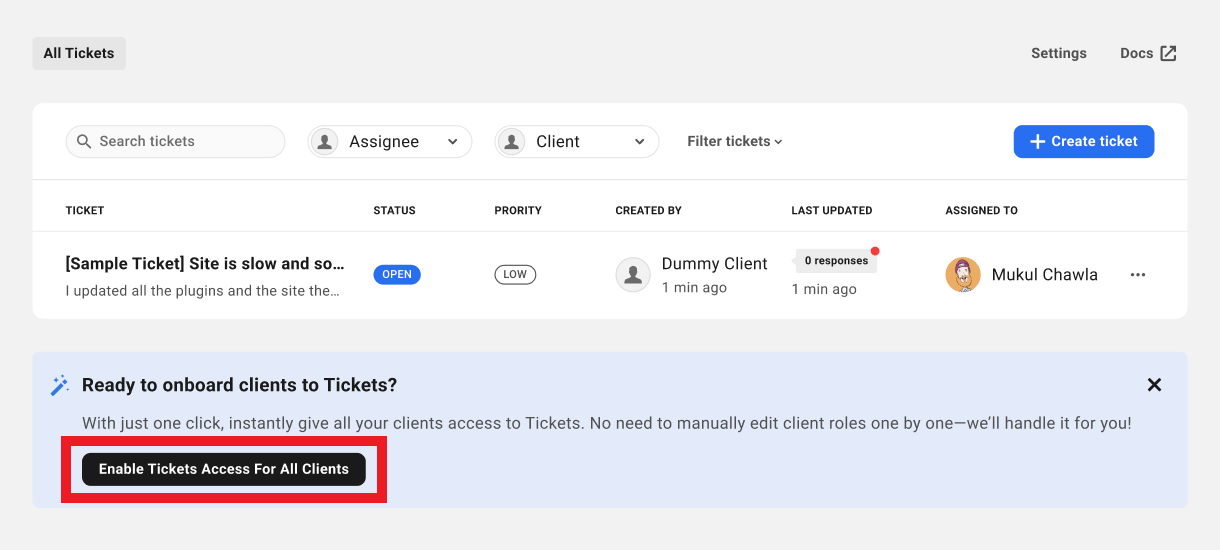
Step 4 – Give access to your clients
Clients need access to start creating tickets. To grant access to your clients, click the Enable Tickets Access For All Clients button in the Ready to onboard clients to Tickets notice. This will automatically add Ticket Support capabilities to all default and custom client roles in a single click.
This option only appears at the beginning of the tour. If you have dismissed it, it will not reappear and you would need to edit client roles individually following these steps:
- Go to the Client Roles page under Clients & Billing.
- Create a new custom role or edit existing one(s).
- Enable access to Ticket Support and specify permissions based on your needs.
- Assign the custom role(s) to your clients to grant them access to Ticket Support.
Note that if you use the button as above and need to remove Tickets capabilities from the default client roles in the future, contact support and they’ll be happy to make that adjustment for you.
9.1.1 Setting Up Tickets for Your Clients
Link to chapter 1Once you have Tickets all set up in your Hub as above, you’ll want to get things set up for your clients as well.
- If you haven’t already done so, activate and configure The Hub Client plugin on a site to create your branded portal where your clients can submit and manage their support tickets.
- Add your clients in Clients & Billing in your Hub or your branded client portal and invite them to sign up. Be sure to set their Primary Hub to the domain you use for your branded portal so all emails come from that domain, and the confirmation link in the client invitation email directs them there instead of your WPMU DEV Hub.
- If you have assigned custom roles to your clients, be sure the required capabilities are enabled for them.
- Your clients can now create and manage support tickets right in your branded client portal.
9.2 Managing All Tickets
Copy chapter anchor to clipboardAll of your client support tickets can be found in the All Tickets section.
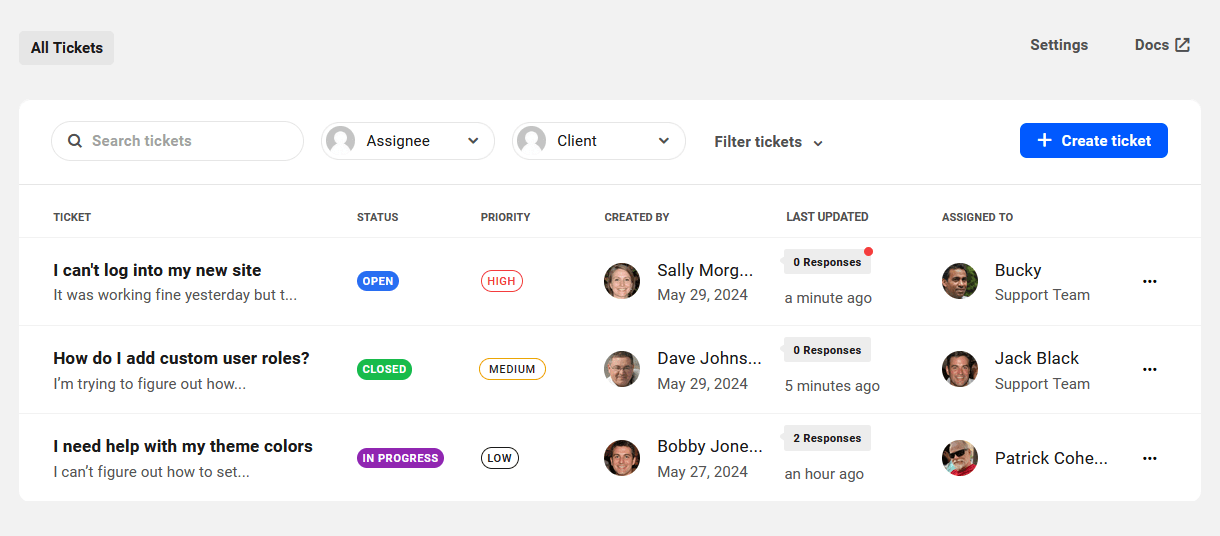
Information is presented in columns as follows:
- Ticket – This displays the ticket subject line and the first few words of the message body.
- Status – The ticket status according to how you set up your Status labels in the Settings. Ticket status can be modified from the Ticket detail screen only.
- Priority – The ticket priority as set by you or your assigned team member. Options are Low, Medium or High. Ticket priority can be modified from the Ticket detail screen only.
- Created By – The name of the client who submitted the ticket, and the date the ticket was created.
- Last Updated– This indicates the number of replies on the ticket, where tickets with unread replies will be highlighted with a red dot on the upper-right corner. You’ll also see the time elapsed since the last reply by you, a team member or the client. Hover your cursor over this to reveal a tooltip with the exact date and time of the last response.
- Assigned To – This indicates the support team member currently assigned to the ticket. It can be either you, your Default Assignee, or any other team member. Ticket assignee can be modified from the Ticket detail screen only.
Filter Tickets
Click the Filter tickets button at the top to display only tickets that meet your filter criteria.
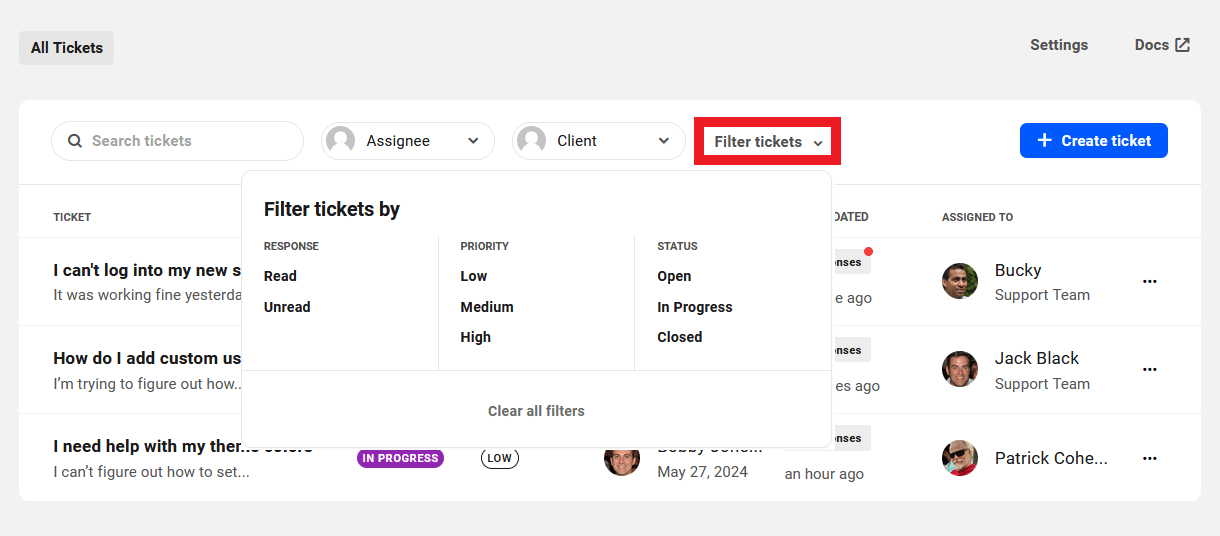
- Response – Display only tickets that are Read or Unread.
- Priority – Display tickets with any specified priority: Low, Medium, or High.
- Status – Display tickets assigned to any status you have set up in the Settings.
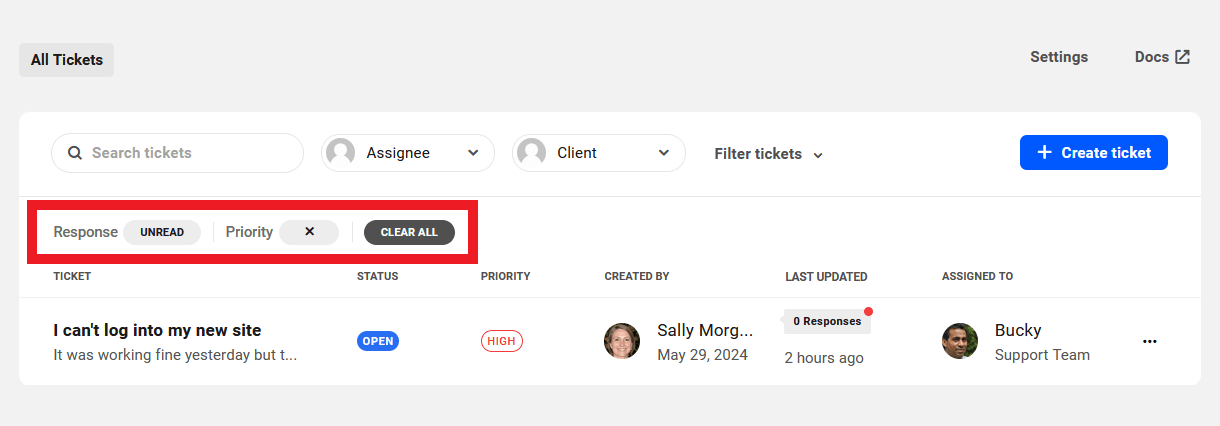
You can use multiple filters to drill into the tickets you need. The example image below shows tickets that are both Unread and with High priority. Hover your cursor over any filter and click the X icon to clear it, or click the Clear All button to refresh the list and display all tickets.
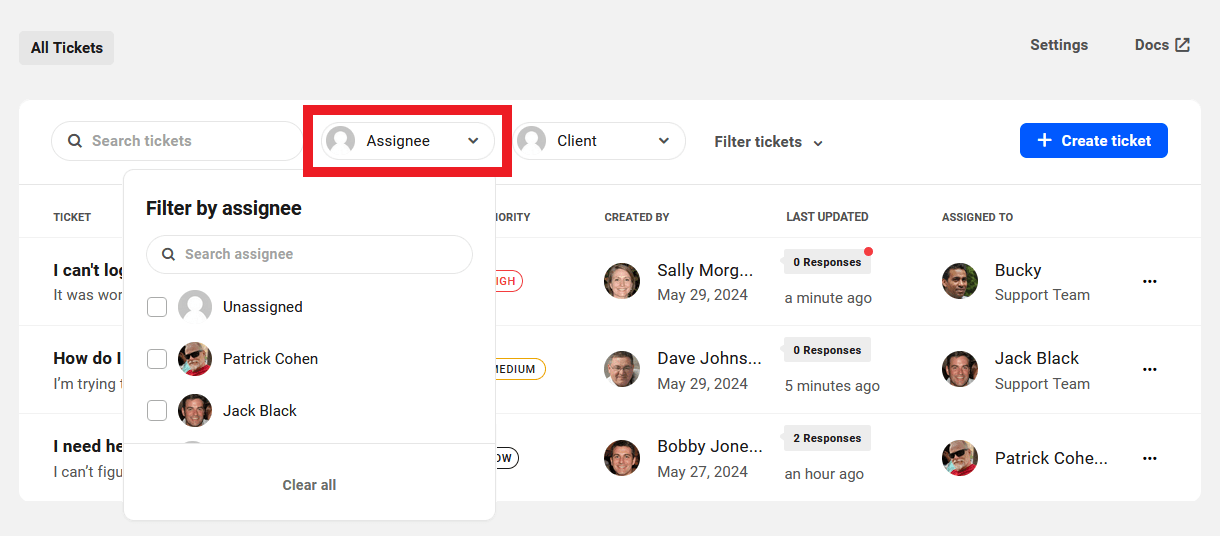
Filter Tickets by Assignee
You can filter tickets by whoever is assigned to it. Click the Assignee button and select one or more of your support team members to display only tickets assigned to them. Here as well, you can hover your cursor over any assignee filter and click the X icon to clear it, or click the Clear All button to refresh the list and display all tickets.
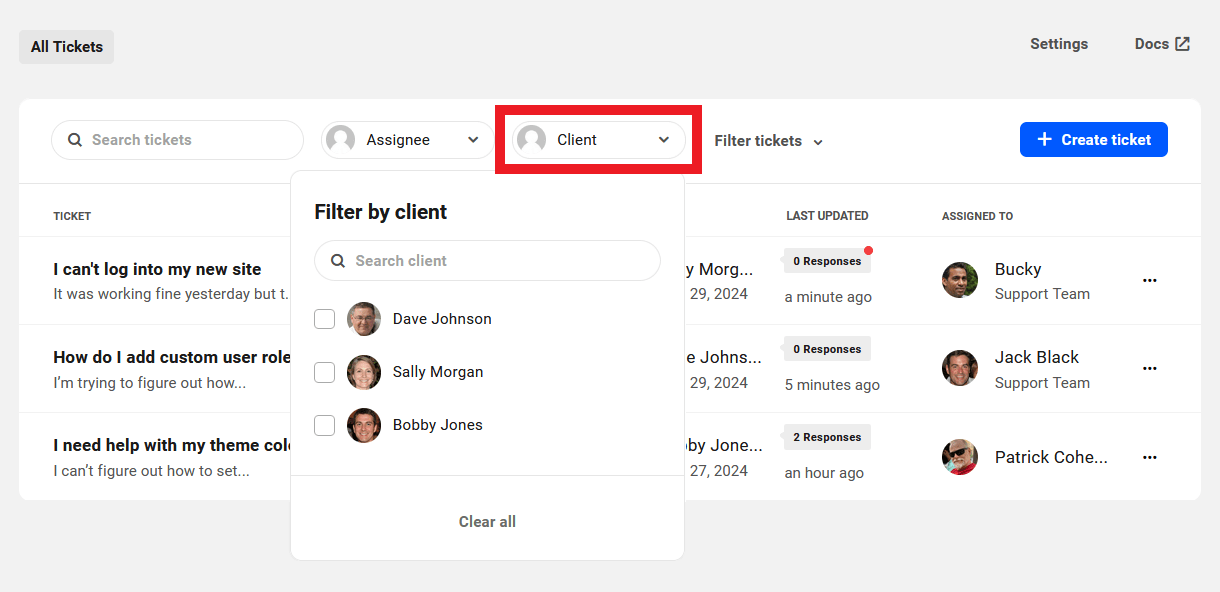
Filter Tickets by Client
You can filter tickets by the clients who created them. Click the Client button and select one or more of your clients to display only tickets created by them. Here as well, you can hover your cursor over any client filter and click the X icon to clear it, or click the Clear All button to refresh the list and display all tickets.
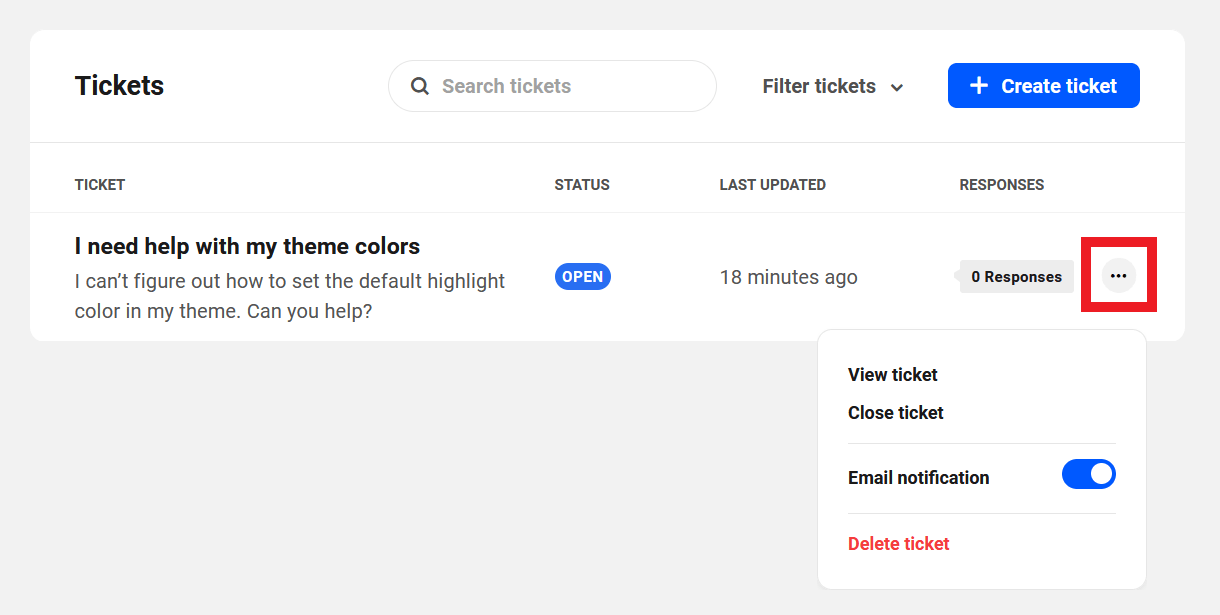
Ticket Management Options
Click the ellipsis icon at the far-right of any ticket’s row to reveal additional management options.
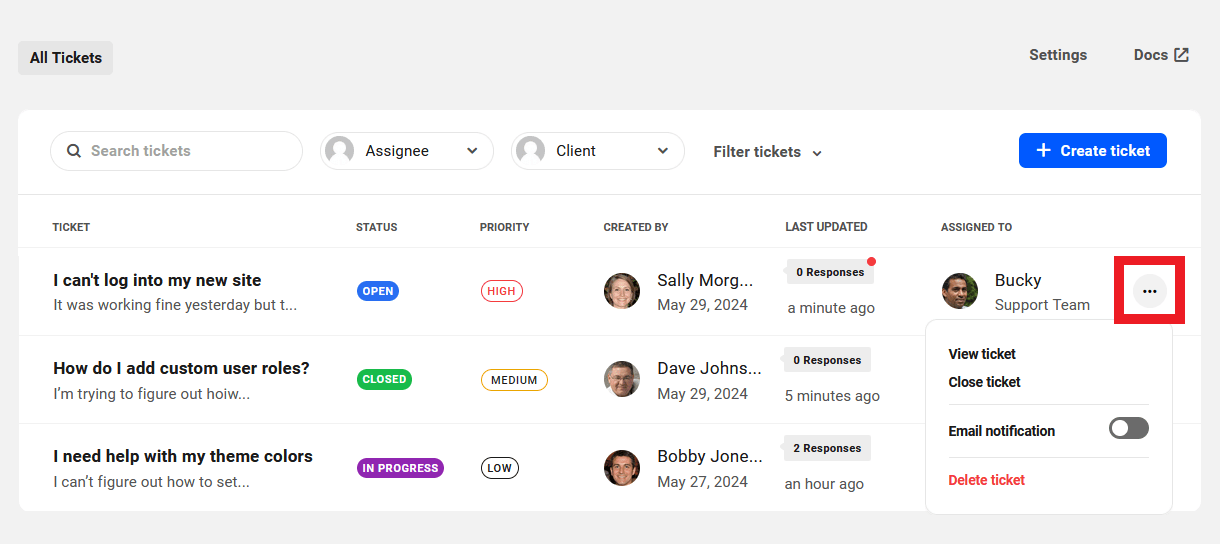
- View ticket – Click to open the details of the specific ticket. You can also click the ticket title to open it. See Managing Individual Tickets below for details.
- Close ticket / Reopen ticket – Clicking Close ticket will change the ticket status to Closed and no further replies can be made on the ticket. If a ticket has been already closed, you will see a Reopen ticket option here instead which, when clicked, reopens the ticket and allows additional replies and actions. See Reopen ticket below for additional details.
- Email notification – Toggle this on to receive notifications of new replies to the ticket.
- Delete ticket – Click to permanently delete the ticket. You’ll be prompted to confirm this action as it is irreversible.
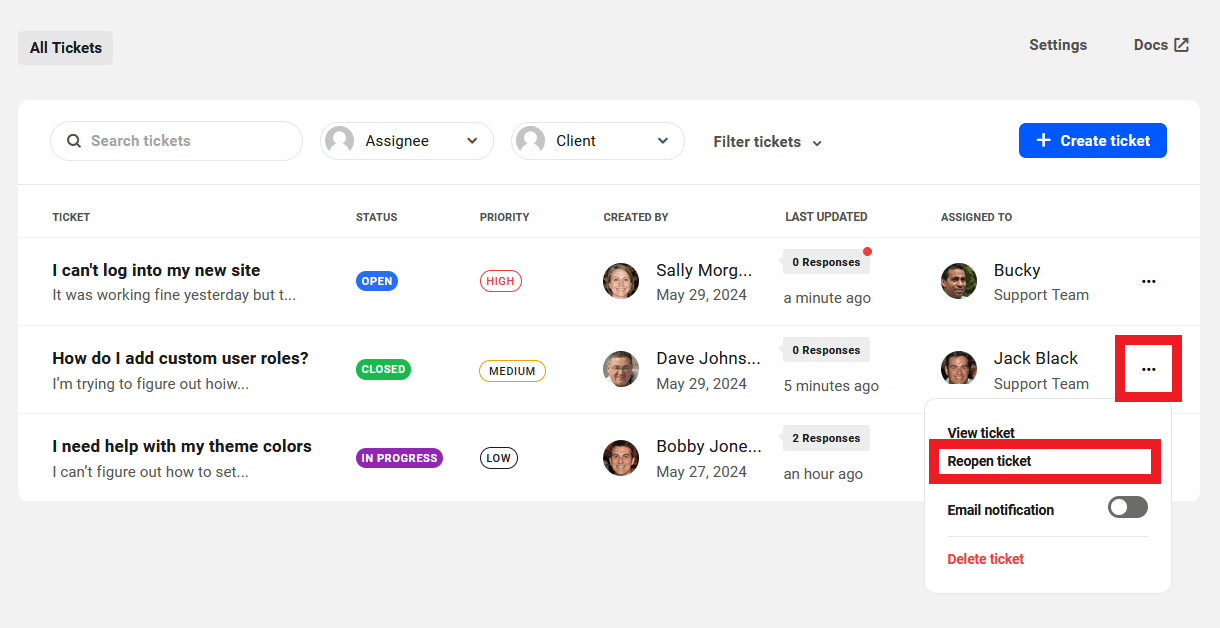
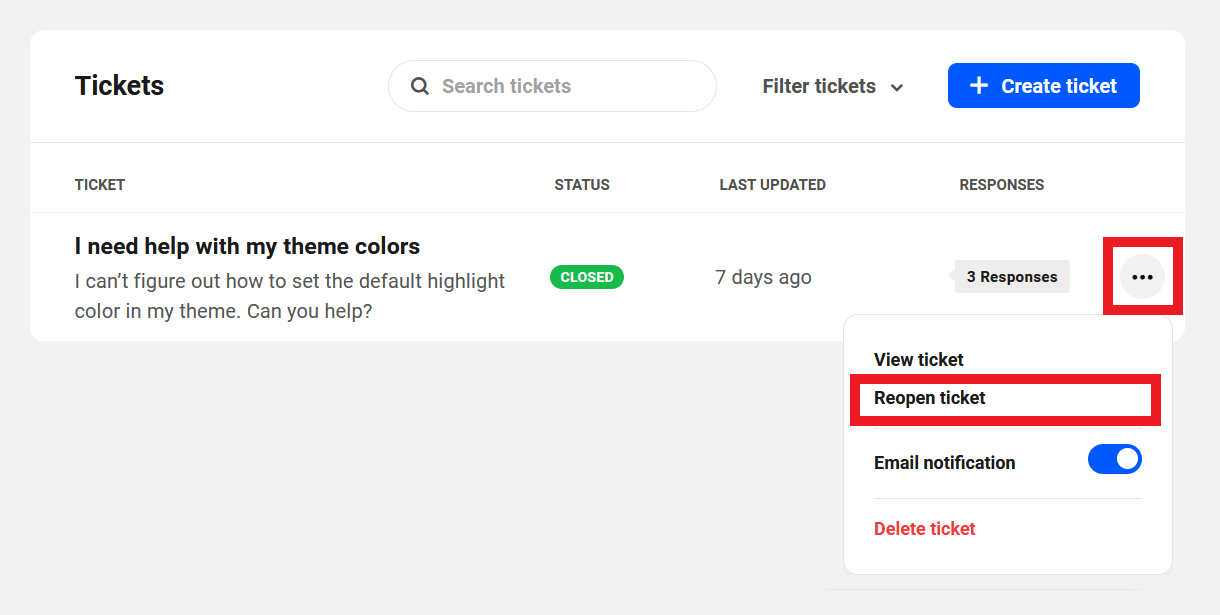
Reopen Ticket
If a ticket status has been changed to Closed, no further actions can be taken on that ticket unless it is reopened.
To reopen a ticket, click the Reopen ticket option for that ticket on the All Tickets screen. A closed ticket can also be reopened from the ticket details screen.
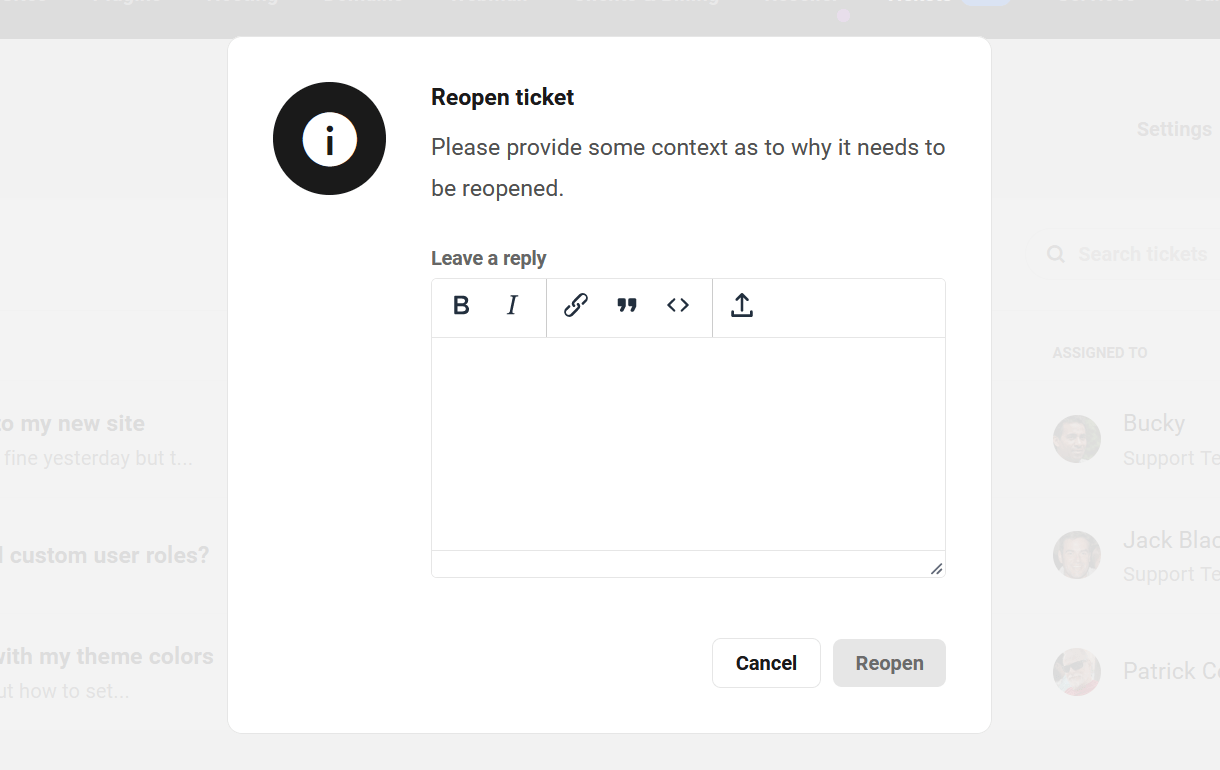
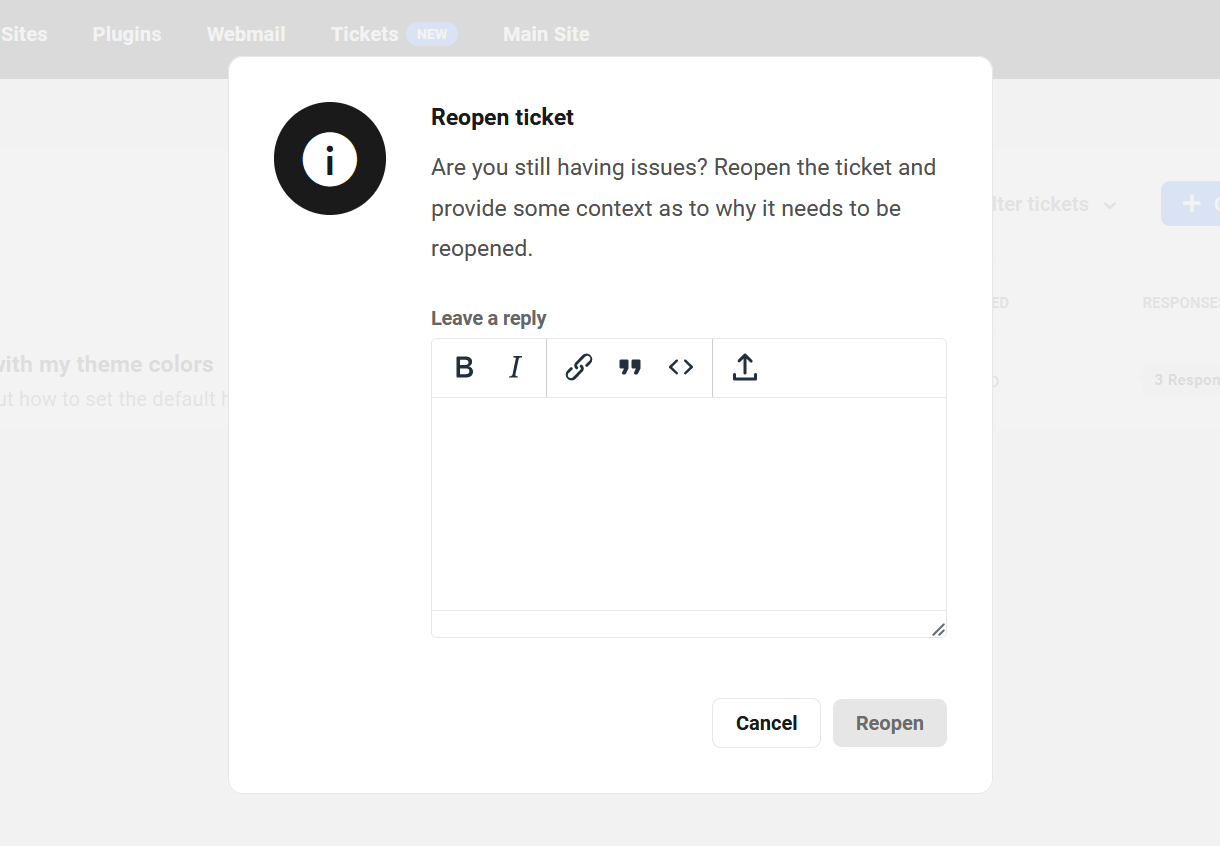
You’ll be prompted to provide additional information as to why the ticket was reopened. This will create a new reply on the ticket to notify the client and support team members who may have email notifications enabled for that ticket.
9.3 Managing Individual Tickets
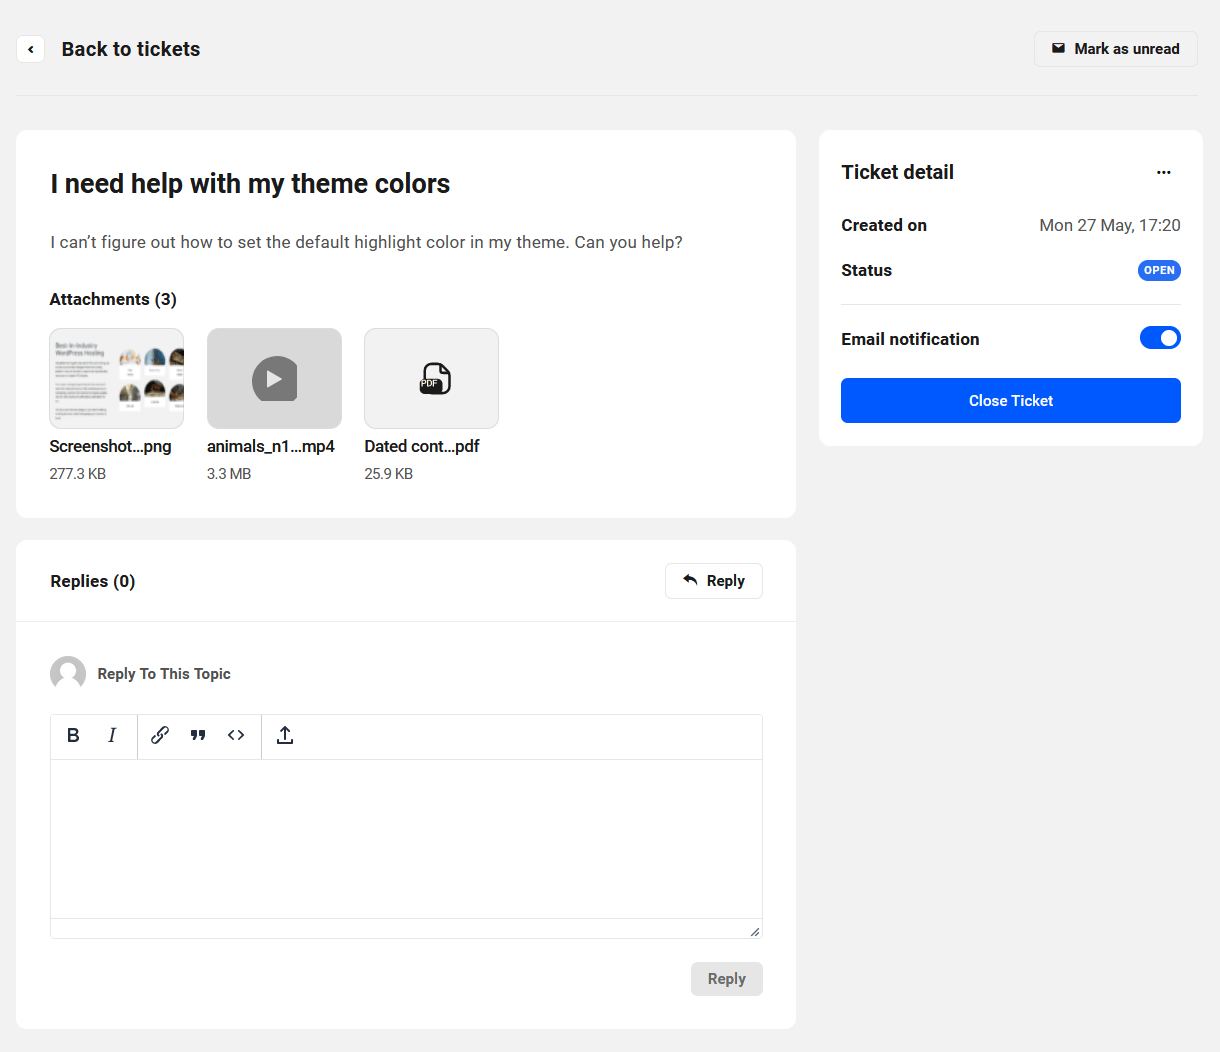
Copy chapter anchor to clipboardClick a ticket title or the View Ticket option on the All Tickets screen to access the ticket, where the full details of the ticket will appear, including attachments and all replies to date.
The client’s submitted issue will appear at the top, with all replies in a single thread beneath it. Note that it is not possible to create nested threaded replies (you cannot reply to a reply).
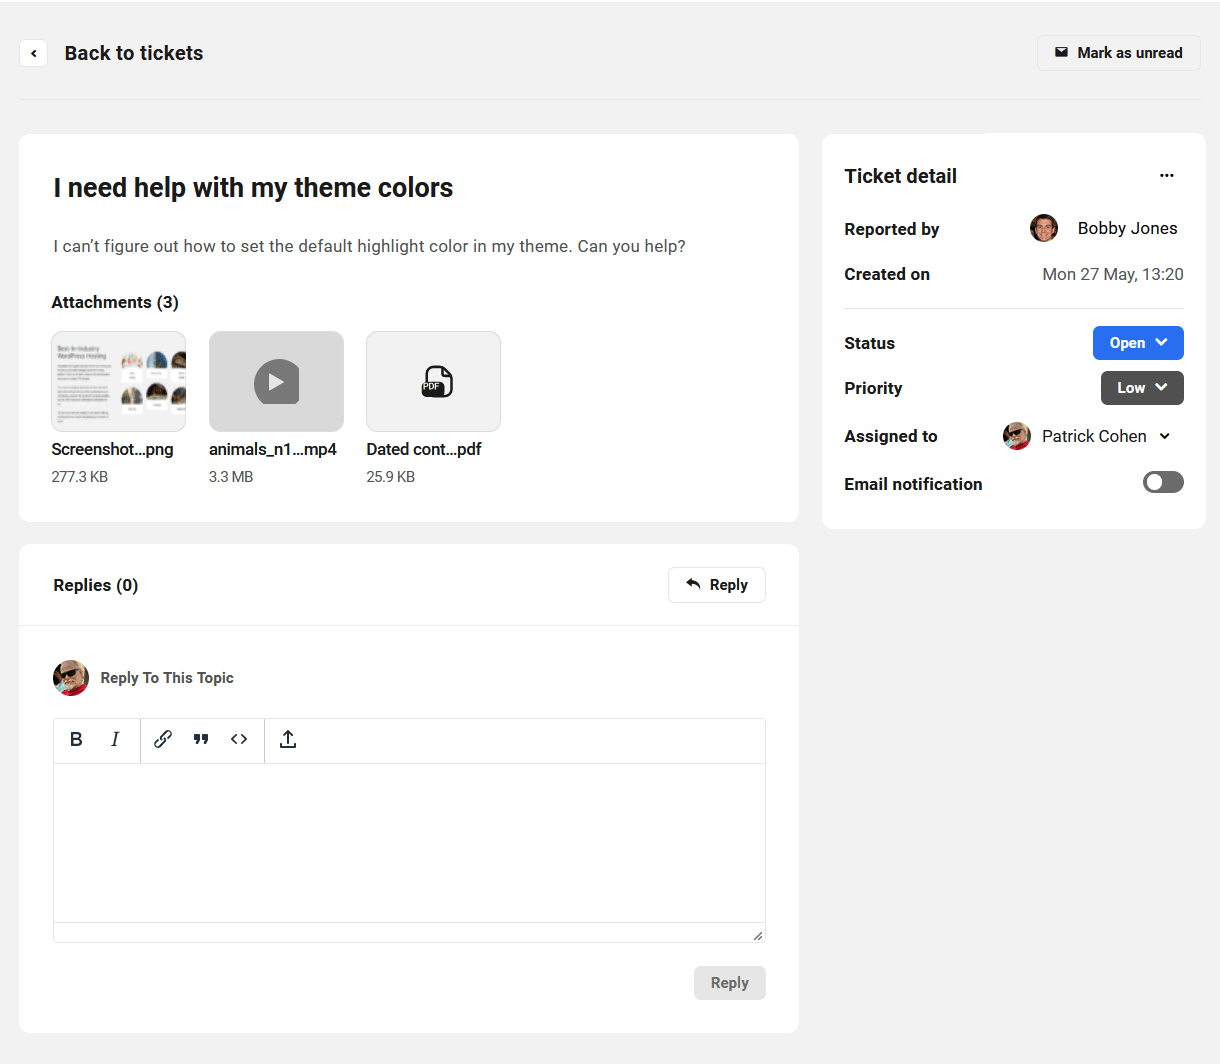
Ticket detail
The Ticket detail section is where you can view and manage many of the same options as found on the All Tickets screen. But this is the only place where the ticket status, priority and assignee can be modified.
- Reported by – The name of the client who submitted the ticket.
- Created on – The date the ticket was created.
- Status – The ticket status according to how you set up your Status labels in the Settings. Click the currently displayed status to change it as needed.
- Priority – The ticket priority as set by you or your assigned team member. Options are Low, Medium or High. Click the currently displayed priority to change it as needed.
- Assigned to – This indicates which member of your support team is currently assigned to the ticket. Click the currently displayed assignee to change it as needed.
- Email notification – Toggle this on to receive notifications of new replies to the ticket.
Additional Ticket Options
Click the ellipsis icon at the top-right to reveal additional management options for the ticket.
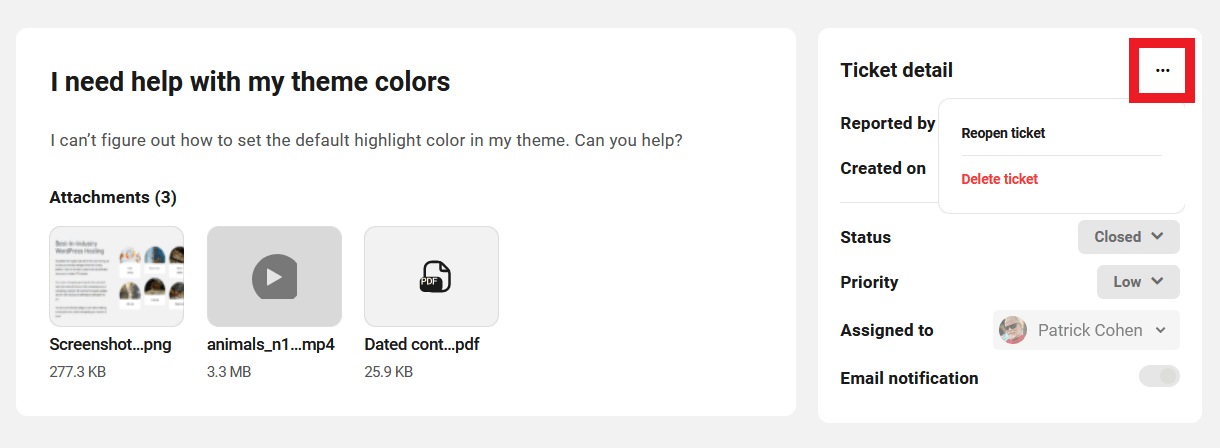
- Reopen ticket – This option only appears if the ticket is closed. See Reopen ticket above for details.
- Delete ticket – Click to permanently delete the ticket. You’ll be prompted to confirm this action as it is irreversible.
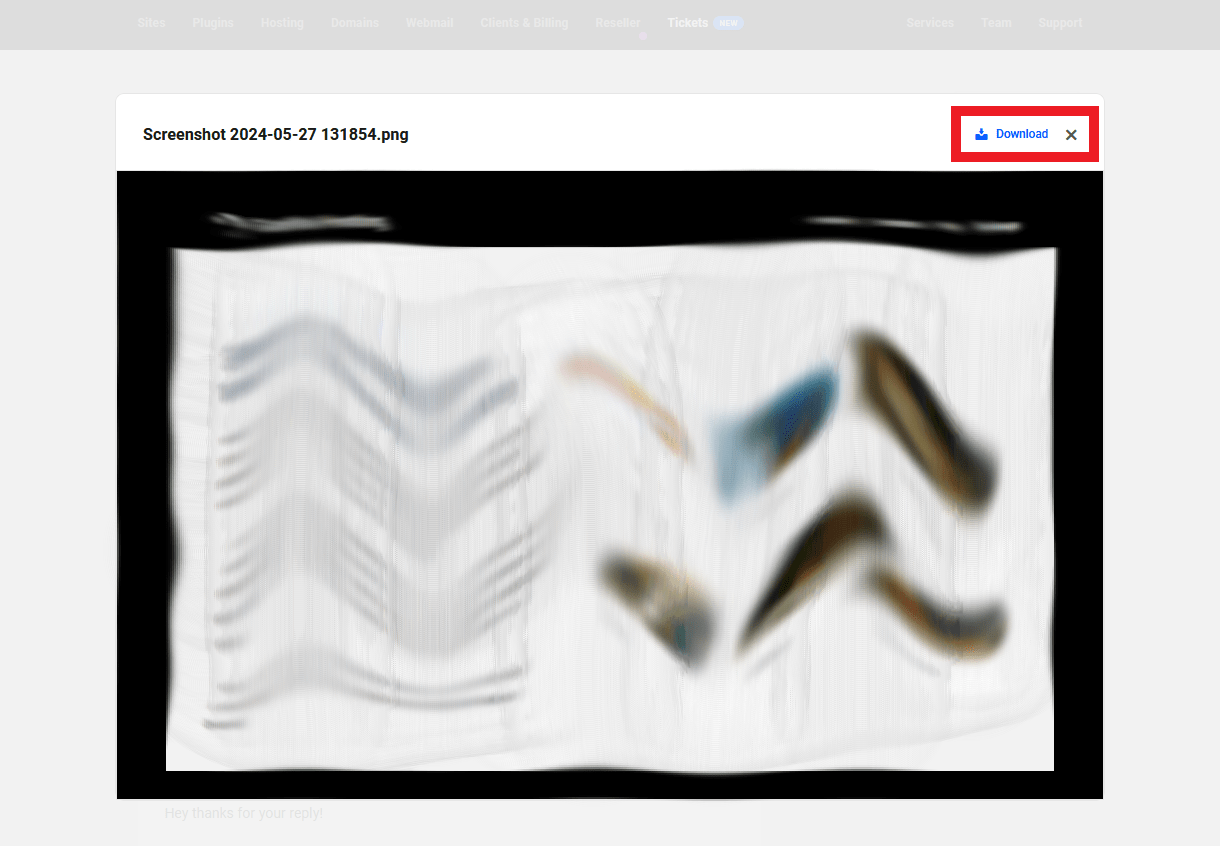
Attachments Behavior
Clicking on an attachment will open images and videos in a lightbox where you can download the attachment if needed. Video attachments will autoplay in a lightbox when clicked on. PDF files will open in a new browser tab.
Replying to Tickets
Enter your reply in the Reply box, and format your content as needed. Replies must contain at least 10 characters but cannot be more than 5000 characters. Available formatting options are bold, italic, link, quote and code. Include up to 5 attachments where allowed file types are images, PDFs and videos with a maximum file size of 10MB each. When done, click the Reply button.
Mark as Unread
Any open ticket can be marked as unread by any support team member simply by clicking the Mark as unread button at top-right of the ticket. This will add a red dot in the Last Response column for the ticket on the All Tickets screen for that support team member.
9.4 Creating Tickets on Behalf of Clients
Copy chapter anchor to clipboardBoth you and your team members can create tickets on behalf of your clients if needed.
Of course, team members must have the View Tickets and Create New and Take Action on Tickets capabilities enabled in their team role to access this feature. You’d also want to ensure that your client’s role includes those same capabilities so they can view and manage their tickets once you create them.
To create a ticket for a client, simply click the + Create Ticket button on the All Tickets screen.
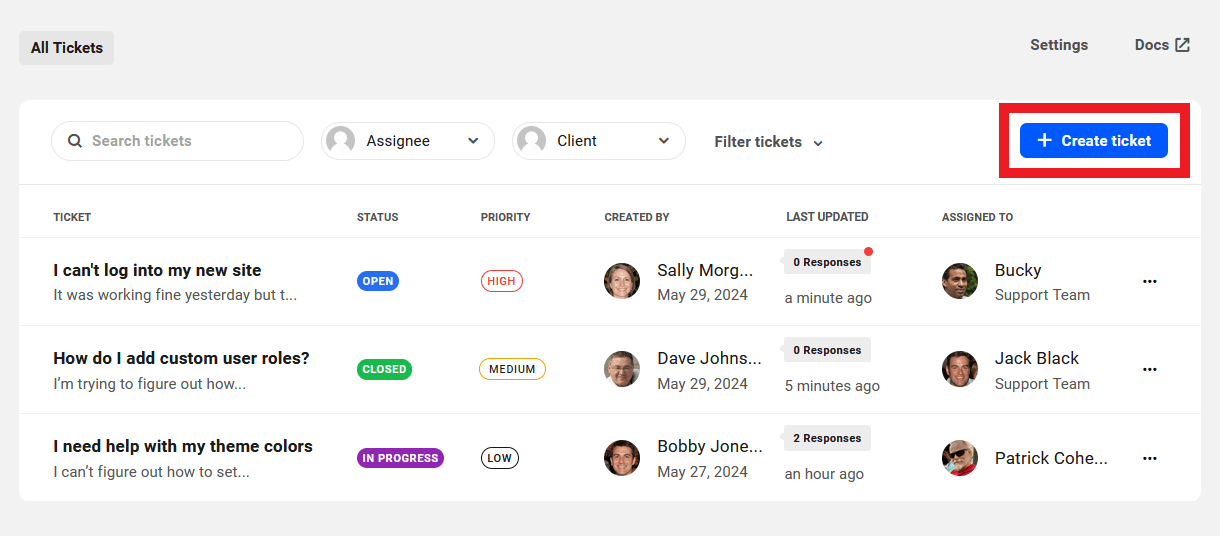
That will pop open the Create New Ticket for Client modal window.
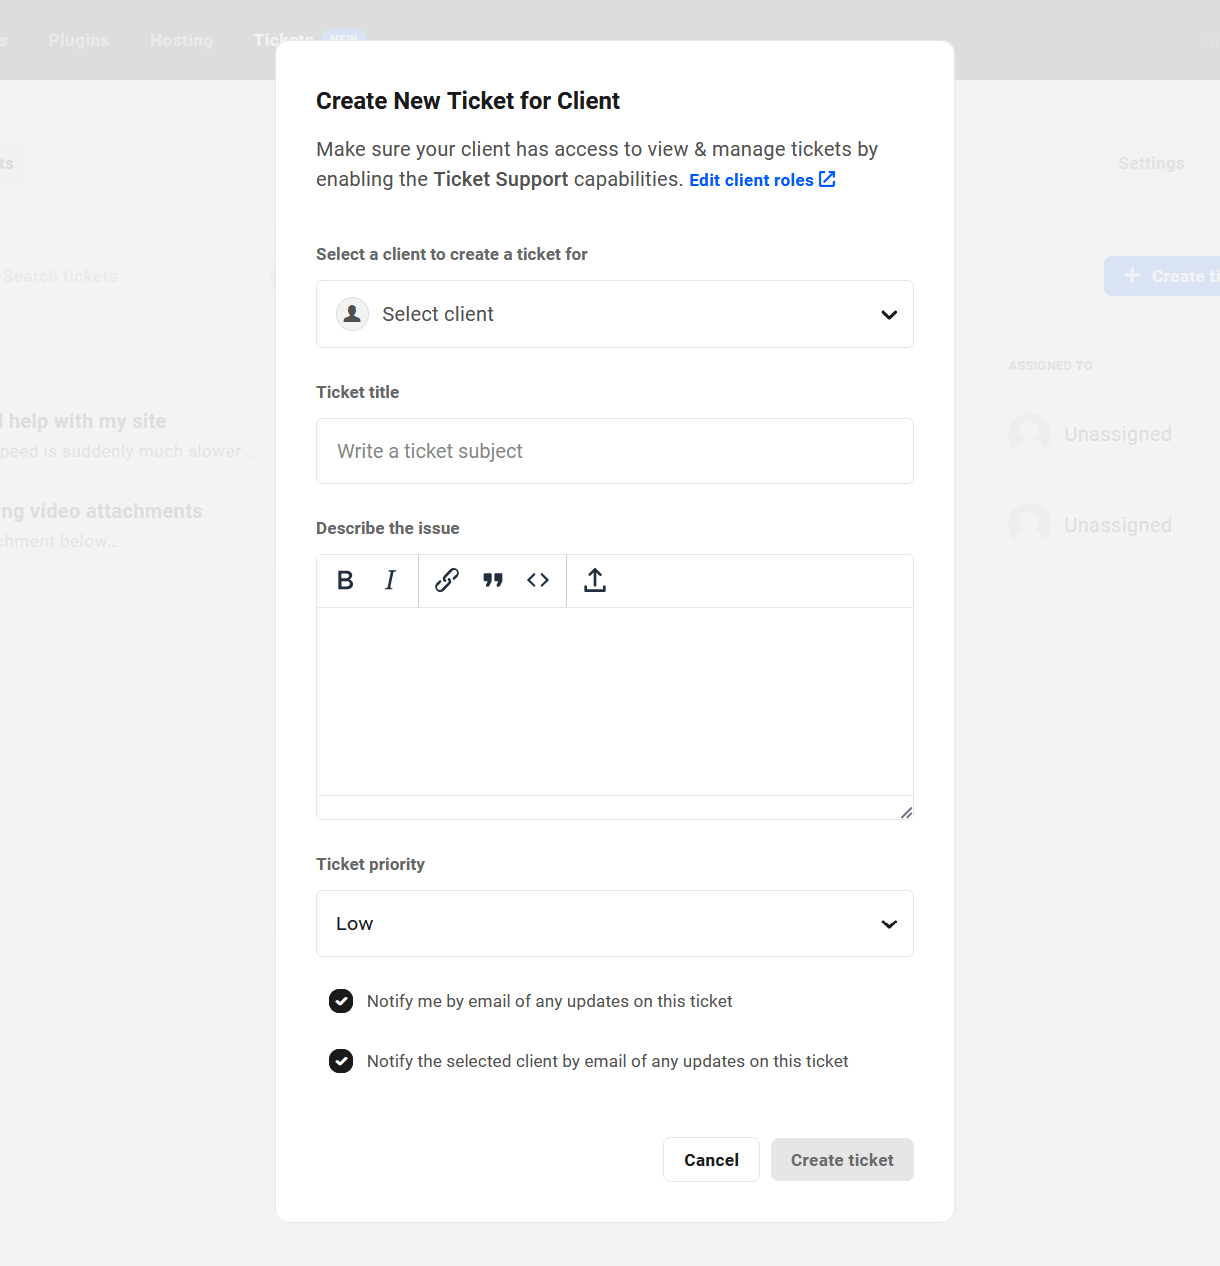
First select the client for whom you’re creating the ticket. Then enter a ticket title and details about their issue. The issue details must contain at least 10 characters but cannot be more than 5000 characters. Optionally upload up to 5 files to illustrate the issue. Allowed file types are images, PDFs and videos with a maximum file size of 10MB each.
Finally, set the ticket priority and enable the email notification options as needed.
Once you’re done, click the Create Ticket button and the new ticket will appear on the All Tickets screen in your Hub, and on the client’s main Tickets screen. Note that tickets created in this manner will be automatically assigned to your default assignee.
9.5 Settings
Copy chapter anchor to clipboard
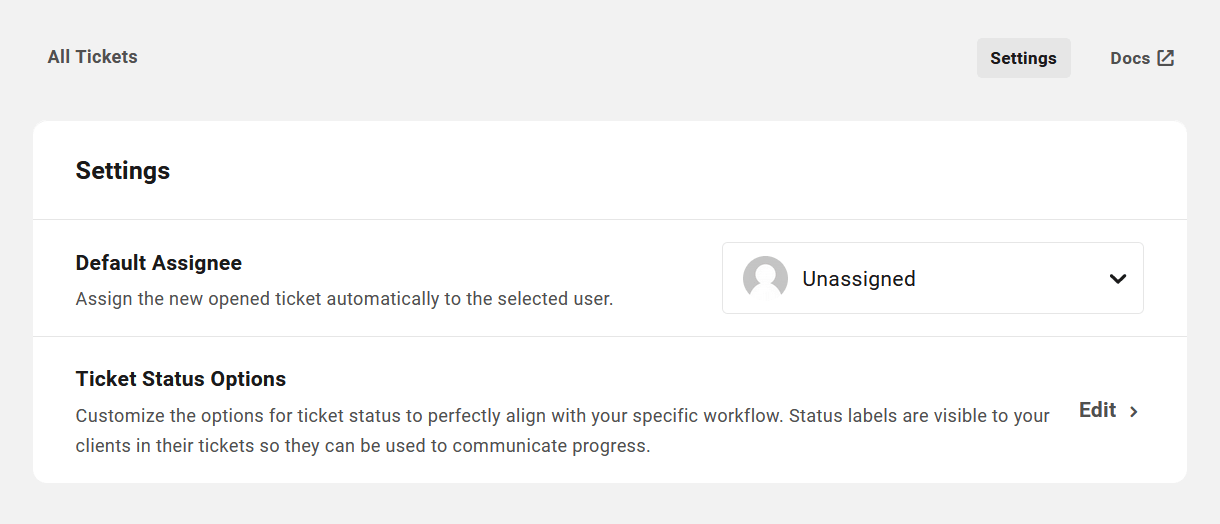
Default Assignee
Click the name of the currently assigned Default Assignee to select a new one from your available support team members. Only those team members who have the required capabilities enabled in their team role will be available for selection here. Of course, as the WPMU DEV account owner, you can assign yourself, or set the default to Unassigned.
Ticket Status Options
Click the Edit link to pop open a modal window where you can customize the Status options according to your specific support workflow. You can add up to 7 custom status as needed for a total of 10.
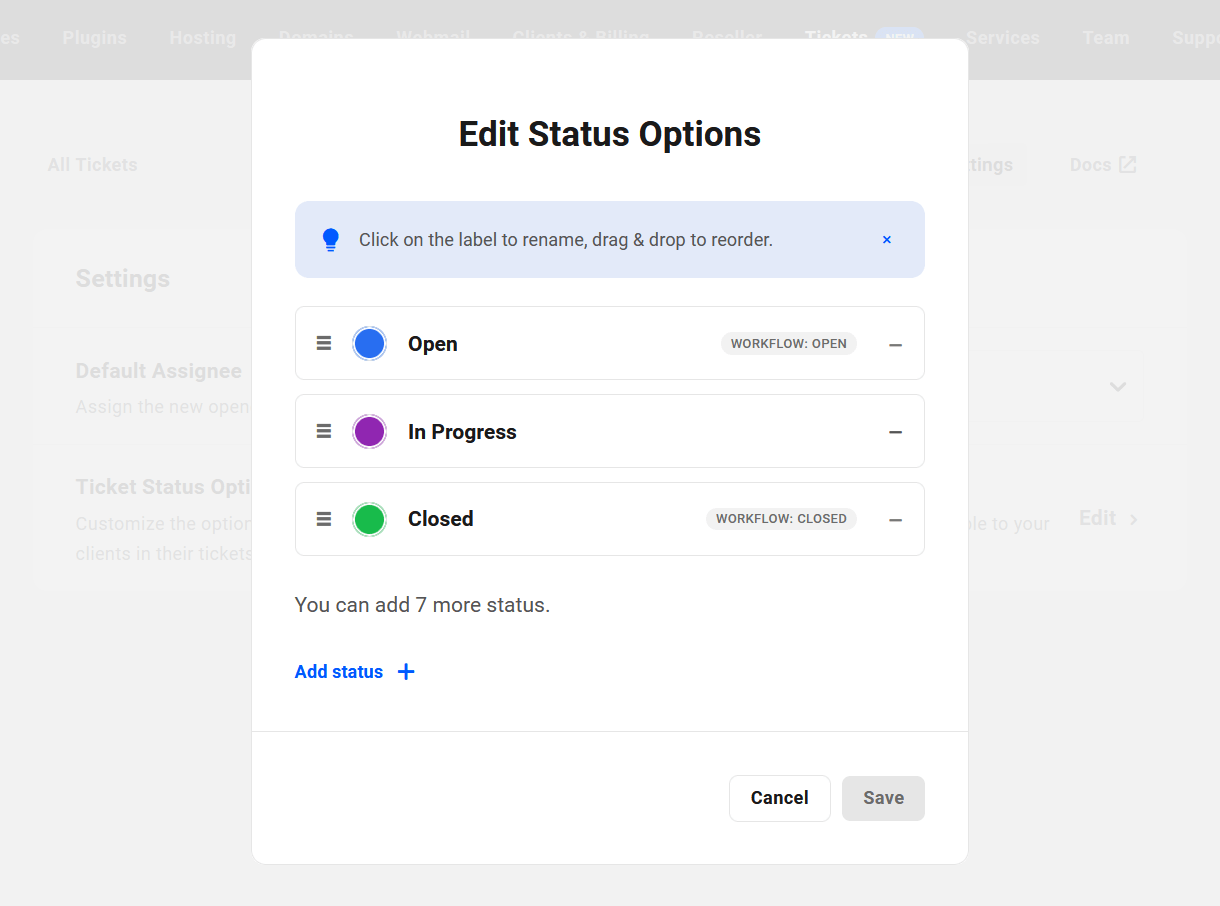
You can edit any status label by clicking the label name and entering a new one. Customize the status color by clicking the current color and selecting a new one.

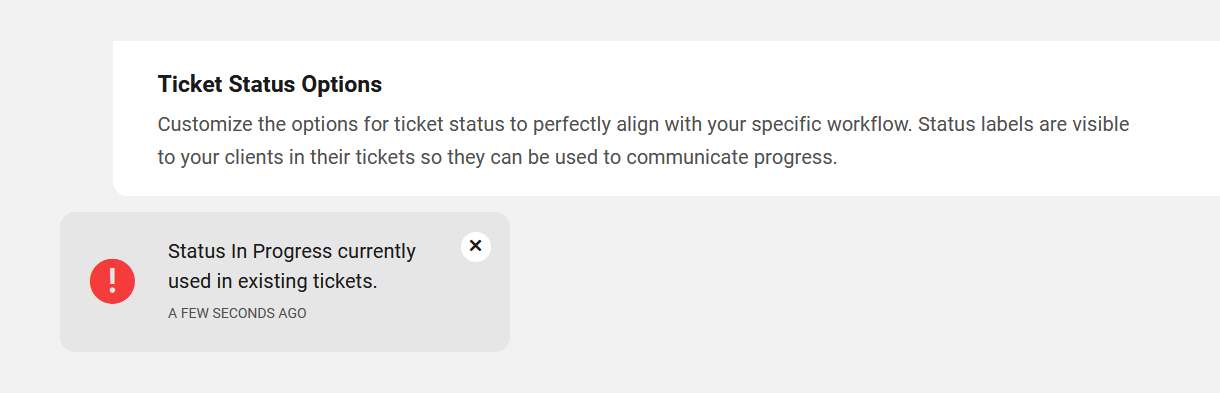
Click & hold the hamburger icon on the left and drag to move a status position up or down in the list. Click the – icon on the right to remove a status. Note that you cannot remove a status that is currently in use in one or more tickets. A notice will appear in your Hub to inform you of the situation if you try.
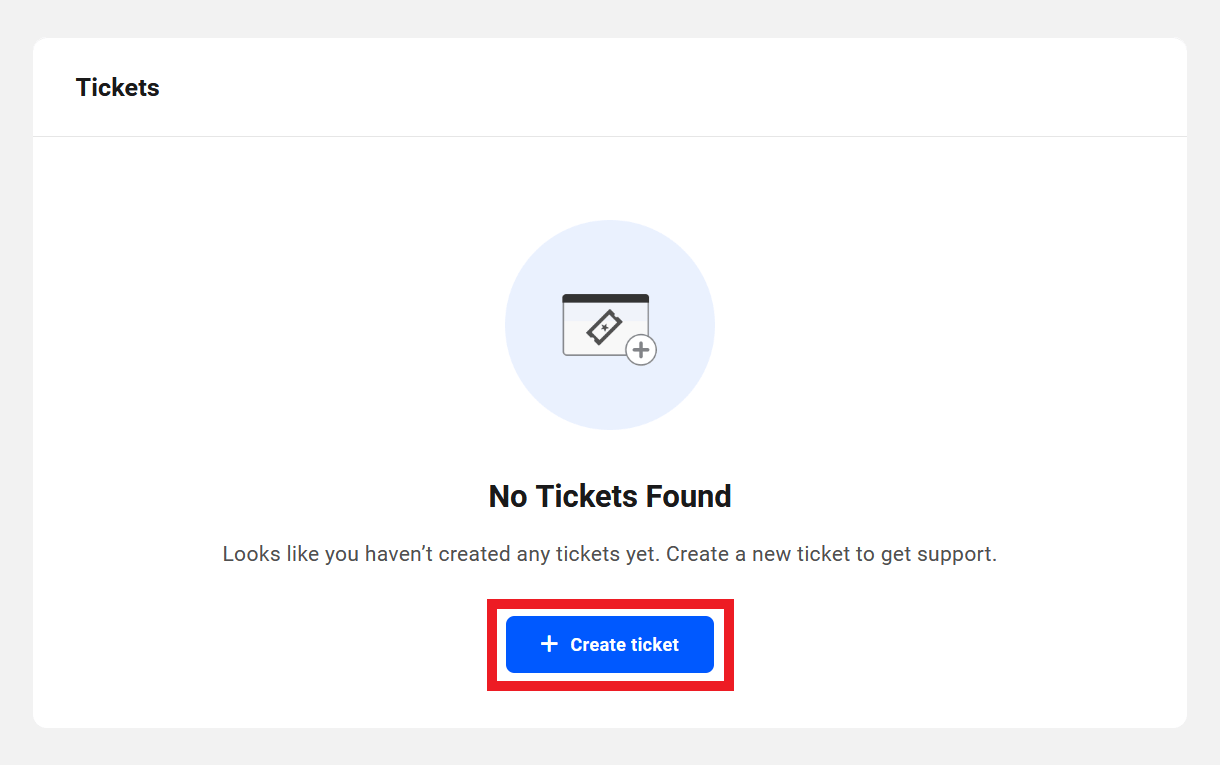
9.6 The Client Experience
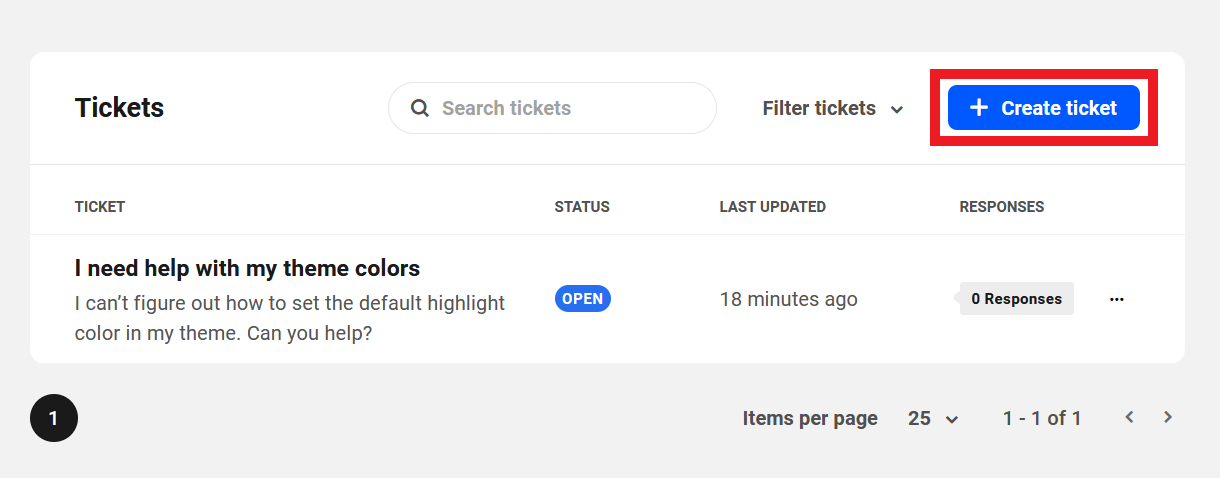
Copy chapter anchor to clipboardWhen a client visits the Tickets section in your branded Hub for the first time, they’ll be greeted by a welcome screen with a + Create ticket button prompting them to create their first support ticket with you.
If they already have one or more support tickets, they can create another by clicking the + Create ticket button at the top-right of their Tickets screen.
Note that the ability to create new tickets requires that their custom client role has the Create New and Take Action on Tickets capability enabled. If a client does not have this capability enabled in their role, the Create ticket buttons will be locked and a message will appear to inform them of the situation.
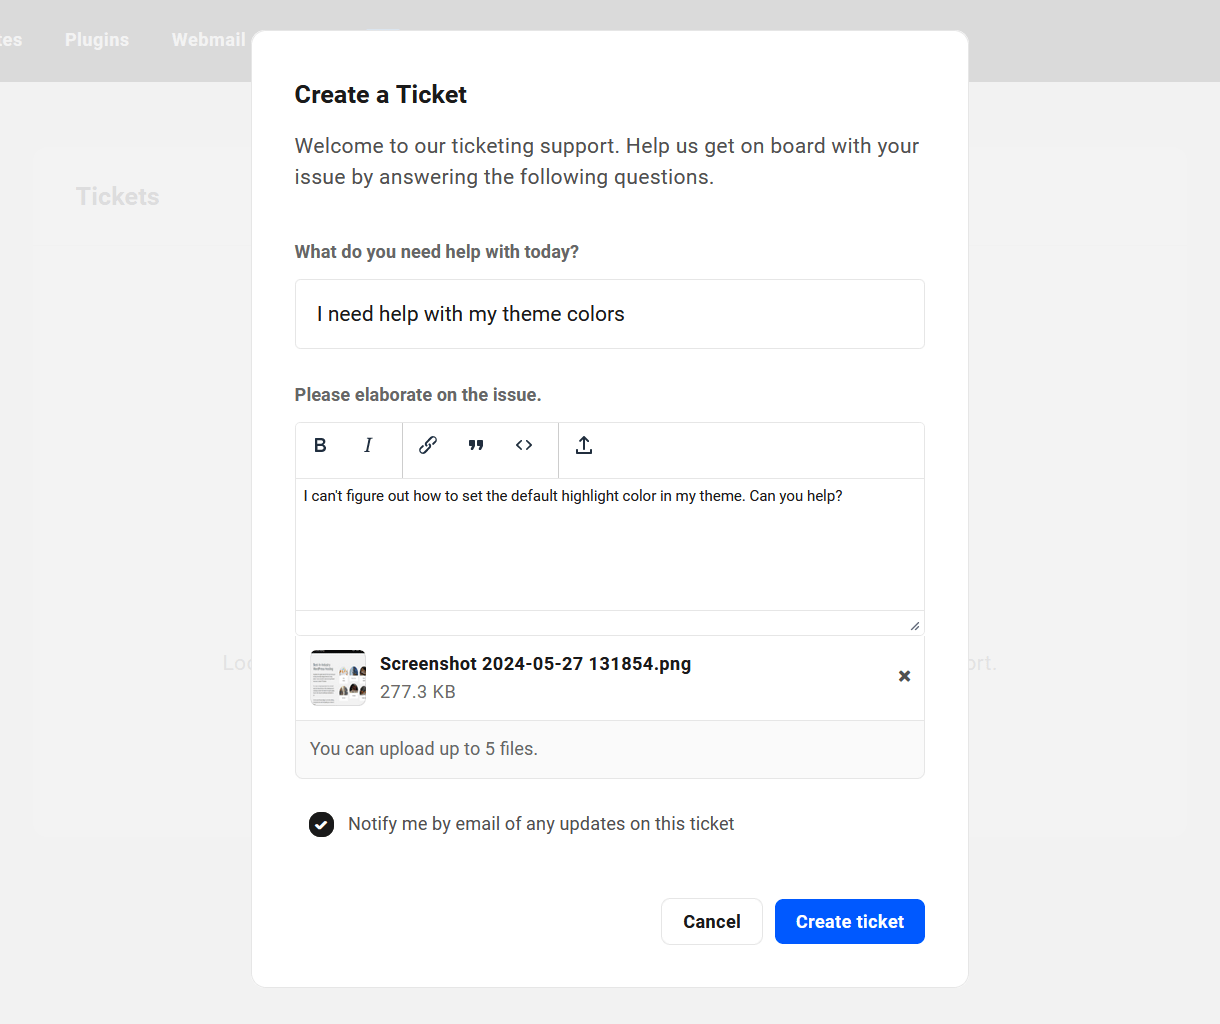
9.6.1 Creating and Managing Tickets
Link to chapter 6Clicking either button as above will pop open the Create a Ticket modal where the client can enter a title and details about their issue. The issue details must contain at least 10 characters but cannot be more than 5000 characters. They can also optionally upload up to 5 files to illustrate the issue. Allowed file types are images, PDFs and videos with a maximum file size of 10MB each.
Once the client clicks the Create ticket button, their new ticket will appear immediately on their Tickets screen, along with all other tickets they have created, if any.
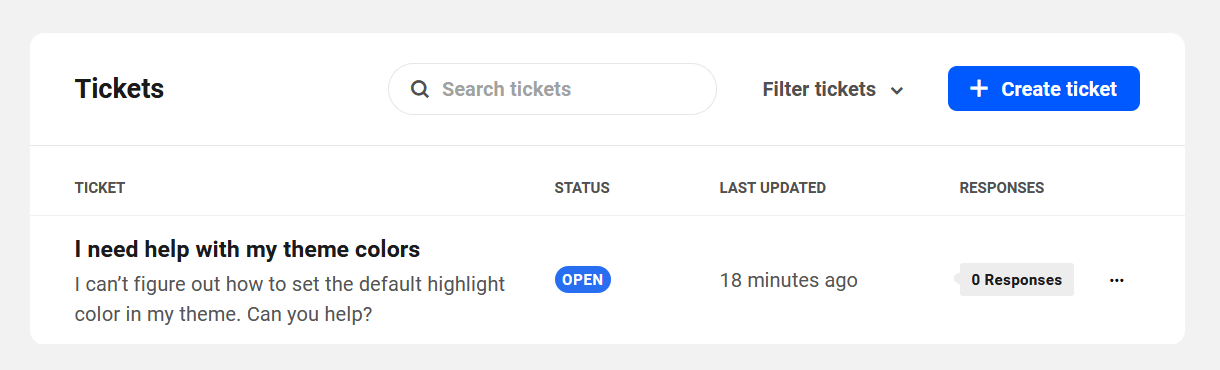
Information is presented to the client on this screen in columns as follows:
- Ticket – This displays the ticket subject line and the first few words of the message body.
- Status – The ticket status assigned by you or your support team member.
- Last updated – This indicates the time elapsed since the last response. The client can hover their cursor over this to reveal a tooltip with the exact date and time of the last response.
- Responses – The number of replies on the ticket, where tickets with unread replies will be highlighted with a red dot on the upper-right corner.
Filter Tickets
The client can click the Filter tickets button at the top to display only tickets that meet their filter criteria.
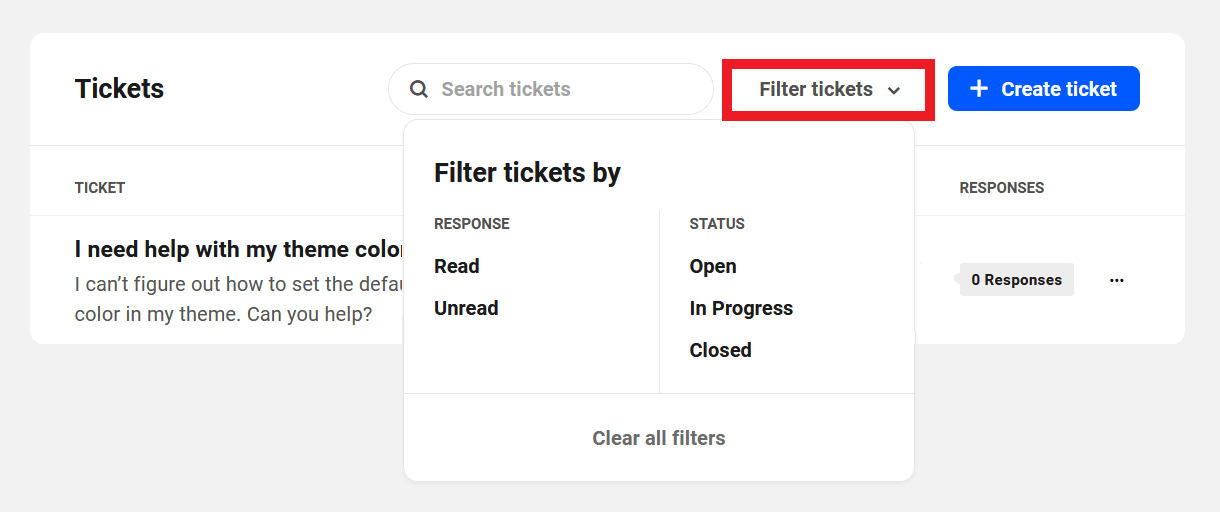
- Response – Displays only tickets that are Read or Unread by the client.
- Status – Displays tickets with any status as assigned by you or your support team members.
Ticket Management Options
The client can click the ellipsis icon at the far-right of any ticket’s row to reveal additional management options.
- View ticket – Opens the details of the specific ticket when clicked. The ticket title can also be clicked to open it. See Managing Individual Tickets below for details.
- Close ticket / Reopen ticket – Clicking Close ticket will change the ticket status to Closed and no further replies can be made on the ticket. If a ticket has been already closed, the client will see a Reopen ticket option here instead which, when clicked, reopens the ticket and allows additional replies and actions. See Reopen ticket below for additional details.
- Email notification – The client can toggle this on to receive notifications of new replies to the ticket.
- Delete ticket – The client can permanently delete the ticket by clicking this option. They will be prompted to confirm the action as it is irreversible.
Reopen Ticket
If a ticket status has been changed to Closed, no further actions can be taken on that ticket unless it is reopened.
To reopen a ticket, the client can click the Reopen ticket option for that ticket on the All Tickets screen. A closed ticket can also be reopened from the ticket details screen.
The client will be prompted to provide additional information as to why the ticket was reopened. This will create a new reply on the ticket to notify support team members who may have email notifications enabled for that ticket, and it will reappear as an open ticket with unread replies on your All Tickets screen.
9.6.2 Managing Individual Tickets
Link to chapter 6The client can click a ticket title or the View Ticket option on their Tickets screen to access the ticket, where the full details of the ticket will appear, including attachments and all replies to date.
The client’s submitted issue will appear at the top, with all replies in a single thread beneath it. Note that it is not possible to create nested threaded replies (they cannot reply to a reply).
Ticket detail
The Ticket detail section is where the client can view the following information:
- Created on – The date the ticket was created.
- Status – The status that you or your support team members have currently assigned to the ticket.
- Email notification – The client can toggle this on to receive notifications of new replies to the ticket.
- Close Ticket – The client can click this button to close the ticket when the issue is resolved to their satisfaction or the ticket is no longer needed.
Additional Ticket Options
The client can click the ellipsis icon at the top-right to reveal additional management options for the ticket.
- Reopen ticket – This option only appears if the ticket is closed. See Reopen ticket above for details.
- Delete ticket – The client can permanently delete the ticket by clicking this option. They will be prompted to confirm this action as it is irreversible.
Attachments Behavior
Clicking on an attachment will open images and videos in a lightbox where the client can download the attachment if needed. Video attachments will autoplay in a lightbox when clicked on. PDF files will open in a new browser tab.
Replying to Tickets
The client can enter their reply in the Reply box, and format the content as needed, and click the Reply button. Replies must contain at least 10 characters but cannot be more than 5000 characters. Available formatting options are bold, italic, link, quote and code. Include up to 5 attachments where allowed file types are images, PDFs and videos with a maximum file size of 10MB each.
Mark as Unread
The client can mark any open ticket as unread simply by clicking the Mark as unread button at top-right of the ticket. This will add a red dot in the Responses column for the ticket on the client’s Tickets screen.
9.7 Ticket Email Examples
Copy chapter anchor to clipboardThis chapter provides examples of all the Ticket system emails sent to you, your team members and your clients, and which actions trigger them.
All emails sent to you or your team members will be branded with the WPMU DEV logo and colors so you know where they come from.
Emails sent to your clients will be branded with the Brand Logo and Brand Color you set in the Business Profile section of your Clients & Billing portal. And if you have set a custom Emails Footer Note in the Email Notifications section, that would appear in the footer of all client emails as seen in the examples below.
In all emails sent, the placeholders shown in these examples will be replaced by actual data of course.
The CTA buttons in emails sent to you will direct you to the corresponding ticket feature in your WPMU DEV Hub. However, the CTA buttons in emails sent to your clients will take them to the corresponding ticket feature in the branded Hub Client portal from which they created the ticket.
Note that emails are not sent to recipients who trigger corresponding actions themselves. For example, if a client closes a ticket, the Ticket Closed email will not be sent to that client.
9.7.1 Emails Sent to You
Link to chapter 7New Ticket Created
This email is sent only to the Hub account owner when a client creates a new support ticket.
Ticket Assigned
This email is sent to the team member who has been assigned to the ticket. Note that if a team member assigns a ticket to themself, this email is not sent.
Assignee Changed
This email is sent to all support staff (you and/or your team members) who have enabled email notifications on the ticket when the ticket assignee is changed.
New Reply
This email is sent to all support staff (you and/or your team members) who have enabled email notifications on the ticket when the client submits a new reply.
Status Updated
This email is sent to all support staff (you and/or your team members) who have enabled email notifications on the ticket when the ticket status is changed.
Ticket Closed
This email is sent to all support staff (you and/or your team members) who have enabled email notifications on the ticket when the ticket is closed.
Ticket Reopened
This email is sent to all support staff (you and/or your team members) who have enabled email notifications on the ticket when the ticket is reopened.
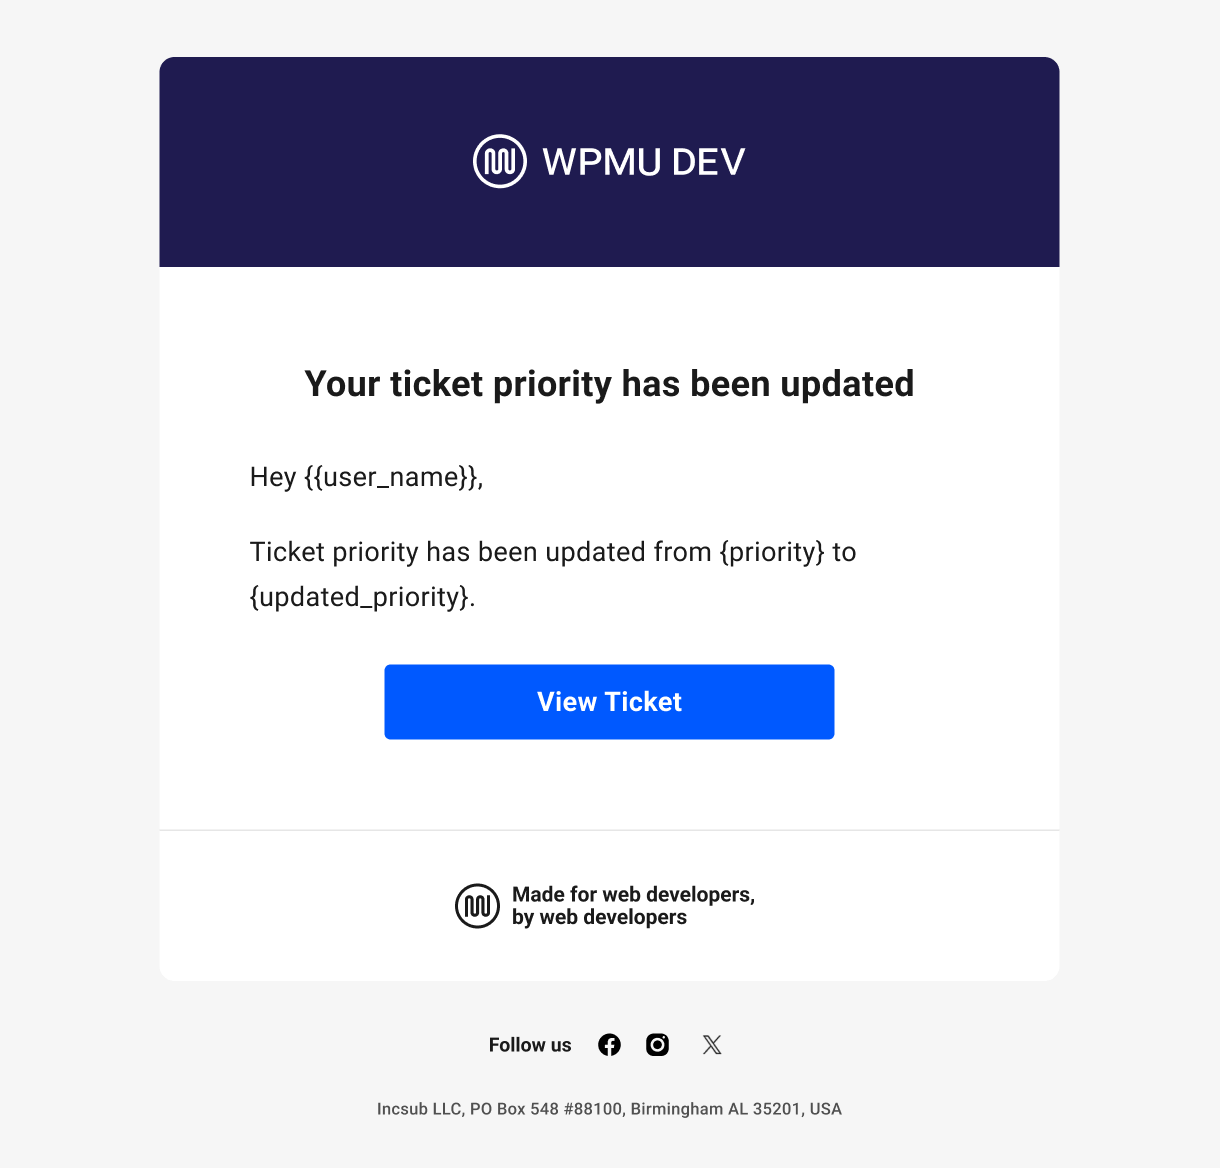
Priority Updated
This email is sent to all support staff (you and/or your team members) who have enabled email notifications on the ticket when the ticket priority is changed.
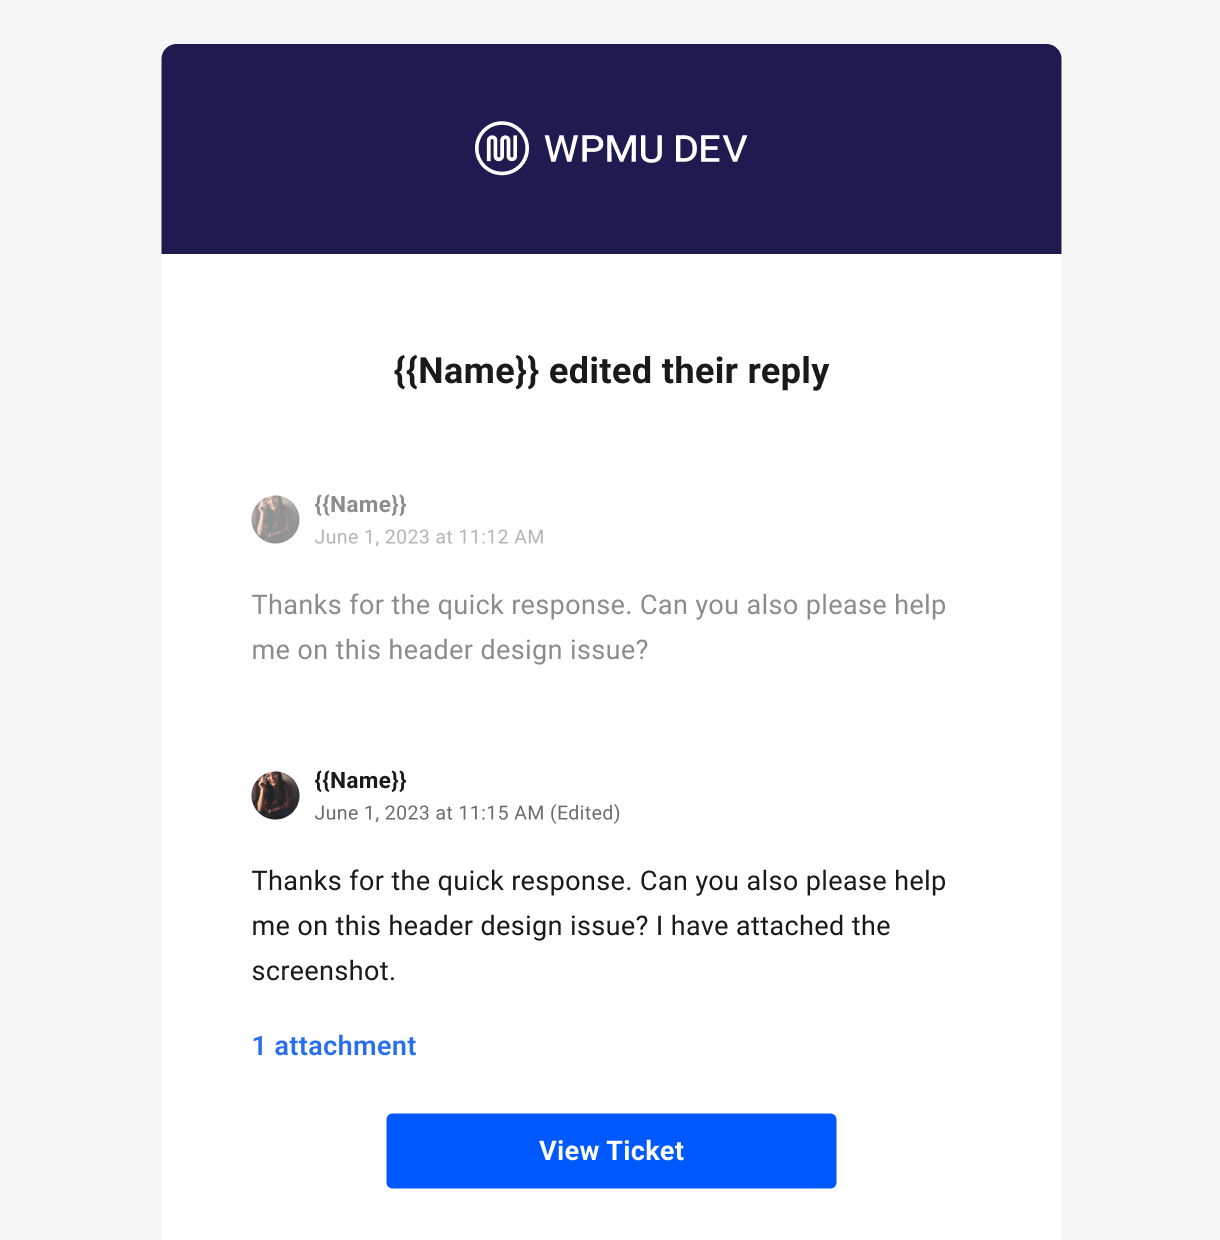
Reply Edited
This email is sent to all support staff (you and/or your team members) who have enabled email notifications on the ticket when the client edits a reply in a ticket. The original content of the reply will be shown grayed-out, with the updated contents shown directly after.
9.7.2 Emails Sent to Your Clients
Link to chapter 7The following emails are only sent to the client for any particular ticket if they have enabled email notifications on that ticket.
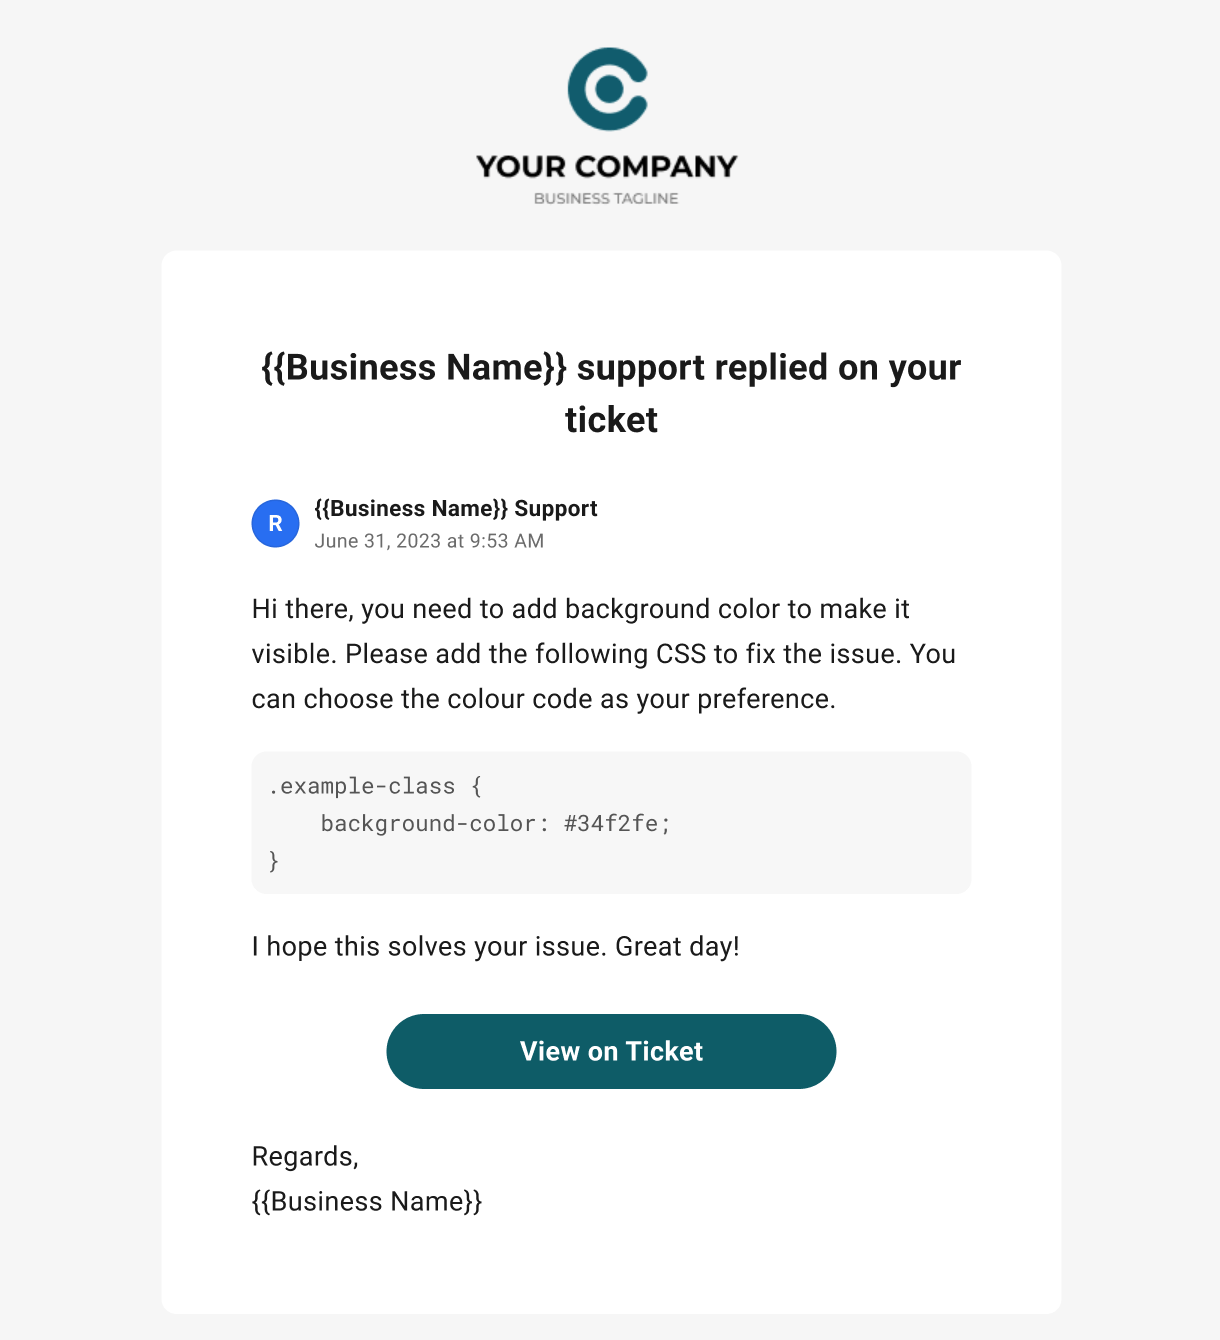
New Reply
This email is sent to the client when you or one of your team members submits a new reply.
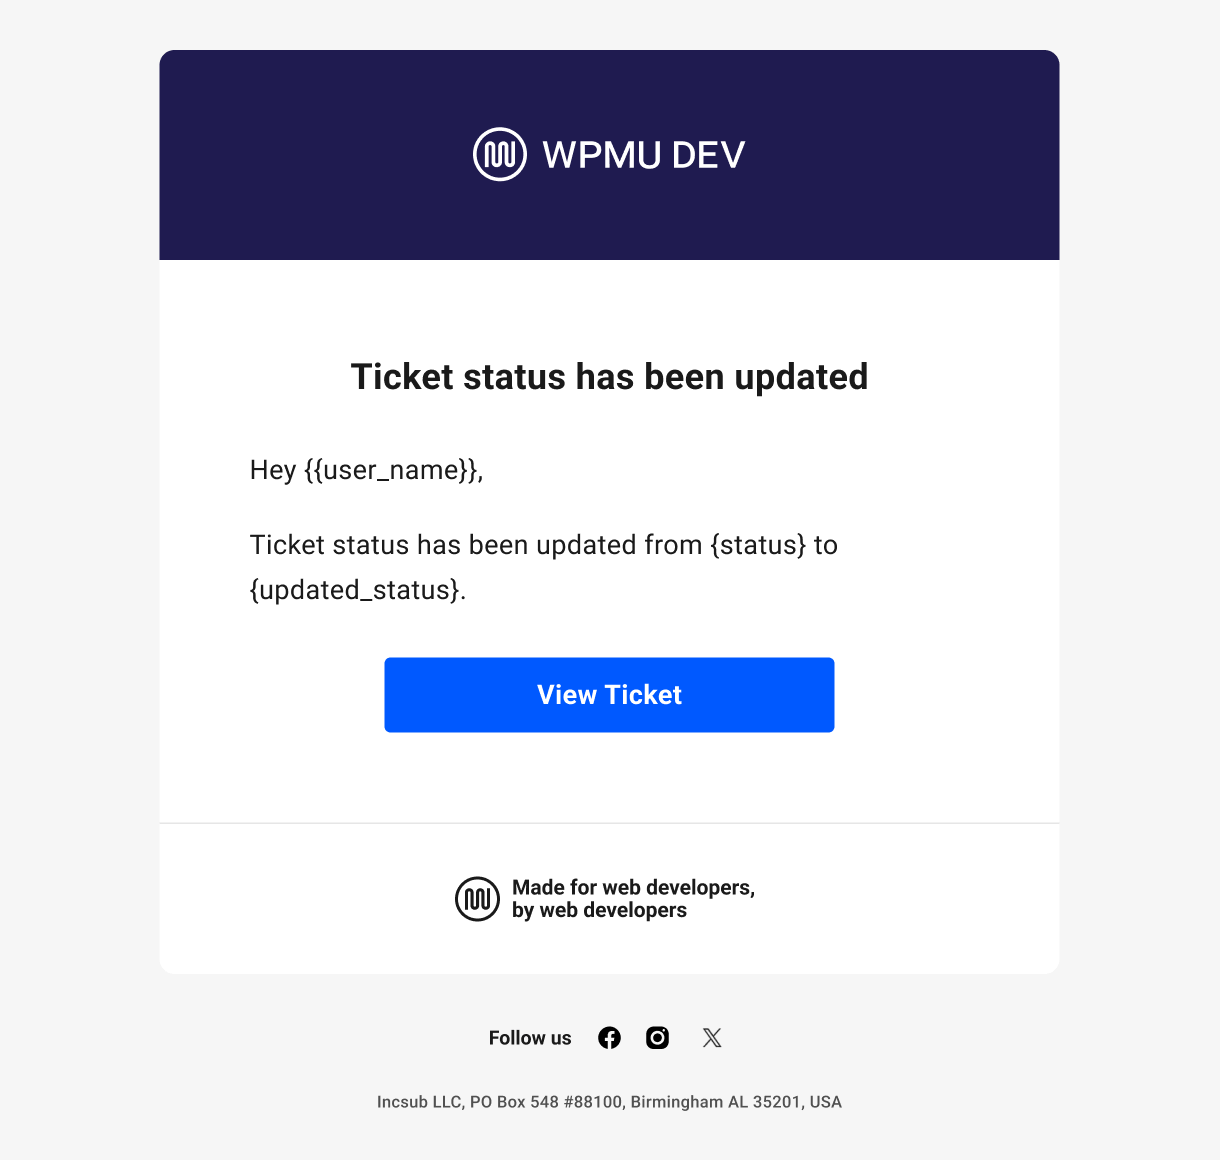
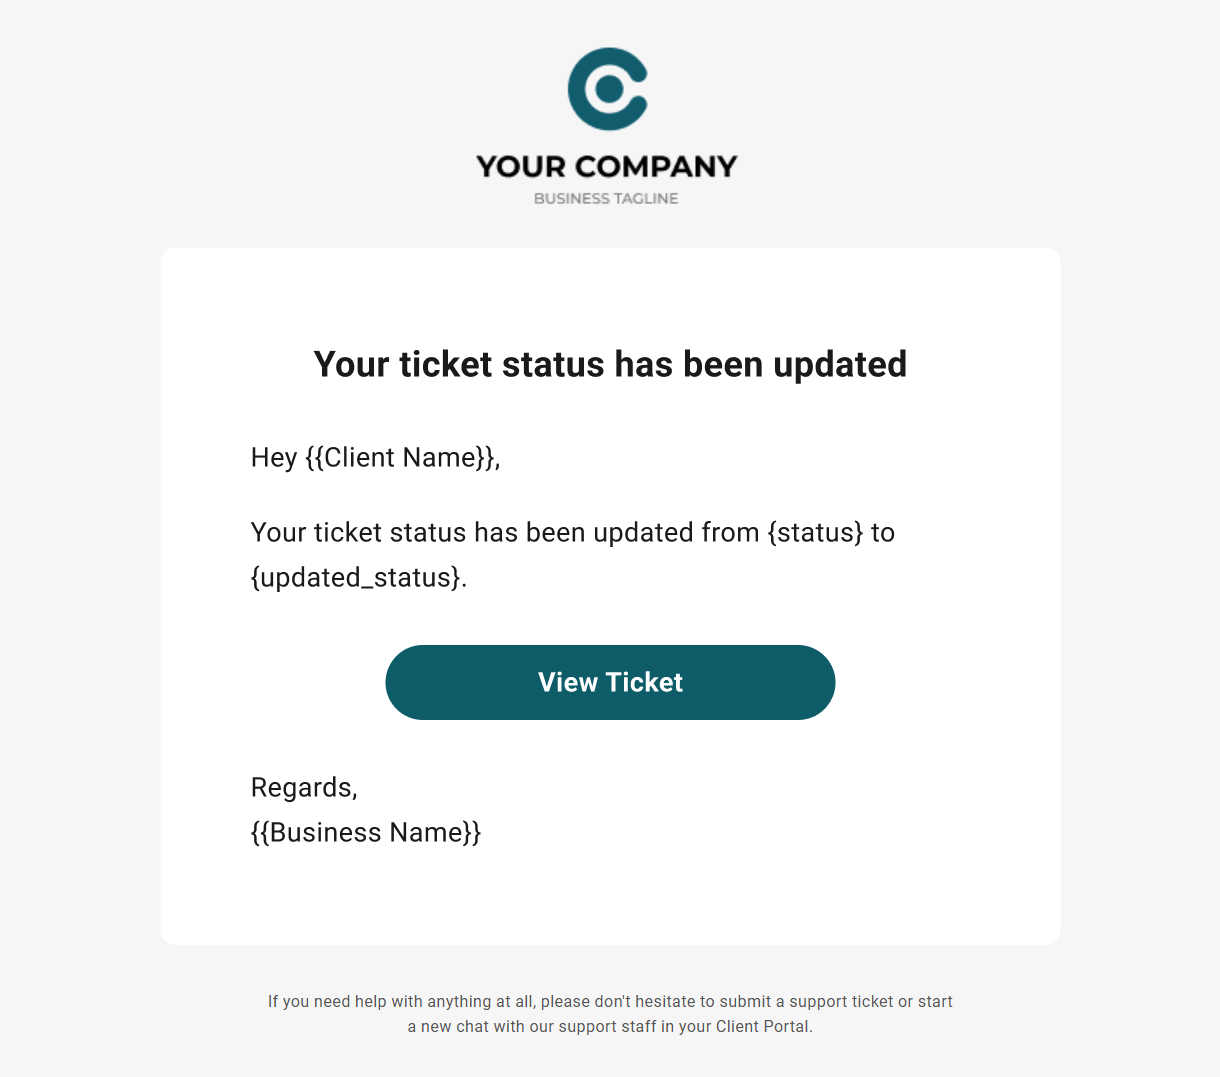
Status Updated
This email is sent to the client when you or one of your team members changes the ticket status.
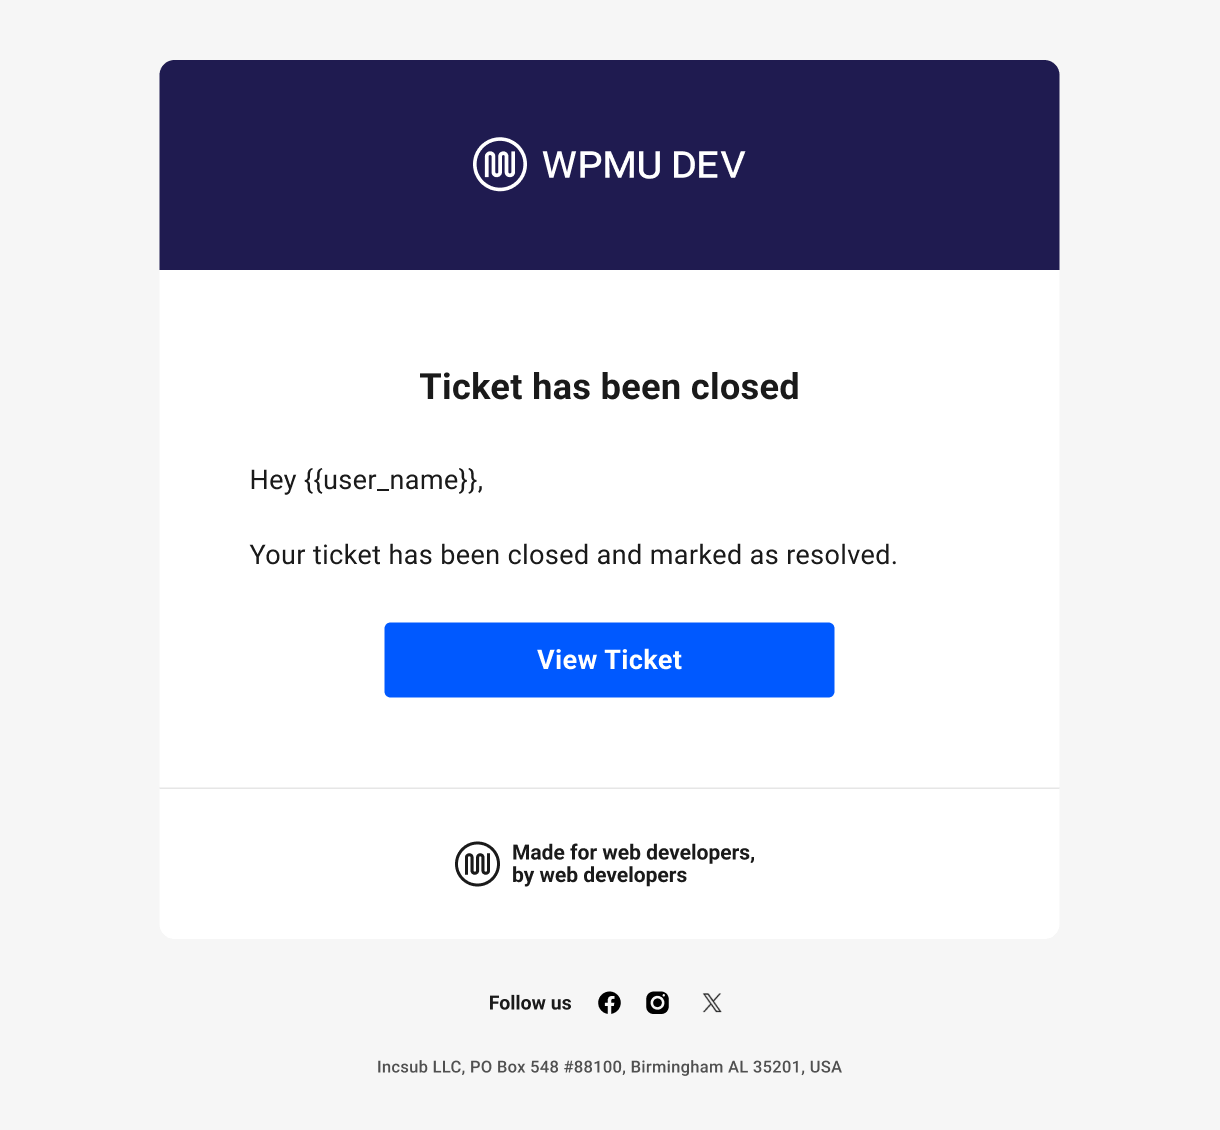
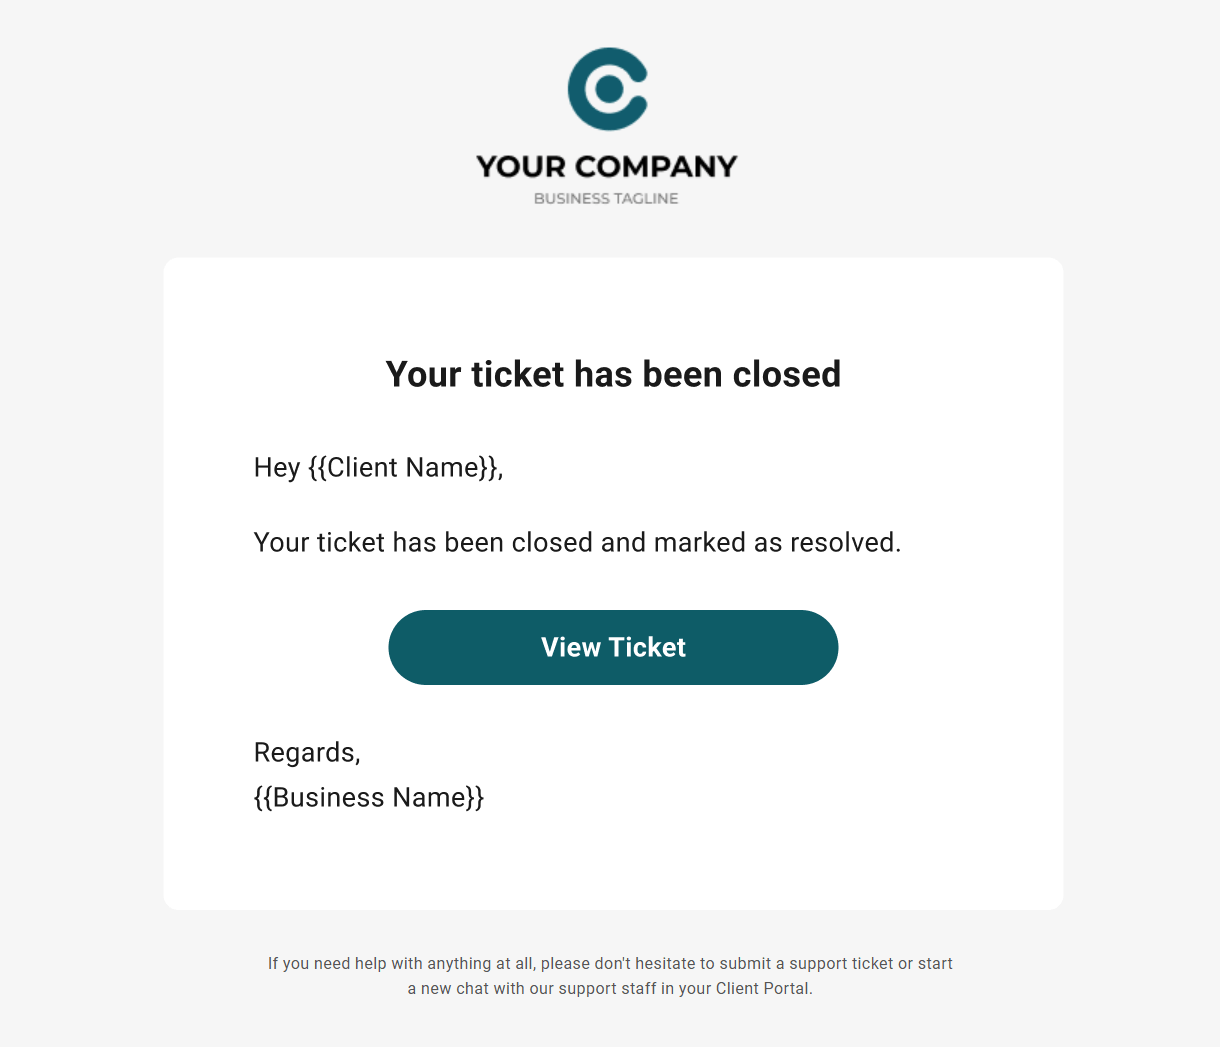
Ticket Closed
This email is sent to the client when you or one of your team members closes the ticket.
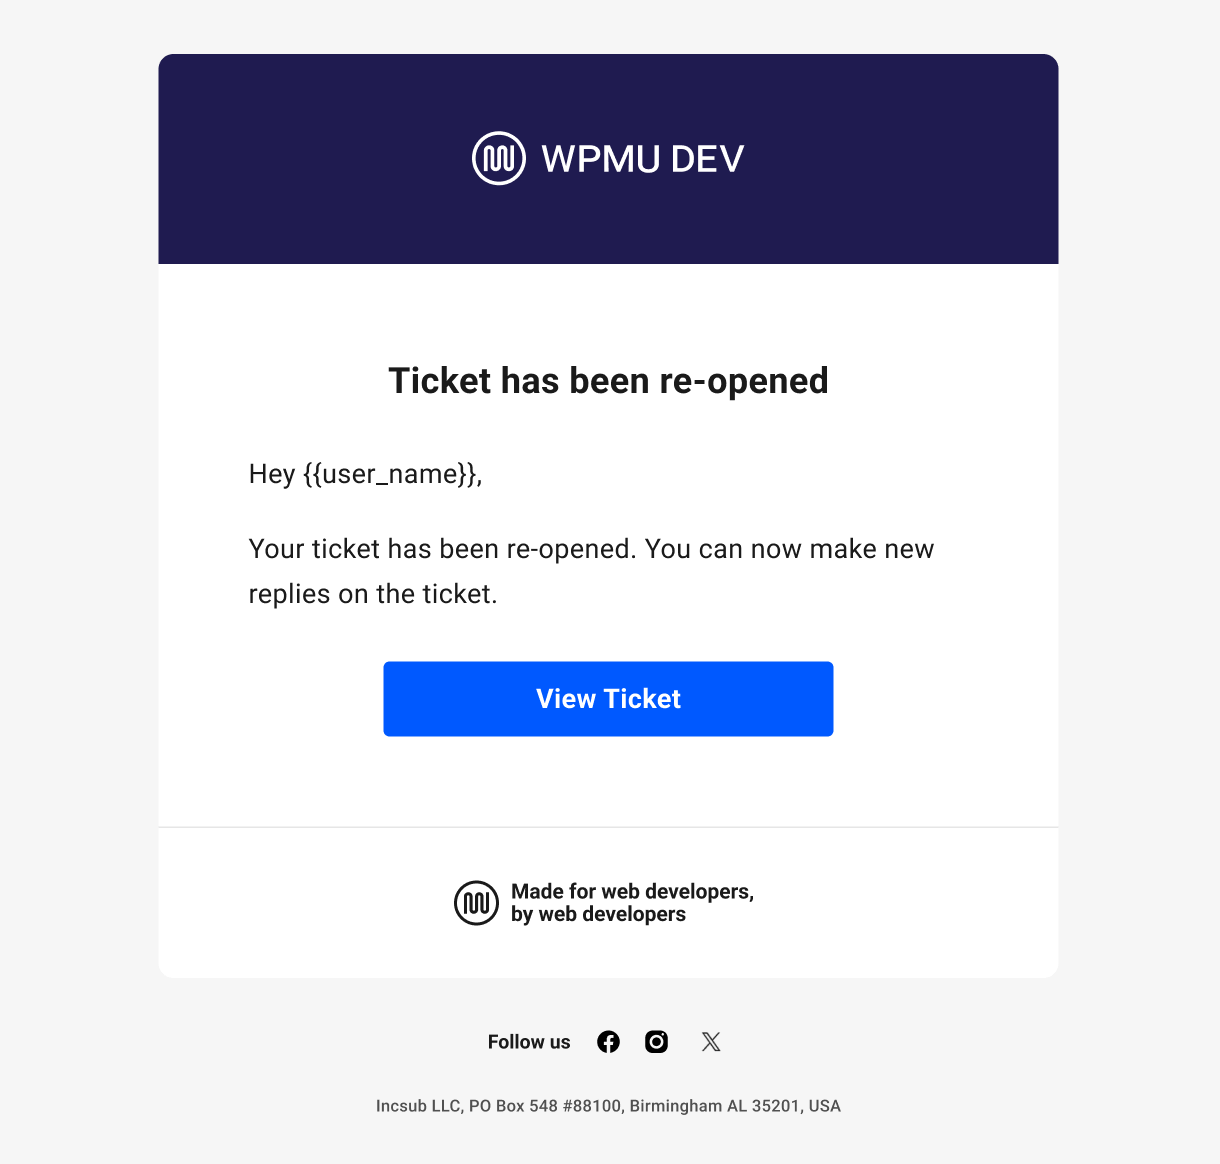
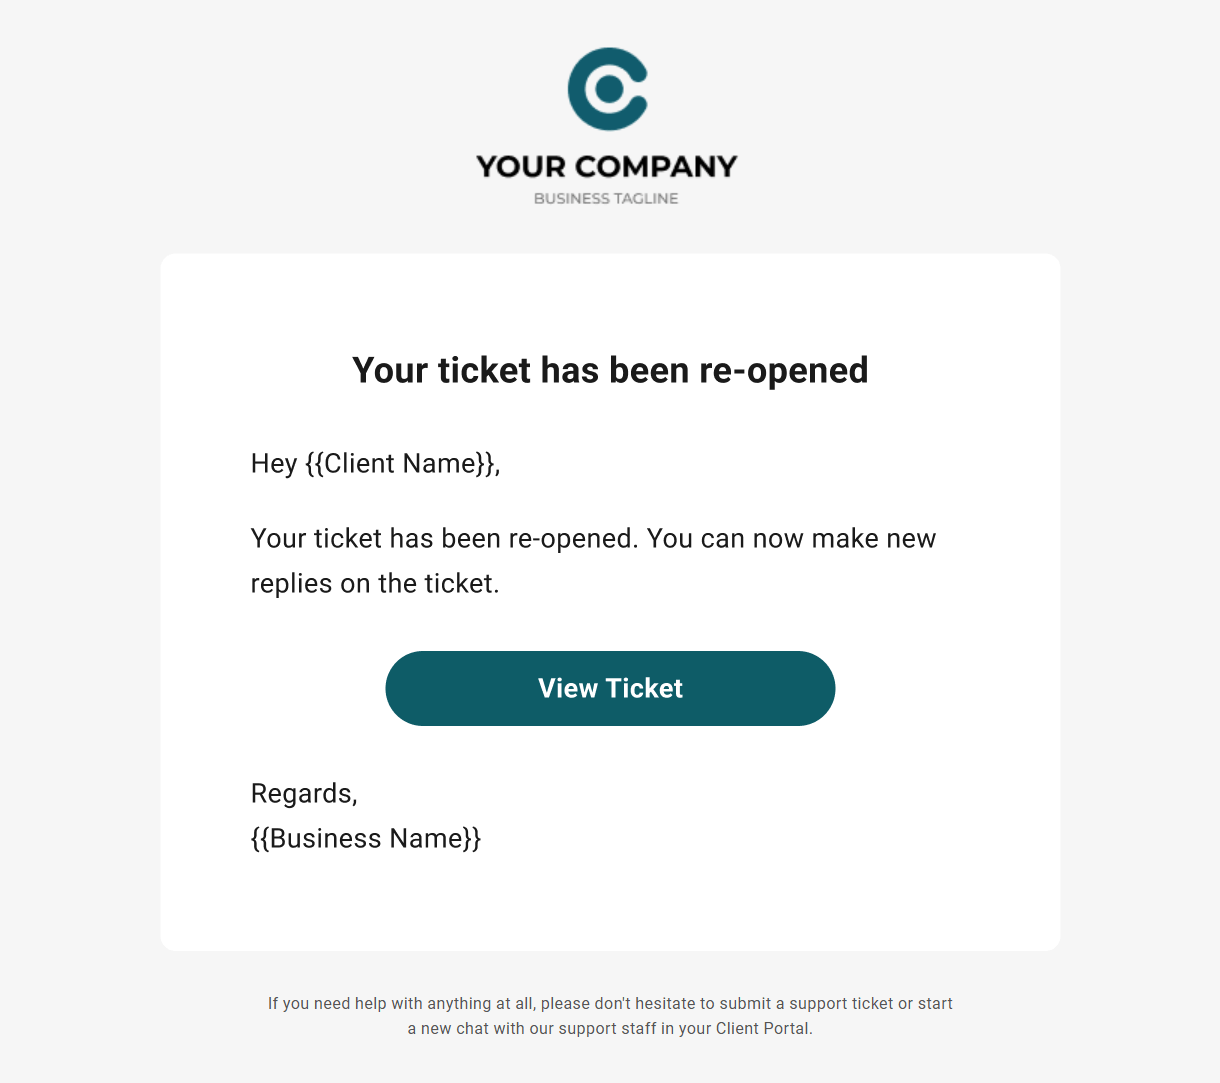
Ticket Reopened
This email is sent to the client when you or one of your team members reopens the ticket.
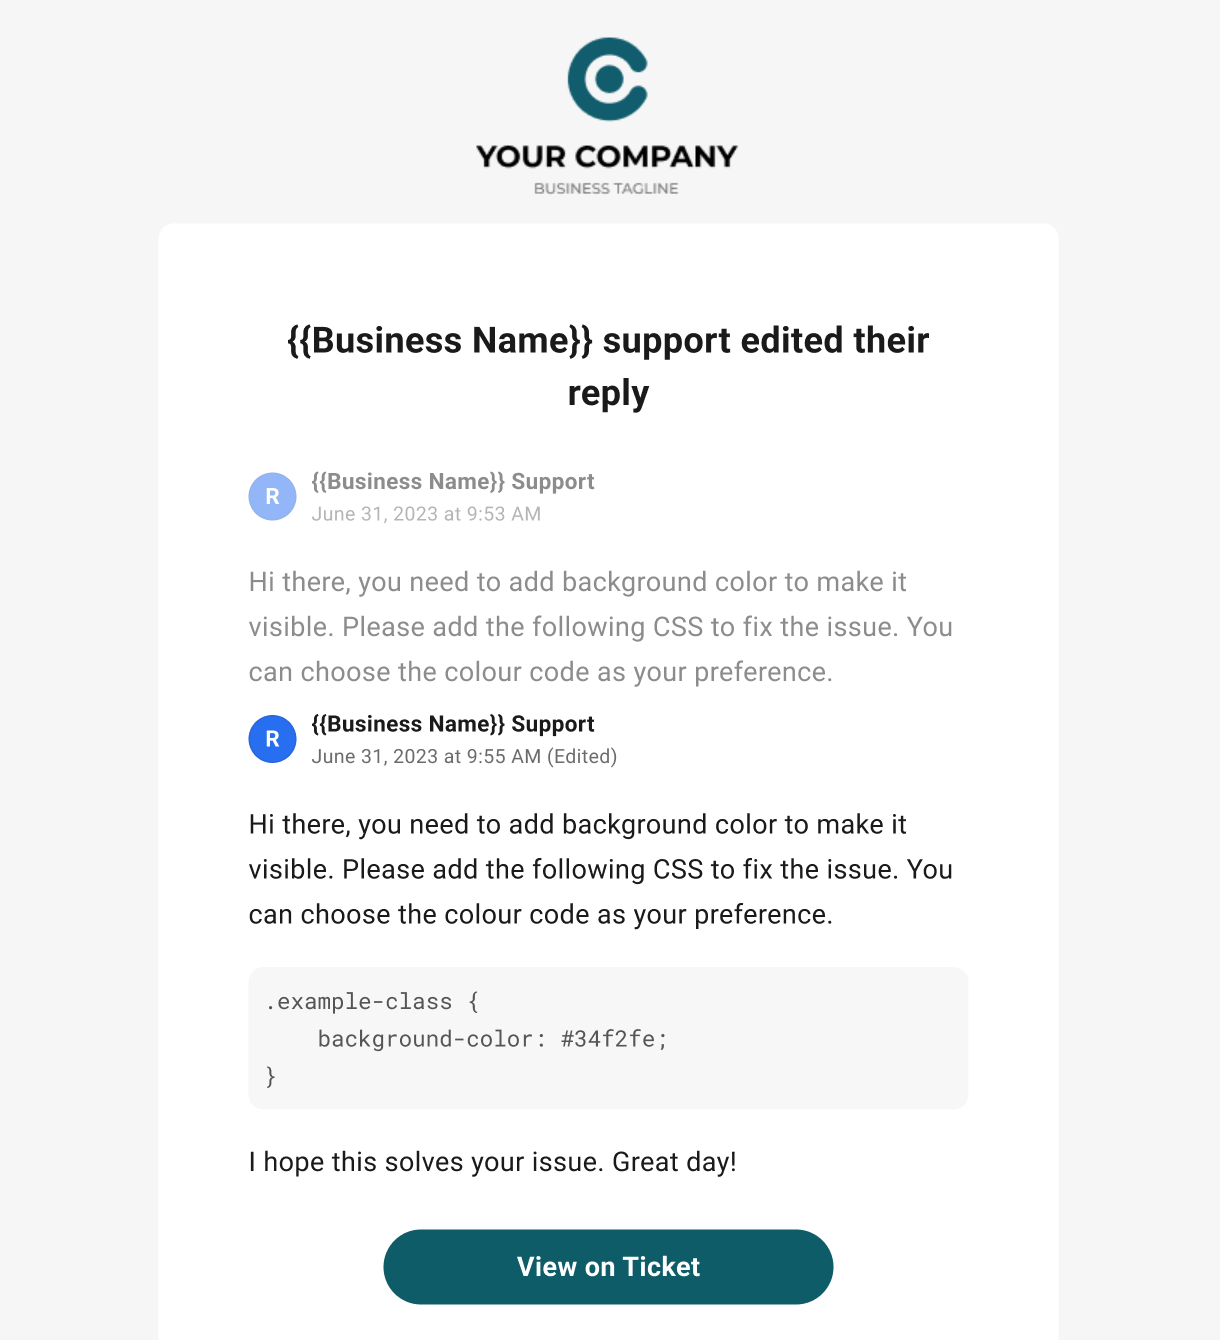
Reply Edited
This email is sent to the client when you or one of your team members edits a reply in a ticket. The original content of the reply will be shown grayed-out, with the updated contents shown directly after.
9.8 Get Support
Copy chapter anchor to clipboardIf you still have questions or need assistance after reading this document, please don’t hesitate to contact our support superheroes using the available options under the Support tab in your Hub or via the Support tab in your WPMU DEV Dashboard.
