Securing Your WordPress Site with Defender and The Hub
With Defender and The Hub, securing your site and keeping tabs on any volatile issues is as easy as ever - all in one place. Any hackers up to no good, malware, or threatening bots, don’t stand a chance against our combined forces. And eliminating any potential problem can be done in a few clicks.

With Defender and The Hub, securing your site and keeping tabs on any volatile issues is as easy as ever – all in one place!
Any hackers up to no good, malware, or threatening bots, don’t stand a chance against our combined forces. And eliminating any potential problem can be done in a few clicks.
All of this is done in one place: The Hub’s Security panel. You can access it from the main overview in The Hub or the Security tab.
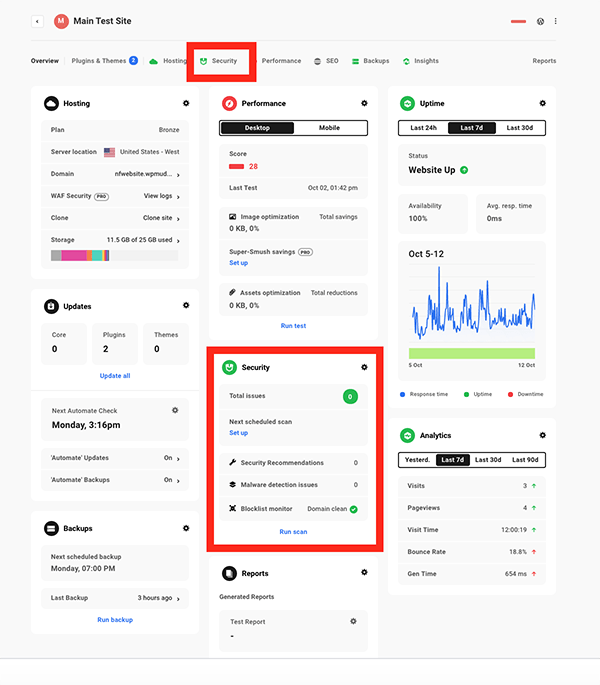
The Security area gives you a 360-degree look at everything on your site, from Firewall, malware detection, reporting, and more. Plus, from here, you can run all of your security operations with security scans, audits, and instantly handle security recommendations.
With quick accessibility and ease of use, you’ll see how The Hub and Defender are your answer to your site’s security.
We’ll be looking at how to:
- Easily Run a Security Scan or Have One Scheduled
- Instantly Tweak Security
- Set Up Tailored Security Reports Delivered Right to Your Inbox
- Get Notified (and delete) Suspicious Files
- Set Up Firewall with WAF
- Activate Other Security Tools in One-Click
By the time you read through this article, you’ll see how to view, handle, and keep tabs on your security in the most direct way possible.
1. Easily Run a Security Scan or Have One Scheduled
In one-click, Defender will do malware scanning of your WordPress core files for any modifications and unexpected changes. He will scan plugins, themes, and essential features on your site for suspicious code.
You can also have a more hands-off approach to security and schedule scans quickly and effortlessly.
From the Security tab, you’ll see towards the top Security.
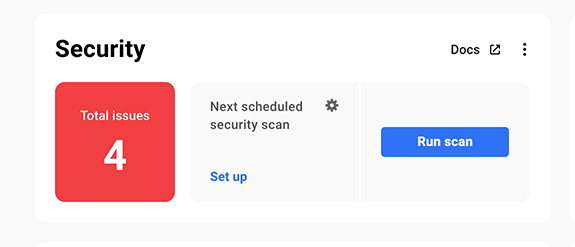
On display, it will show you the total issues. From here, you can also set up a security scan here and run a scan.
We’ll start by running a scan by clicking the Run Scan button.
Once you do this, a display will come up, notifying you of the scan’s progress. You’ll also get a notification when it’s complete if you want to leave this area in The Hub.
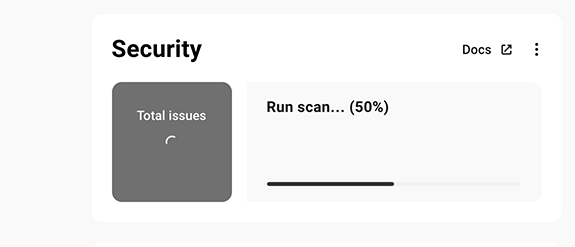
Once completed, the number of issues will appear.
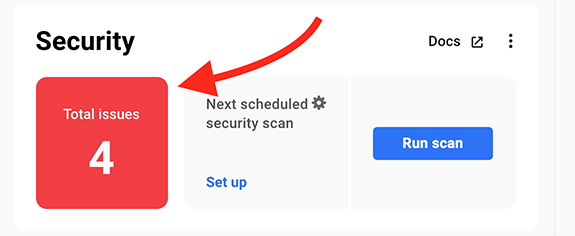
If you want to schedule a scan, just click Set Up under Next scheduled security scan.
It will open up a new tab and take you to the Defender dashboard’s Reporting section.
From the reporting section, you can Enable Reporting, set up to send notifications when no issues are detected, add recipients of reports, and set up a reporting schedule.
Add as many recipients as you want, adjust reports to fit your schedule, and more.
Once you run a security scan or scheduled one, it’s now time to take care of any issues.
2. Instantly Tweak Security
Below the Security box is a Recommendations area that lets you view and take care of issues. Here you’ll see the same number of issues To Action and take care of. You’ll see the number of Actioned recommendations that are already handled.
Also, enable Email Notifications from this spot. This will ensure that you don’t need to check in to make certain your security tweaks are still active.
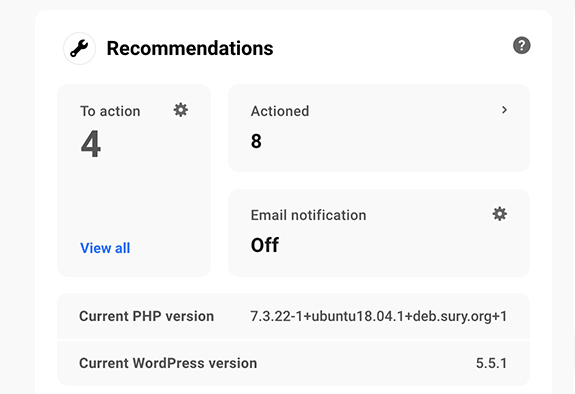
Let’s go ahead and take care of the security recommendations. By simply clicking on To Action, it will immediately take you to Defender’s dashboard in a new tab, where you can view the issues and fix them.
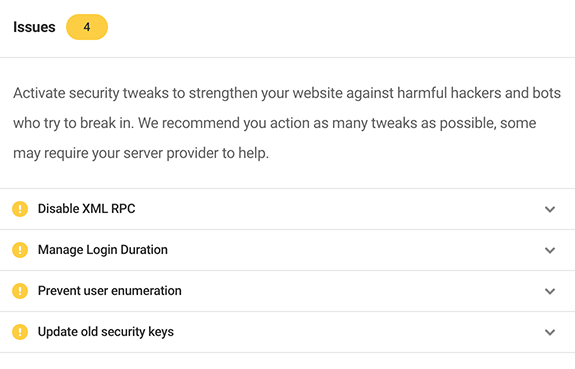
By clicking on the drop-down arrow, you can view the issue in more detail and fix it accordingly.
Most of the tweaks can be resolved in one click! Or by simply indicating a timeframe.
As you can see, as they get resolved, they disappear as an issue.
Once something is a non-issue, it’s shown in the Resolved section. If for any reason, you’d like to revert that security issue to the way it was, you can do so by going into the dropdown and clicking Revert.
As you can see, there are now no issues! And reverting one is a click away.
If we hop back over to the tab with The Hub open and refresh the Security tab, you’ll see that we have resolved all of the issues. Total issues are now in a green box, actioned recommendations are now 12, and there are zero to action.
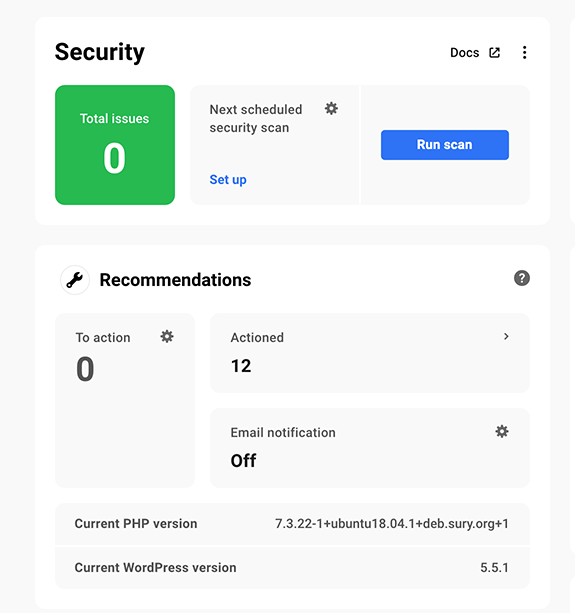
And just like that, you’ve beefed-up your security!
3. Set Up Tailored Security Reports Delivered Right to Your Inbox
Setting up security reports tailored to your needs is done in The Hub in the Your Reports area.
You can set up reports for Malware Detection, Firewall, and Audit Logging. Simply click on any of the security categories, and it will open a new tab in Defender’s dashboard, where you can turn on reporting with a flip of a switch.
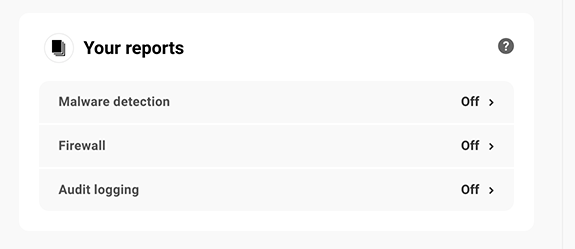
As we covered already, Malware can be set up here or in the Security area (see information above). Setting this up here or in the Security section of The Hub is the same process.
With Firewall, you can get emailed regular lockout reports for your site.
To set it up, you activate the option to Send Regular Email Reports.
Now, you can add recipients to the report and set up the perfect schedule.
Flip the switch and add as many recipients of the Firewall report as you’d like.
Once you hit Save Changes, it will be all set up, and you’ll start receiving your reports on a schedule.
With Audit Logging, you’ll see first the number of events logged in the past seven days.

View detailed information on the events in the Events Log. From here, you can also export the data as a .CSV file and look at individual circumstances by clicking on the dropdown arrow.
All the individual logs are accessible and viewable from here.
When it comes to getting a detailed report emailed to you, like the other categories, you can do this with one-click.
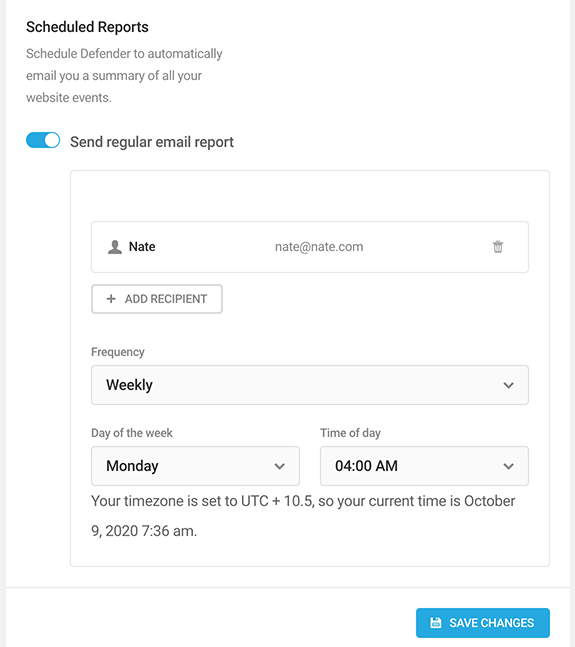
Add any recipients that you’d like and schedule the best time to send out reports. For more information on event logs, be sure to check out Defender’s documentation.
4. Get Notified (and delete) Suspicious Files
Get notifications of file changes, vulnerabilities, and injected code from The Hub’s Malware Detection area. Here, you can view the number of potentially malicious files to review and turn on email notifications for any malware issues.
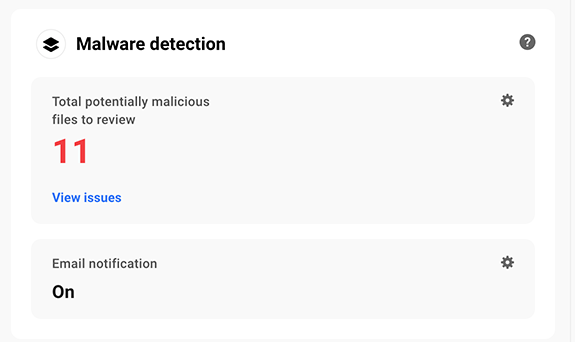
When clicking on View Issues, a new tab will open in Defender’s dashboard, where it breaks down the issues into more precise details, which are if they’re in the WordPress core, from Plugins & themes, or if Suspicious Code has been determined.
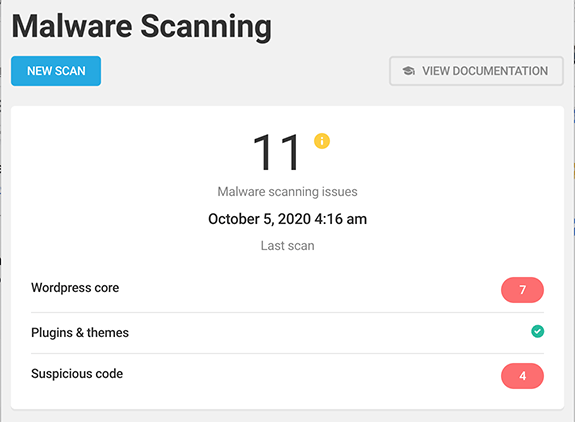
Scroll and view the Issues all in one place. You can also see each issue by clicking on the arrow dropdown, taking bulk action against them, or handling them individually. Plus, it will show the time, size (in bytes), and when the issue was added.
Scroll through the issues, click on individual ones, or take bulk action.
Delete any issues you find suspicious and take care of them. If you ever have questions about any suspicious code or malware (whether it is malicious or not, for example), contact our 24/7 support, and we can help immediately!
You can also become aware of malware issues in your inbox by clicking Email notification.
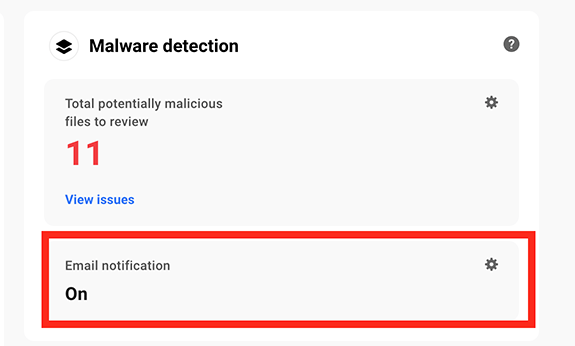
When clicking on it, it will open up a new tab in Defender. Here, you can enable email notifications in one-click, opt to send notifications when no issues are detected, add recipients, and edit email templates.
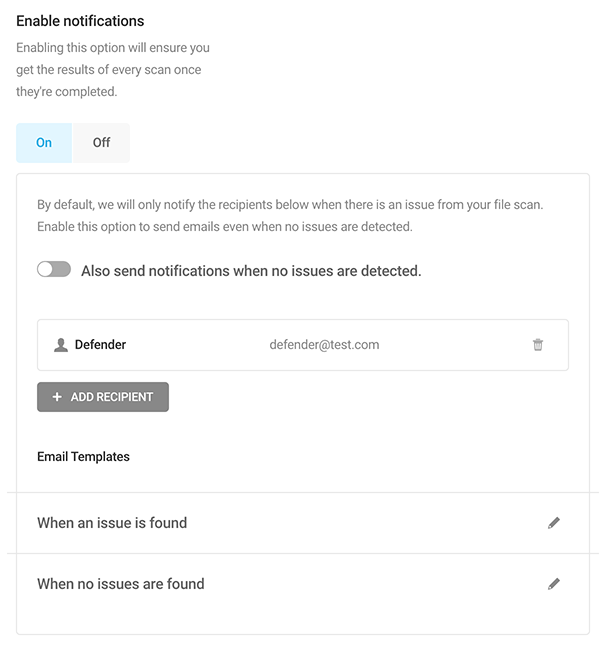
Taking care of malicious code is as easy as ever! Plus, many hackers get stopped in their tracks with Defender before even making it to your site.
5. Set Up Firewall with WAF
As mentioned above, Defender can stop anyone up to no good before they get to your site. It is accomplished with WAF, which is easily accessible in The Hub. You can protect your login area and lockout any suspicious behavior automatically.
Our WAF will also monitor all of the IP addresses and user agents attempting to access your site. It filters out traffic that is known to be unsafe or that you’ve identified as not wanted. Your site will be protected from attacks, such as cross-site request forgeries, cross-site-scripting, file inclusions, and SQL injection attacks.
In The Hub, the Firewall section shows what type of WAF protection you have. You can view logs and set it up directly from The Hub.
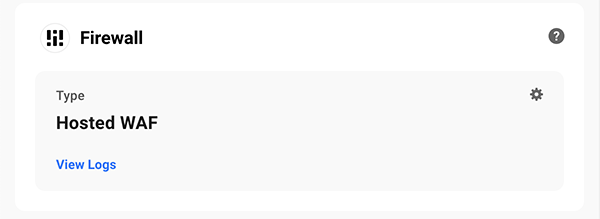
When you click on this box, you can turn it on and enter information for:
- IP Allowlist
- IP Blocklist
- User Agent Allowlist
- User Agent Blocklist
- URL Allowlist
- Disabled Rule IDs
Edit and adjust the WAF exactly how you’d like.
Effortlessly change the WAF settings at any time, keeping your WordPress site in good shape as issues arise.
6. Activate Other Security Tools in One-Click
The Hub has a lot of other security tools that you can activate and use in one-click. Here’s a rundown of what else you can do.
Audit Logging
Want to track and log events that have happened on your website in a given amount of time? That’s easy to do with Audit Logging.
Simply choose between the Last 24 Hours, Last Seven Days, or Last 30-Days, and you can view your logs.
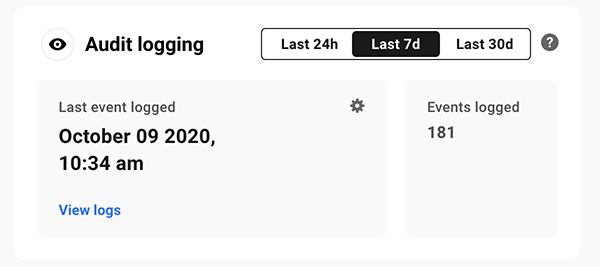
Audit Logging ensures you’re on top of all the events in detail.
Two-Factor Authentication
To protect your login and automatically lockout any suspicious behavior, you can enable two-factor authentication.
In this area, you can also see the Status (whether it’s on or off) and enable Lost Phone authentication.
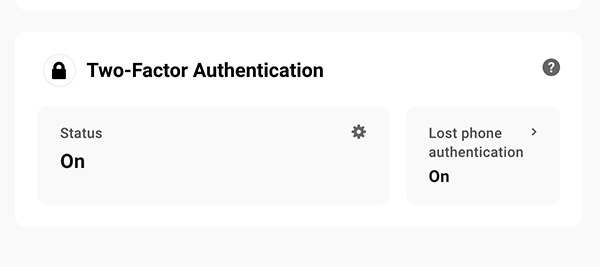
With one-click, you can activate both two-factor authentication and lost phone.
You can also choose what users and roles need to have two-factor authentication by:
- Administrator
- Editor
- Author
- Contributor
- Subscriber
- Revisor
Along with all of this, you can fine-tune it all by enabling Force Authentication, adding Custom Graphics above login fields, customize two-factor emails, download the Google Authenticator, view active users, and deactivate two-factor authentication.
There is quite a bit you can customize and adjust when it comes to two-factor authentication.
Blocklist Monitor
Add Blocklist Monitoring in one-click. This will automatically check to see if you’re on Google’s blocklist every six hours.
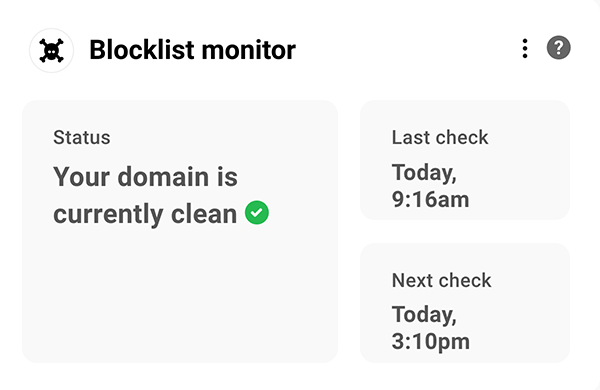
If there’s an issue, we’ll also notify you immediately by email.
Advanced Tools
Turn on Advanced Tools, so you have enhanced protection against even the most aggressive hackers and bots out there.
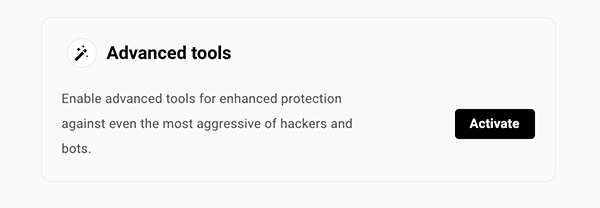
Once activated, a new tab will open up in Defender’s dashboard. Here, you can enable all of these features just by enabling them:
- X-Frame Options
- X-XSS-Protection
- X-Content-Type-Options
- Strict Transport
- Referrer Policy
- Feature Policy
Each feature has a detailed description of precisely what it does.
With these enabled, you’re set for advanced protection!
There’s No Sub for Security with The Hub
When you combine The Hub and Defender, you can rest easy knowing your site is safe. There’s no sub for security against bots, hackers, and other potential threats.
And with The Hub’s ease of accessibility and instant security tweaks, you’re always in the know if any issues do arise and can handle them with a click or two – or automatically with email notifications.
Plus, if you ever need help, it’s always available 24/7 with our support superheroes.
Be sure to keep tabs on what’s next for The Hub and Defender with our Roadmap. Also, learn more about getting the most out of Defender security here.
You should never feel insecure about your site’s security. With the combination of The Hub and Defender, you don’t have to.
Share article
Create your free account to post your comment
Login to post your comment