The Power Users Guide to WordPress Navigation Menus
Take the humble navigation menu to a whole new level.

The humble navigation menu. It’s an important part of your WordPress site that lets your visitors find their way around and helps to structure your content. Every theme will have a slot for it somewhere at the top of each page.
But are navigation menus just for your site header? The truth is that they can do much more.
In this post, I’m going to show you some of the options you have at your disposal for using navigation menus in a more powerful way. I’ll show you how you can create multiple navigation menus for your site.
I’ll also show you two ways to add those extra menus to your site’s front end – one using a widget and the other using code. The widget option is by far the easiest if you’re not used to writing code, but it is dependent on there being suitable widget areas in your theme. So if your theme doesn’t include a widget area in the spot where you want to place a menu, I’ll show you how to code that menu into your theme.
So let’s start by creating some menus.
Creating Multiple Navigation Menus
My site has a main navigation menu which I’ve already created. You’ll see from the screenshot that it’s got a couple of levels, with the Services menu item having sub-items.
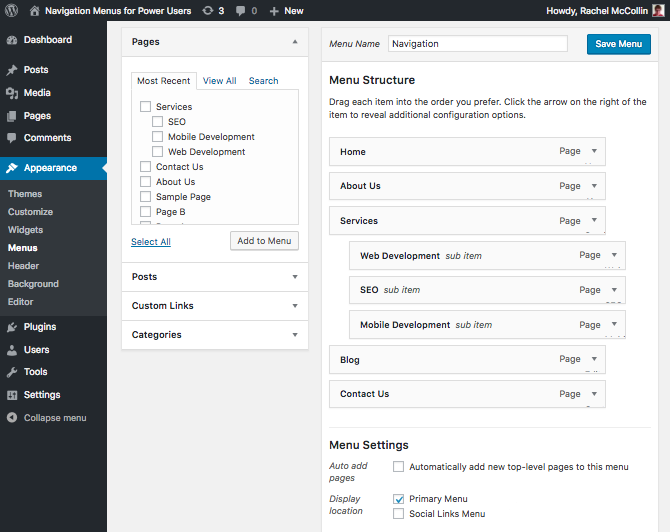
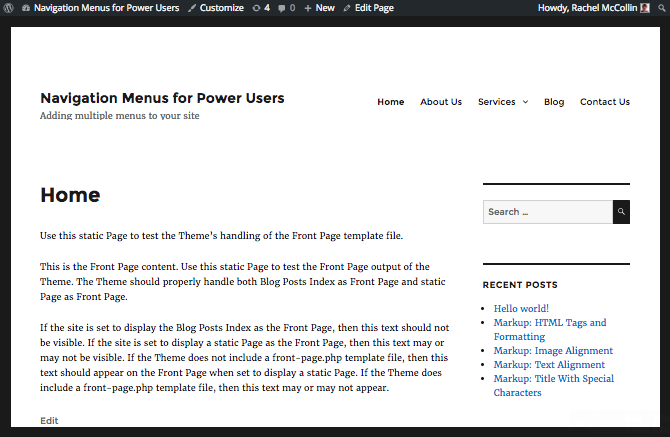
For this menu I’ve checked the Primary Menu option which means my theme (Twenty Sixteen) will display the menu in the primary slot:
But I’m not limited to this menu. To create another one, I go back to the Menus screen in the admin and click the create a new menu link:
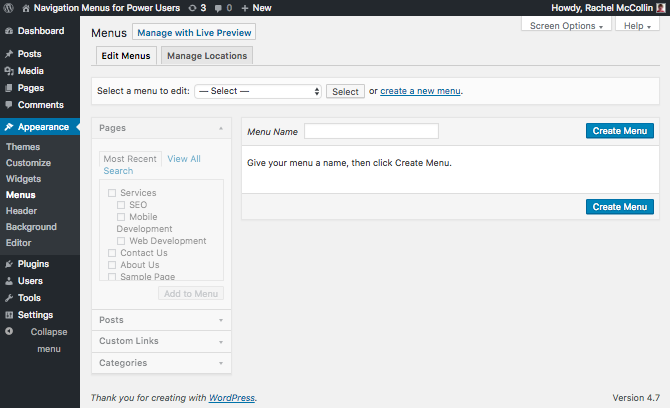
This is where you add your new menu. Mine’s going to be for the services pages, so I’ll call it Services and click Create Menu to create it. Then I’ll add those pages to it:
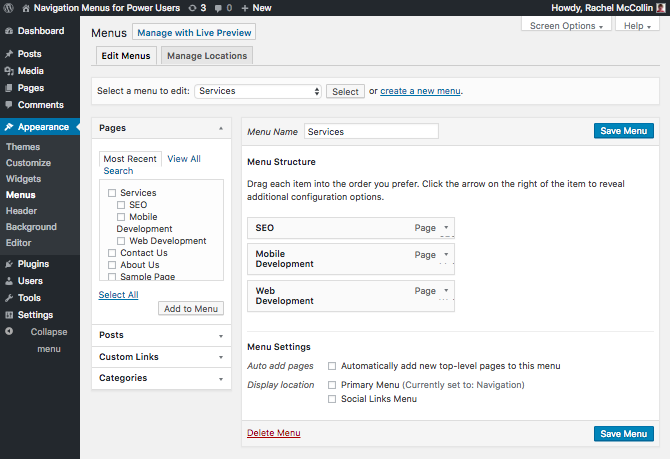
Once your menu is ready with the pages you need, click Save Menu to save it.
Note: Don’t check the Primary Menu checkbox – if you do, this menu will replace the one you’ve already created in your site header. Instead, we’re going to add this menu elsewhere in the site.
If you want to, you can do all this via the Customizer. Open the Customizer, click the Menus option on the left and you’ll see all of your menus displayed:
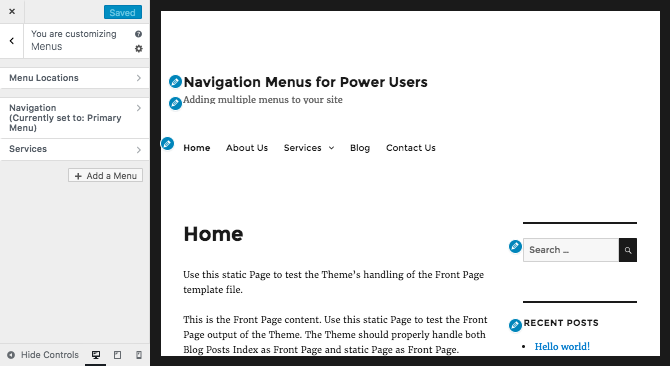
From here you can add a new menu using the Add a Menu button, or select one of your existing menus to edit it.
Adding Menus Using a Widget
So now you have your extra menu set up, let’s add it to the site. It’s helpful to add a menu to the site footer, as that means that when people scroll down to the bottom of a page, they don’t have to scroll back up again to navigate to another page in the site – particularly useful on small screens.
My theme doesn’t have a widget area in the footer but it does have a Content Bottom widget area below the content, so I’ll use that. You can use whichever widget area in your theme suits your needs best.
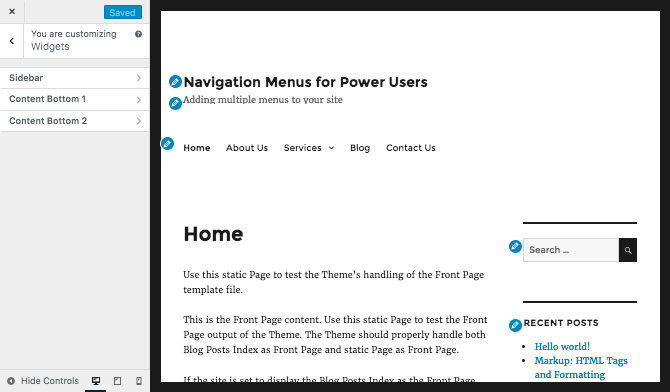
To add your menu to a widget, you can either use the Customizer or the Widgets screen in the admin, via Appearance > Widgets. Let’s use the Customizer this time.
Open the Customizer and select the Widgets option in the left-hand menu:
Select the widget area you want to add the menu widget to and click the Add a Widget button. You’ll be given a choice of widgets to add:
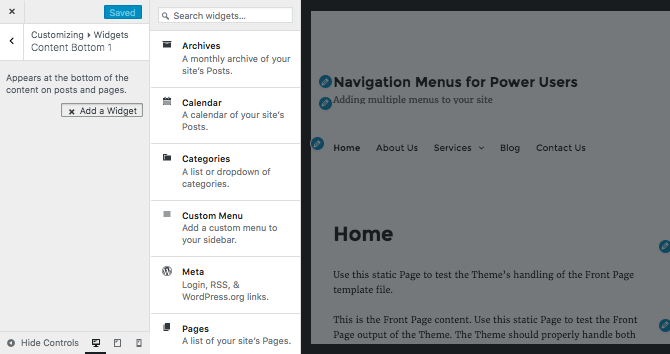
Select the Custom Menu widget, and then choose the menu you want to add to it. Give it a title too:
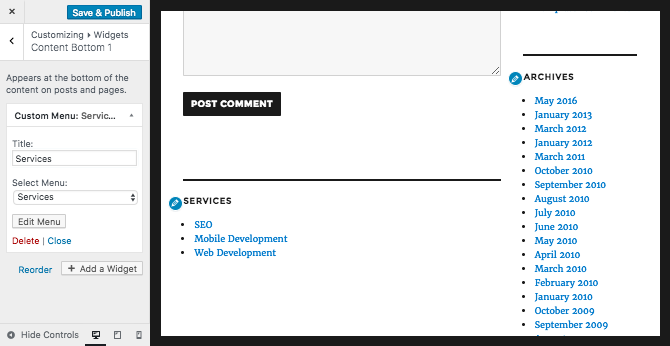
When you’ve done that, click the Save and Publish button to save your changes. Then check your menu in the front-end of the site:
If you want to add more menus, either to the same widget area or to different ones, just follow the same steps to create as many menus as you need, and then add them to more widgets in that widget area or other ones.
Adding an Extra Menu to Your Theme
If your theme doesn’t have a suitable widget area for you to include a menu widget, you can code your new menu into your theme instead. So instead of using the Below Content widget area in my theme, I’m going to code my services menu into the footer of my theme.
As I’m using the twenty sixteen theme, I’m going to create a child theme to do this. This is because any changes you make to a theme will be lost when you next update the theme. If you’re working with your own theme, you can just edit your theme files directly.
Note: You can find the source files for this on GitHub.
So I’ll create a new theme in my wp-content/themes folder, with just two files. These are the stylesheet, style.css, which tells WordPress that this is a child theme, and the footer file, footer.php, which will override the footer file from my parent theme. WordPress will use template files from the parent theme for everything else.
Note: to learn more about child theme, see our guide to working with parent and child themes.
Creating the Child Theme
First, add this to the child theme’s stylesheet to tell WordPress that this is a child theme:
Save the stylesheet.
Note: skip this step if you’re working with your own theme.
Adding the Menu to the Footer
To add the menu, you’ll need to edit your footer.php file. If you’re working with a child theme, make a copy of the footer.php file from your parent theme in your child theme, and edit that instead.
Open your footer file and add this immediately inside the opening <footer> tag:
Note that I’ve included the menu’s slug (services) as one of the parameters for the wp_nav_menu() function: if you’ve called your menu something else, you’ll need to use that. I’ve also included the widget class for styling, which means that my menu looks a bit like a widget in the front end:
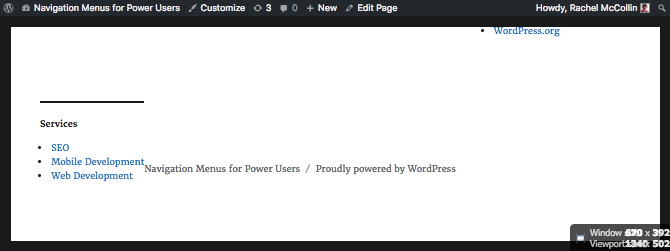
That doesn’t look too great: it’s right next to the footer credit text which looks off. So let’s add some styling.
Styling the Menu
Save your footer.php file and open the stylesheet again. Add this to it, below the existing code:
This solves the width issue but makes the menu all on the left-hand side, with lots of white space:
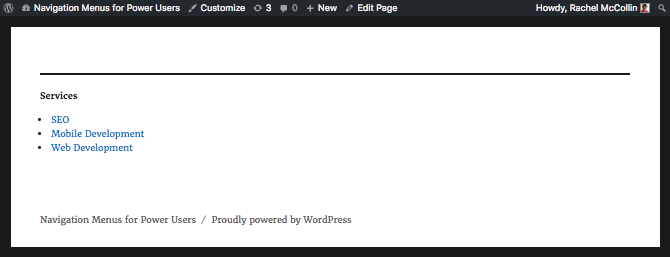
Let’s fix that, by floating the list items next to each other. Add this to your stylesheet:
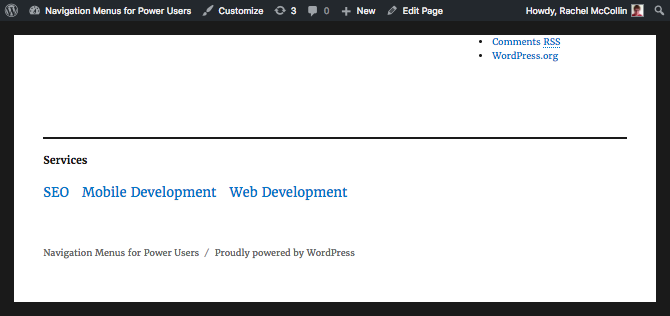
That’s better. Now we have a footer menu that’s nicely aligned on larger screens:
It’s not great on smaller screens though:
So let’s add a clear for the element after it, again in the stylesheet:
How does that look now?
That’s better. We now have our services menu in the footer of the site. Whenever you need to add new links to it, you don’t need to touch the template files – just edit that menu in the Menus admin screen. Simple!
Menus Can Do More Than You Think
Navigation menus can work in many more places than just the header of your site. You can create extra ones and then add them to other locations, such as your widget areas and footer. You could create specific menus for your sidebar and different ones for your footer or elsewhere in your theme, or add multiple menus to a widget area. The choice is yours!
Share article
All the good WordPress stuff, once every two weeks
Subscribe
Create your free account to post your comment
Login to post your comment