How To Bulk Edit Images in WordPress
How to batch resize, crop, optimize and speedup your WordPress sites with Photoshop, Smush and other photo editors.

Is there anything that sucks up creative energy more than tedious repetitive tasks? Editing a memory card full of images for a new site or redesign can take up precious time you can devote to something less boring.
In this post I’m going to show you different tools you can use to streamline your image editing process so you can edit, batch crop, resize, upload and manage all the images for your site in less time.
Prepping Your Images
Images go on a journey from capturing device to software to monitor or mobile phone. Depending on where your image is on this journey and what you need to do, will determine what tool is the most appropriate to bulk edit your images.
Lightroom Classic
For the images that your camera produces, there is no better tool for preparing your images en masse than Lightroom Classic, which comes with an Adobe Creative Cloud subscription. Lightroom is what I would call an early stage tool. It’s going to help you create the initial image file.
Lightroom has two advantages over Photoshop:
- Lightroom is designed to work with images in batches so you can do more at one time, unlike Photoshop which is meant for detailed edits to individual images.
- Lightroom is a non-destructive editing tool, so you don’t need to use Save as to create a copy and avoid editing the original image. Lightroom creates a timeline of edits (similar to Git, but WAY easier), so you can easily undo actions such as cropping, by returning to a previous point in the timeline.
Non-destructive editing also handles file sizes differently. In Lightroom, you specify the size of the image when you export. You can set preset sizes for the images sizes on your blog and then bulk export a batch of images.
How to Batch Crop Images in Lightroom
Cropping a group of images so they fit a new aspect ratio is easy in Lightroom. Go to the Library area and click on an image to select it. To select additional image hold down the shift key as you click on the images.
Open the Quick Develop module. Within Quick Develop, open the Saved Preset section to reveal the Crop Ratio option.

Select an option from the drop-down or enter your own using the Custom option to crop your images to fit your site.
By default, Lightroom will center your images and crop them, but it does recognize if an image is vertical or horizontal. If you select 5×7, then vertical images will be 5×7 while horizontal images will be 7×5.
How to Bulk Resize Images in Lightroom
Once your images are the right aspect ratio, then you can resize them when you export from Lightroom. To do so, you’re going to select your images just as you did in the previous section. Then go to File > Export to open up the export dialog box.

From there you’ll choose where you want the image to export to and rename it if you want. We’re most interested in the Image Sizing section. Select Width & Height from the drop down and enter in your dimensions.

To save your export settings for the next time, click on the Add button. This will add your settings to the preset section. As you can see, I have some presets for my blog so that I can export the right dimensions for different uses.

Photoshop Batch Resize
Lightroom doesn’t natively support PNG, which makes sense since it was designed for photographs. So you can’t use it to bulk edit screenshots. To edit PNGs we’re going to use our old favorite, Photoshop.
There’s a couple of ways to bulk edit in Photoshop. The easiest way is to use the image processor, but this also doesn’t support PNGs so we’re going to dive into using Photoshop actions too.
How to Batch Resize in Photoshop
To open the image processor, go to File > Scripts > Image Processor
From there, you’ll complete several steps in the dialog box.
- Select where your images are located
- Choose where you want your updated images to be stored
- Choose the file type and resize
- Perform Actions

For File Type, select Save as JPEG and then click on the Resize to Fit checkbox. You’ll then be able to enter your image dimensions.
You can also bulk compress images by adjusting the Quality, right beneath the Save as JPEG checkbox.
When you press the Run button, all of the images in the folder you selected will be converted to the new dimensions.
How to Resize Images in Bulk in Photoshop with Photoshop Actions
You may have also noticed that in Step 4 of the Image Processor, you can add an action.
But just what is a Photoshop action? Photoshop actions are a way to save a sequence of edits that you make to an image so you can apply them to another image. You basically push record and Photoshop keeps track of all the changes you make until you press stop recording. Then instead of performing those steps for another image, Photoshop does it for you automatically when you apply the action. Pretty sweet huh?
If you want to resize PNGs, then you can create an action and use that instead of the Save as JPEG option. This is much faster than opening each PNG, going to Image > Image Size, entering the new dimensions and then saving the image, over and over and over.
How to Create Actions in Photoshop
To view the Actions panel, go to Windows > Actions
In order to keep our custom actions organized, we’ll first create a new set by clicking on the folder icon. Name your set and then push the ok button.

Then, you’ll create a new action, by setting a name. Click on the square icon right next to the folder icon. As soon as you push record, Photoshop will begin to track your actions.

When you’re finished, push the stop button to halt the recording.

You’ll be able to see the steps in the action box.

Now you can open a separate image, select your action and push the play button or add the action to the image processor if you want to use it on a group of images.
WordPress Image Management
Once your image is farther along on its journey and has been uploaded to WordPress, you’ll have a different set of tools at your disposal. These will allow you to manage all your images as a whole set much more easily.
WordPress Bulk Resize Images
Did you know that you can use WordPress to automatically resize your images when you upload them?
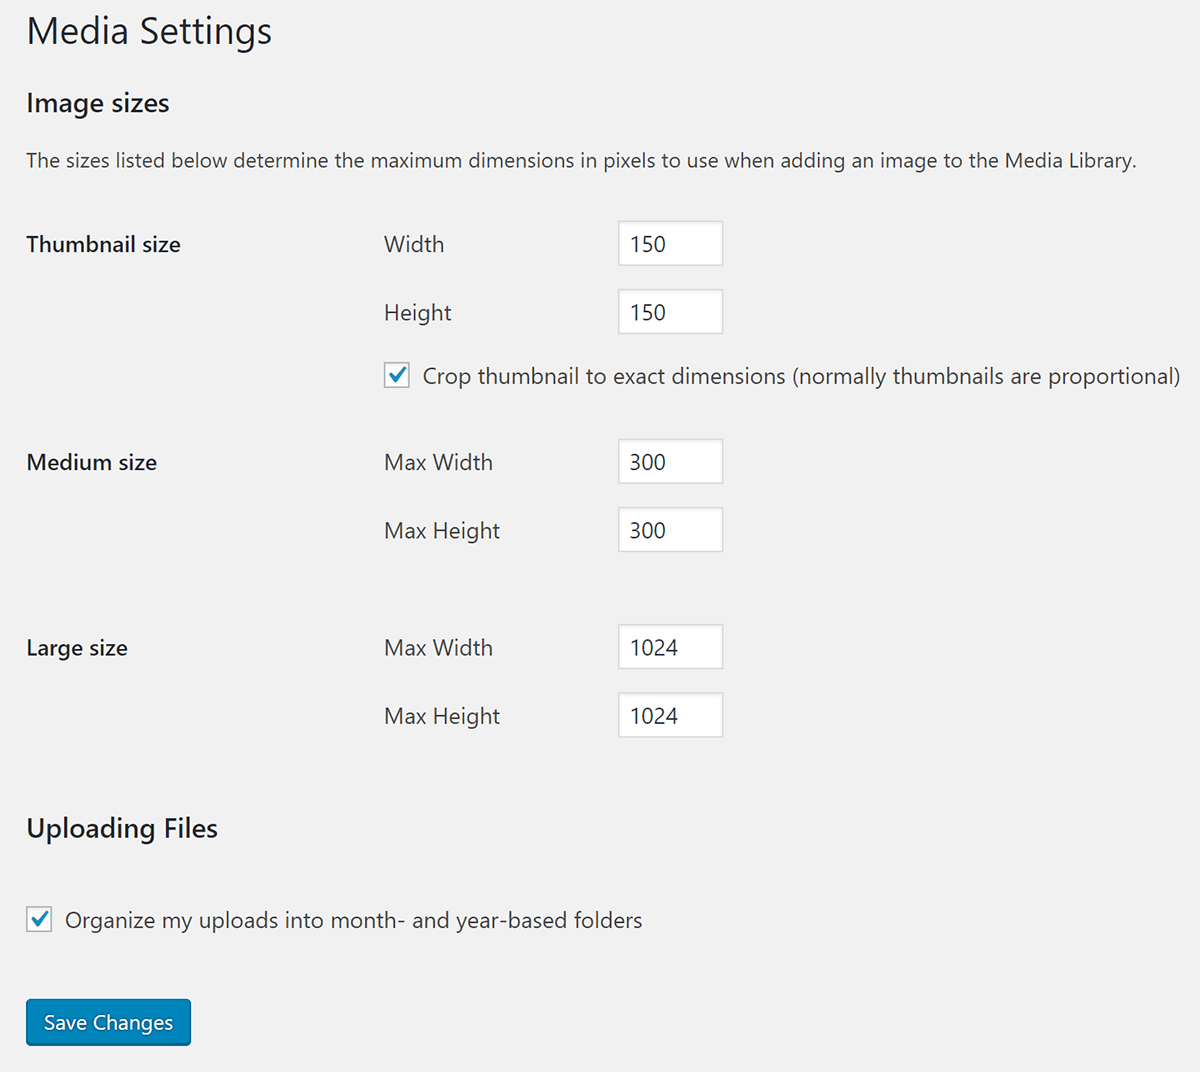
By default, WordPress creates additional images sizes at different sizes for every image you upload. You can modify the sizes that WordPress creates or add custom sizes.
The Smush Pro CDN has the ability to automatically resize your images so you don’t have to go through the trouble of resizing them in Photoshop or Lightroom. The Smush Pro CDN serves up the perfect size image for your visitors saving bandwidth and your time. Try Smush Pro CDN free.
WordPress Image Management Plugins
Whether you’re replacing all the images on your site with an updated version or dealing with a cumbersome media library, there are loads of image management plugins in WordPress that can help you address issues that arise when working with large groups of images.
NextGEN Gallery
NextGEN Gallery is an extremely popular plugin for image enthusiasts, with almost a million active installations. It gives you the ability to batch upload photos, import metadata, add/delete/rearrange/sort photos and more so you can make batch changes.
We’ve designed Smush to be compatible with NextGEN Gallery so you don’t have to worry about plugin incompatibilities.
Smush Image Optimization
Smush has a lot of features to help you improve batch process images. For one, settings like enabling lazy loading will add lazy loading to all the images on your site. Smush also has bulk compression for 50 images. Smush compresses your images on our server so it won’t bog down your site performance with the load, perfect if you have a lot of images.
Enhanced Media Library
Enhanced Media Library can help you with organizing all your images by making it easy to add custom image taxonomies and add filters so you can find the image you need in less time. And yes, it is multisite compatible.
Regenerating Thumbnails
One of the most important steps when either modifying the WordPress default image sizes, adding custom image sizes or switching over to a new theme that has different custom sizes is regenerating thumbnails. Doing this is easy with the popular Regenerate Thumbnails plugin. It converts your existing images to the new sizes you specify in the Media settings.

Enable Media Replace
If you’re making changes to your images and need to replace the images within your pages with an updated version, the Enable Media Replace plugin can help you swap images easily. No more deleting, renaming and reuploading files.
That’s All on WordPress Bulk Photo Editing
Whether you’re updating your site and switching over to a new theme or upgrading all your images to Retina, managing your images as a group and making images to the whole set doesn’t have to be intimidating. You just need the right tools.
If you have an image heavy site, check out Smush Pro. You’ll be able to bulk Smush and optimize all in one fell swoop. Start a free trial and give it a whirl.
Share article
All the good WordPress stuff, once every two weeks
Subscribe
Create your free account to post your comment
Login to post your comment